

The Small Love Heart Bear is a charming, beginner-friendly plush toy featuring a distinct heart patch stitched onto its belly.
Standing at just over 8 inches tall and 7 inches wide, this compact companion can be assembled by hand or with a sewing machine. Its versatile design allows for either a traditional clean finish or a rustic, raw-edged look.
Materials & Tools Checklist
- Body Fabric: Fleece (roughly 11″ x 17″ total, or two 8.5″ x 11″ pieces)
- Heart Patch: A 3″ x 3″ scrap of felt, fleece, or leather
- Nose Patch: Small piece of leather, felt, or fleece
- Face Details: Embroidery floss (for the eyes and mouth)
- Assembly Essentials: Coordinating thread, polyester fiberfill stuffing, and basic sewing notions (pins, scissors, fabric marker, or a digital cutting machine like a Cricut Maker).
Step-by-Step Instructions
1. Preparing and Cutting the Pieces
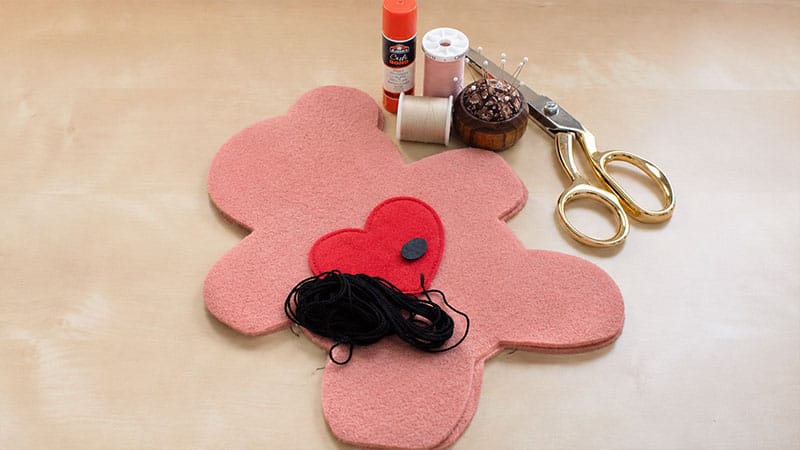
You can prepare your fabric using traditional scissors or a digital cutting machine:
- Manual Method: Print the template at 100% scale. Cut out the paper stencils. Secure them to your fabric using pins, then either cut directly around the paper or trace the outline with a fabric pen before cutting.
- Machine Method: Load the SVG file into your cutting machine’s software. Place your fleece pieces onto a high-grip fabric mat, select the appropriate material settings, and let the machine precision-cut the body panels.
2. Embellishing the Front Panel
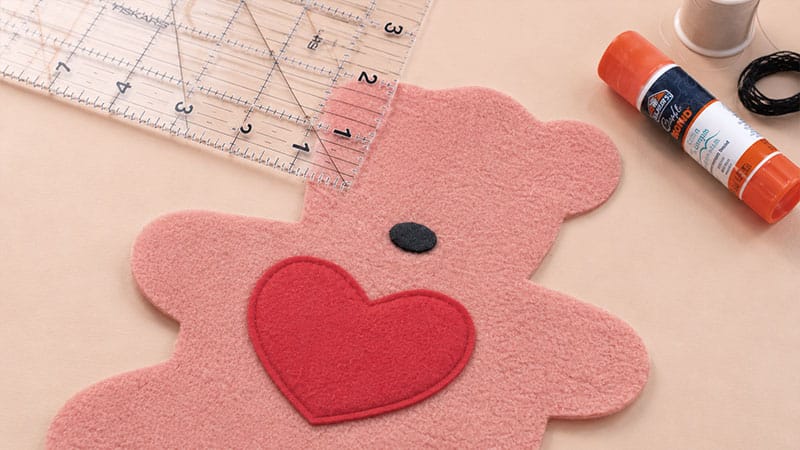
Before joining the body pieces, you will attach the face and heart to the front panel.
Positioning the Heart
- Fold the front body piece vertically down the center (wrong sides together) and lightly pin the crease to mark the center line.
- Unfold the fabric. Measure exactly 2 inches up from the crotch area along that center line; this is where the bottom tip of your heart should rest.
- Pin the heart in place. Secure it by sewing around the edge with a 81” to 41” seam allowance.
Tip for Leather Patches: Use a dab of temporary fabric glue instead of pins to hold leather in place. To avoid unsightly knots on the front, do not backstitch. Instead, pull the thread tails through to the back of the fabric and tie them off manually.
Positioning the Nose
- Find the horizontal center of the head. Measure 2 81 inches down from the very top of the bear’s head.
- Center the nose at this mark. Secure it temporarily with a small drop of fabric glue.
- Stitch around the perimeter. (Use the manual knotting method mentioned above if your nosepiece is made of leather.
Embroidering the Face
- Use the pattern’s alignment guide to map out the facial features. Pierce small holes along the eye and mouth lines on your paper pattern to create a makeshift stencil.
- Overlay the paper onto the fabric panel and trace through the punctured holes with a fabric marker.
- Remove the paper and embroider the details: use a stem stitch to define the eyes and a split stitch to curve out the mouth.
3. Assembling the Bear
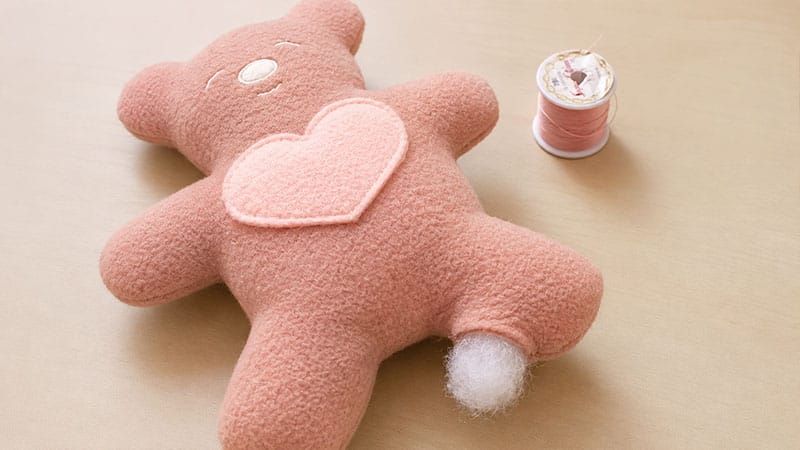
   [ Back Panel ]  <-- Wrong Side Out
   [ Front Panel ] <-- Right Side In
         ||
   Stitch Perimeter (\frac{1}{4}" seam)
         ||
   Leave Open Slot on Inner Leg
- Pinning: Align the front and back body panels with their right sides facing each other. Pin or clip the edges together. On the inside edge of one leg, place double pins to mark a 2-inch gap that will remain unsewn for turning and stuffing.
- Stitching: Sew around the entire perimeter using a 41” seam allowance. Be sure to backstitch firmly at both ends of your designated gap so the seams don’t unravel when the toy is flipped.
- Trimming: Carefully snip across the sharp corners of the feet, hands, and ears within the seam allowance. This removes bulk and helps the corners lie flat. (Note: Snipping curves is optional and generally unnecessary if you are using stretchy fleece.
4. Finishing Touches
- Inverting: Gently pull the fabric through the leg opening to turn the bear right-side out. Use a blunt tool, like a chopstick, to gently push out the curves of the ears and limbs.
- Stuffing: Pack the toy with polyester fiberfill. Distribute it evenly so the bear is soft and huggable, taking care not to overstuff and stretch the seams.
- Closing: Tuck the raw edges of the leg opening neatly inside the body and pin the seam shut. Seamlessly close the gap by hand using a ladder stitch.
