
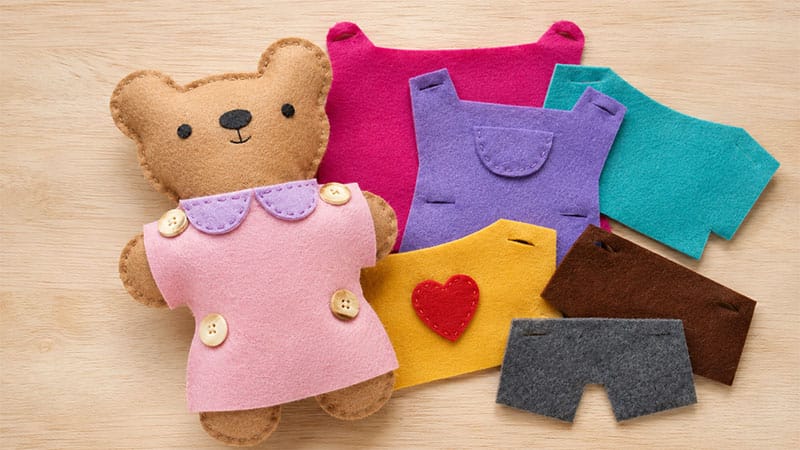
Create a charming, interactive DIY Felt Dress-Up Bear that doubles as a delightful toy and a fantastic fine-motor skill builder for young children.
By utilizing a simple buttoning system, toddlers and preschoolers can practice independent dressing skills while mixing and matching a custom wardrobe.
This project is highly customizable, budget-friendly, and makes a heartfelt handmade gift.
Project Overview
| Project Element | Details |
| Skill Level | Beginner to Intermediate (Basic hand-stitching) |
| Time Required | 1 to 2 hours |
| Key Benefits | Enhances fine-motor skills, hand-eye coordination, and creative play |
Materials & Tools Needed
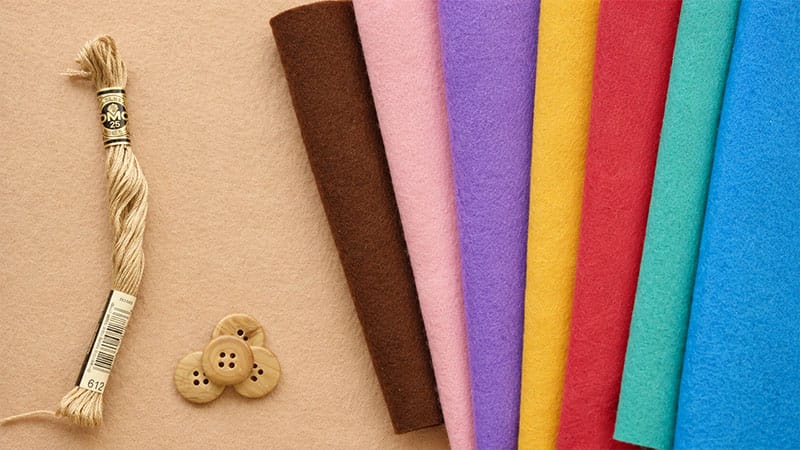
- Felt: Tan or brown for the bear body; various bright colors for the wardrobe (high-quality wool blend felt works best for durability).
- Scraps: Dark brown or black felt for facial features.
- Buttons: Four sturdy, flat buttons (approximately 3/4-inch in diameter).
- Thread: Embroidery floss in matching and contrasting colors.
- Fill: Polyester fiberfill (stuffing).
- Tools: Sharp fabric scissors, embroidery needles, straight pins or sewing clips, and a fabric marker.
Step-by-Step Instructions
Step 1: Cut Out the Anatomy
- Create or download a basic, chunky teddy bear silhouette to use as a template.
- Pin the template to your tan or brown felt and cut out two identical bear body shapes (one for the front, one for the back).
- From your dark felt scraps, cut out two small circles for the eyes and an oval for the nose.
Step 2: Assemble the Face & Button Anchors
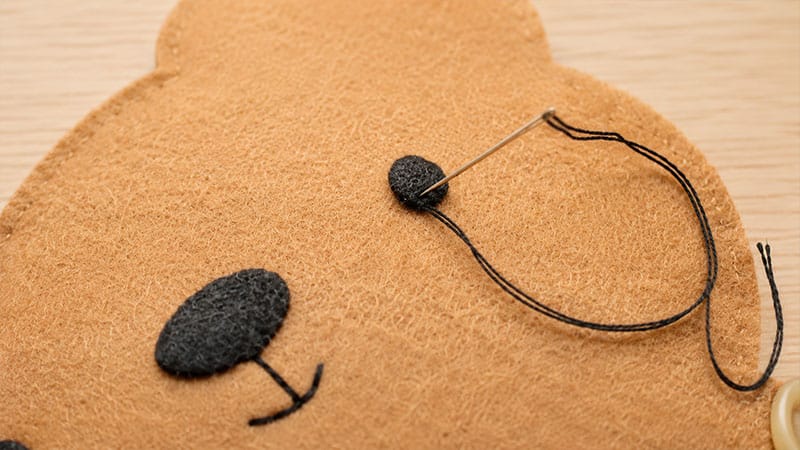
- Secure the Face: Position the eyes and nose on the front body piece. Secure them using a neat whipstitch around the edges.
- Embroider the Details: Using dark embroidery floss, add a simple curved mouth just below the nose using a sturdy backstitch.
- Attach the Wardrobe Buttons: Sew the four buttons onto the front of the bear’s torso (typically two at the shoulders and two at the hips). Ensure they are sewn on tightly, as they will take a lot of tugging during playtime.
Note: If you want clothes that wrap all the way around the bear rather than just clipping onto the front, sew an additional four buttons on the back felt piece in the same alignment.
Step 3: Stitch and Stuff the Body
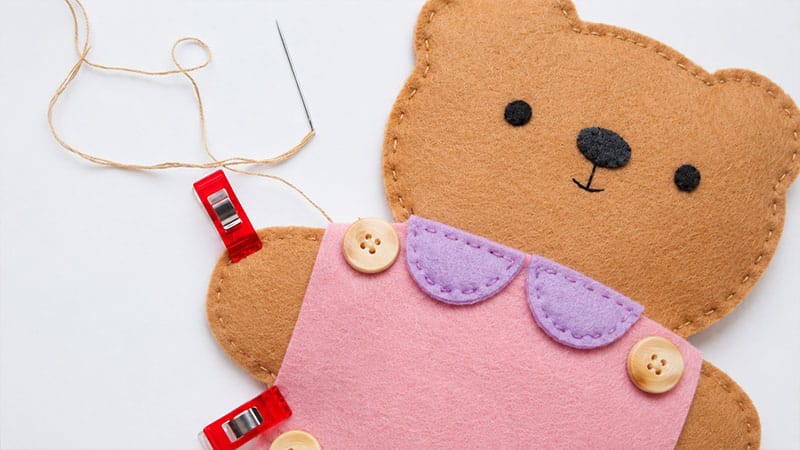
- Align the front and back body pieces together, securing them with pins or sewing clips.
- Using three strands of embroidery floss, sew around the perimeter of the bear using a running stitch or blanket stitch. Leave a 2-inch opening at the top of the head.
- Begin gently pushing handfuls of stuffing through the opening. Use the blunt end of a pencil or chopstick to guide the filling down into the feet, legs, and ears first. The bear should be plush but pliable—not overstuffed and stiff.
- Sew the opening on the head completely closed and knot your thread securely.
Step 4: Craft the Wardrobe
- Cut out various clothing shapes (shirts, pants, overalls, skirts, or superhero capes) using your colored felt. Ensure the clothing templates perfectly align with the width of your bear’s button layout.
- Fold the clothing pieces in half where the buttons will sit and snip a small, straight slit for the buttonholes.
- Test the Fit: Push a button through each slot to verify the fit. The felt will naturally stretch over time, but you want the slot large enough for a child’s hands to manipulate without tearing the fabric.
Step 5: Embellish and Customize
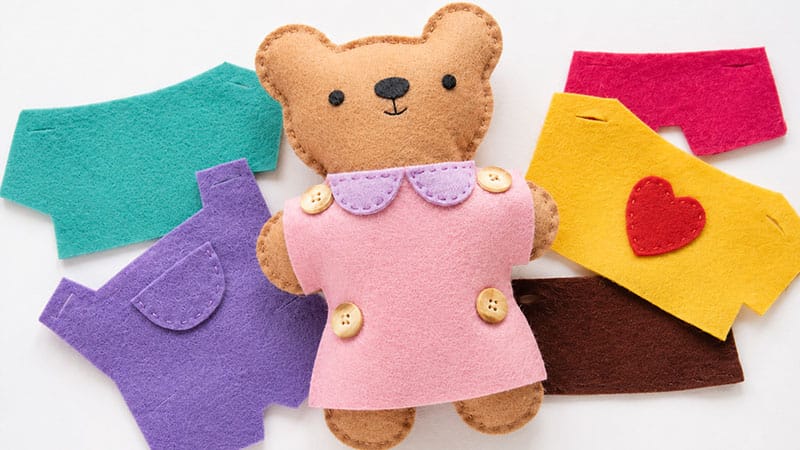
This is the perfect step to involve your children! Leave the clothes simple, or decorate them by:
- Adding fabric paint patterns or glitter.
- Gluing or stitching on contrasting felt pockets, stripes, or stars.
- Layering pieces (like placing a jacket over a shirt).
Playtime & Development
Once complete, demonstrate to your child how to line up the slits with the buttons and push them through. While they may need a little guidance initially, they will quickly develop the dexterity and finger strength to manage the buttons independently!
