
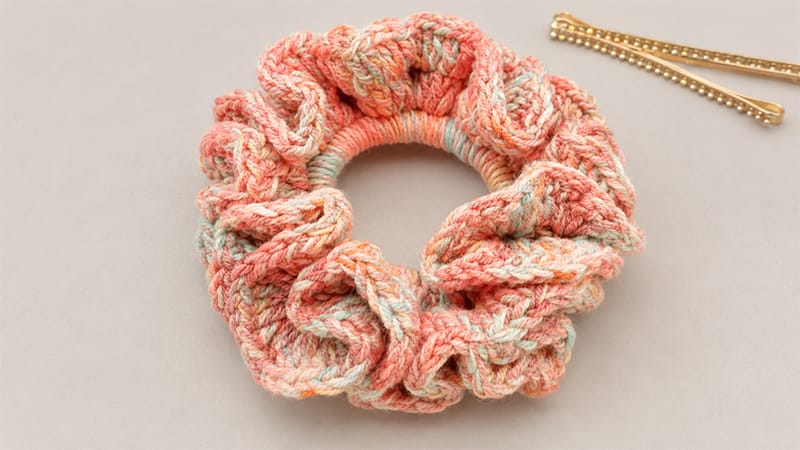
Transform a basic hair elastic into a stylish, ruffled accessory with this beginner-friendly crochet pattern. This project is highly customizable and works up quickly, making it a perfect weekend craft or a quick handmade gift.
Project Overview & Sizing
- Skill Level: Absolute Beginner
- Sizing: The final diameter is approximately 9 cm (3.5 inches), though this will naturally vary depending on the thickness of your elastic band and your choice of yarn.
- Language/Terminology: Written using US Crochet Terms.
Materials & Tools
- Yarn: Fine Sport weight (4-ply) or Light Worsted weight (DK). Cotton, acrylic, or cotton-blend yarns work beautifully. (Example used: YarnArt Jeans blend in solid or multi-colored tones).
- Crochet Hook: 3 mm (US C/2) hook (or the size recommended on your yarn label).
- Base: One standard elastic hair tie (any size or thickness).
- Notions: Scissors and a tapestry needle for weaving in loose ends.
Core Stitches & Abbreviations
- CH: Chain
- SC: Single Crochet
- DC: Double Crochet
- SL ST / SS: Slip Stitch
- ST(s): Stitch / Stitches
- FO: Fasten off
Step-by-Step Instructions
Round 1: Covering the Elastic Base
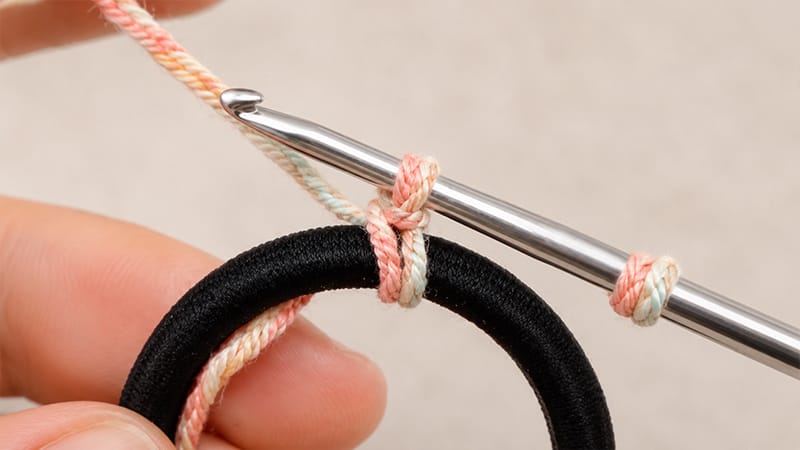
- Start by making a secure slip knot on your hook.
- Insert your hook directly through the center of the hair elastic. Yarn over, pull up a loop through the elastic, and complete your first SC to anchor the yarn.
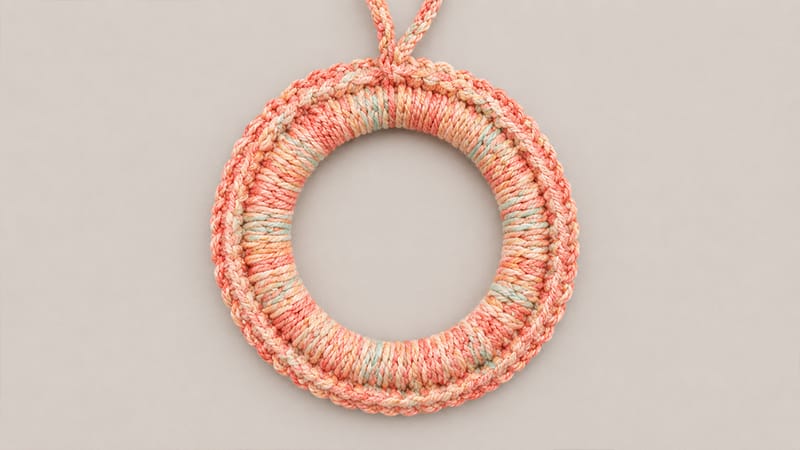
- Continue to place SC stitches all the way around the elastic ring, completely enclosing it.
- Pro Tip: Periodically bunch and slide the completed stitches tightly together along the band. This ensures that when the scrunchie stretches in your hair, the elastic stays hidden beneath dense stitching.
- Once the elastic is entirely covered and no gaps remain, ensure you have an even number of stitches total (roughly 60 stitches is standard for a medium hair tie).
- Join the loop with an SL ST into the very first SC of the round.
Round 2: Creating the First Tier of Ruffles
- CH 3 (this counts as your first double crochet).
- Place 2 DC into the same stitch at the base of your starting chain.
- In the next stitch, work 2 DC.
- In the following stitch, work 3 DC.
- Alternating your pattern, work 3 DC into one stitch, then 2 DC into the next, repeating this sequence all the way around the ring.
- You should finish the sequence with 2 DC in the final stitch. Join with an SL ST into the 3rd chain of your initial CH-3.
Round 3: Maximizing the Volume
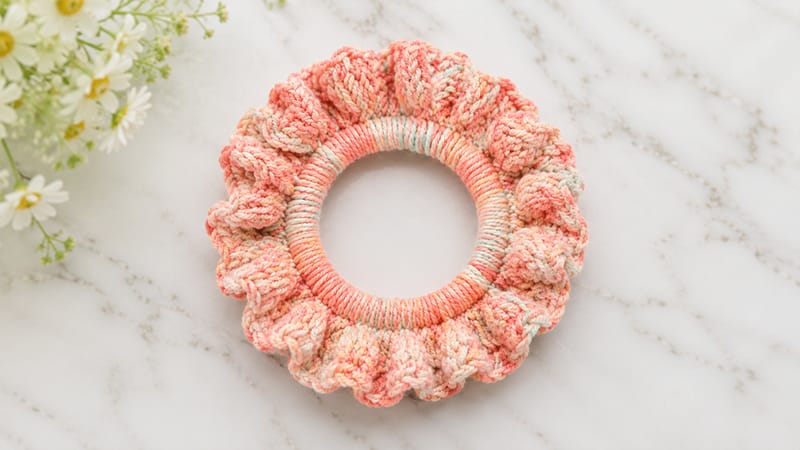
- CH 3 (counts as your first double crochet).
- Work 2 DC into the base stitch of your starting chain.
- From here, work 3 DC into every single stitch all the way around. This massive influx of stitches creates the classic, dramatic ruffle effect.
- Secure the round by working an SL ST into the 3rd chain of your starting CH-3.
Finishing Touches
- Cut your yarn, leaving a short tail, and pull it through the final loop to fasten off.
- Thread the yarn tail onto your tapestry needle and carefully weave it back and forth through the stitches to secure it, then snip any excess. Your handmade scrunchie is ready to wear!
