
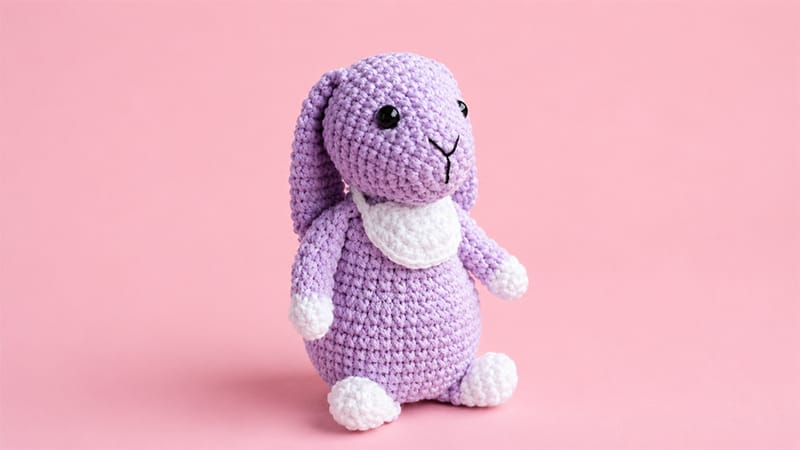
Welcome to the wonderful world of amigurumi! Crafting your own handmade plushies is a deeply rewarding journey, and this adorable bunny project is the perfect place to start or refine your skills.
Soft, charming, and packed with sweet character details like a contrasting ruffled collar and delicate paw accents, this bunny makes a thoughtful gift or a beloved addition to your toy collection.
Designed with straightforward shaping and minimal assembly required, it balances ease with artistic touch.
Grab your favorite hook, select your softest yarn, and get ready to bring this heartwarming little rabbit to life stitch by stitch!
Crafting Supplies & Tools
To ensure your amigurumi turns out neat and sturdy, gather the following supplies:
- Yarn: Light worsted / DK weight yarn (Cotton or Cotton-Acrylic blend works best).
- Main Body Color: ~25g (e.g., Light Beige, Cream, or Soft Grey)
- Accent Color: ~5g (White for paws, tail, and collar accents)
- Crochet Hook: 2.0 mm – 2.5 mm (or a size smaller than recommended on yarn label to keep stitches tight).
- Safety Eyes: 1 pair (6 mm).
- Fiberfill: Polyester stuffing.
- Tapestry Needle: For assembling and embroidering face details.
- Embroidery Thread: Dark brown or black for the nose and mouth.
- Stitch Marker & Scissors.
Stitch Guide & Terminology (US Terms)
- MR: Magic Ring
- sc: Single crochet
- inc: Increase (2 sc in the same stitch)
- dec: Decrease (Invisible decrease recommended)
- hdc: Half double crochet
- sl st: Slip stitch
- ch: Chain
- tch: Turning chain
- BLO: Back loop only
- st(s): Stitch(es)
Step-by-Step Pattern Instructions
1. Main Body
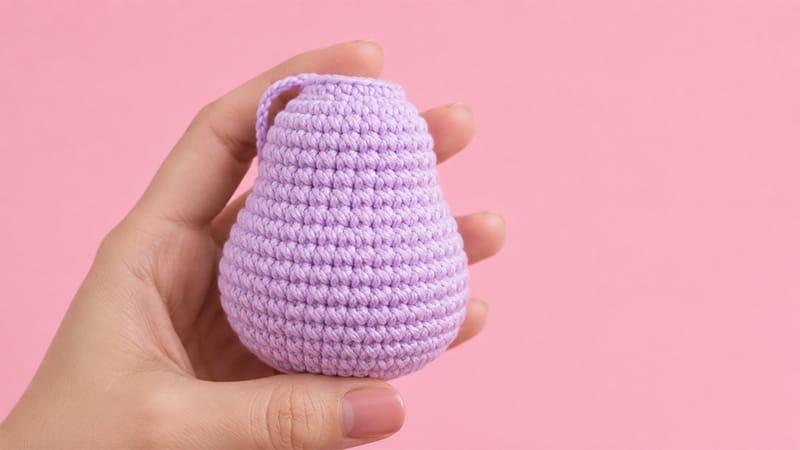
Stuff firmly as you progress.
- Rnd 1: Work 6 sc into a MR. [6]
- Rnd 2: Work 1 inc in each st around. [12]
- Rnd 3: (1 sc, 1 inc) × 6. [18]
- Rnd 4: (2 sc, 1 inc) × 6. [24]
- Rnd 5: (3 sc, 1 inc) × 6. [30]
- Rnd 6: In BLO only, (4 sc, 1 inc) × 6. [36]
- Rnd 7: (5 sc, 1 inc) × 6. [42]
- Rnd 8: (6 sc, 1 inc) × 6. [48]
- Rnds 9–13: Work 1 sc in each st around. [48] (5 rounds total)
- Rnd 14: (6 sc, 1 dec) × 6. [42]
- Rnd 15: Work 1 sc in each st around. [42]
- Rnd 16: (5 sc, 1 dec) × 6. [36]
- Rnd 17: (4 sc, 1 dec) × 6. [30]
- Rnds 18–22: Work 24 sc across these rounds to form the neck shape gradually. [24] (5 rounds total)
- Rnd 23: (3 sc, 1 dec) × 6. [18]
- Rnd 24: (2 sc, 1 dec) × 6. [12]
Fasten off with a sl st, leaving 6 extra sc and a long tail for attaching to the head.
2. Head
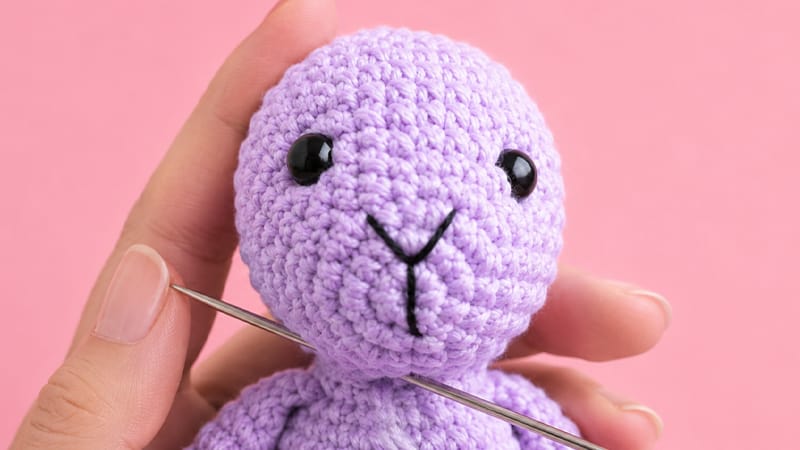
Stuff firmly before closing.
- Rnd 1: Work 6 sc into a MR. [6]
- Rnd 2: Work 1 inc in each st around. [12]
- Rnd 3: (1 sc, 1 inc) × 6. [18]
- Rnd 4: Work 1 sc in each st around. [18]
- Rnd 5: (2 sc, 1 inc) × 6. [24]
- Rnd 6: Work 1 sc in each st around. [24]
- Rnd 7: (3 sc, 1 inc) × 6. [30]
- Rnd 8: 9 sc, (1 sc, 1 inc) × 6, 9 sc. [36] (Cheek shaping)
- Place safety eyes between Rnds 7 and 8, spaced roughly 6–7 stitches apart above the cheek increases.
- Rnds 9–14: Work 1 sc in each st around. [36] (6 rounds total)
- Rnd 15: (4 sc, 1 dec) × 6. [30]
- Rnd 16: (3 sc, 1 dec) × 6. [24]
- Rnd 17: (2 sc, 1 dec) × 6. [18]
- Rnd 18: (1 sc, 1 dec) × 6. [12]
- Rnd 19: Work 5 dec. [7]
Fasten off, weave the tail through remaining front loops, pull tight to close, and hide the thread end inside the head.
3. Arms (Make 2)
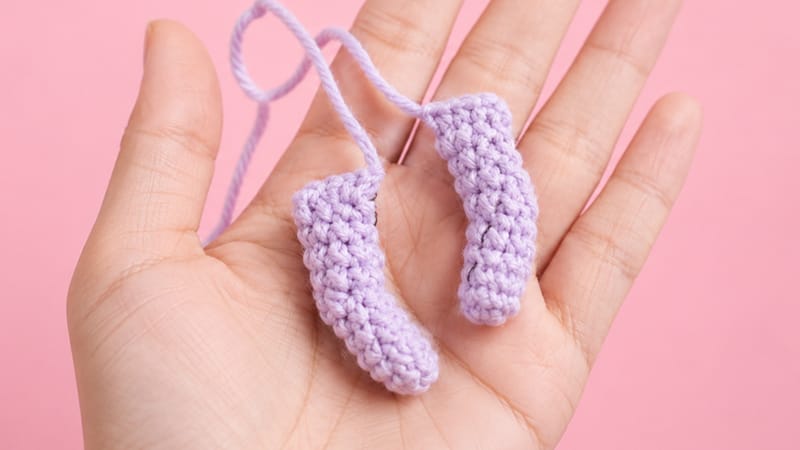
Do not stuff or stuff very lightly at the tip.
- Start with White yarn:
- Rnd 1: Work 6 sc into a MR. [6]
- Rnd 2: (1 sc, 1 inc) × 2, 2 sc. [8]
- Rnd 3: Work 1 sc in each st around. [8]
- Switch to Base color:
- Rnds 4–6: Work 1 sc in each st around. [8]
- Rnd 7: 4 sl st, 4 hdc. [8] (Creates elbow curve)
- Rnds 8–11: Work 1 sc in each st around. [8]
Flatten top edge and sc 4 across both layers to seal. Fasten off, leaving a long end for sewing.
4. Legs (Make 2)
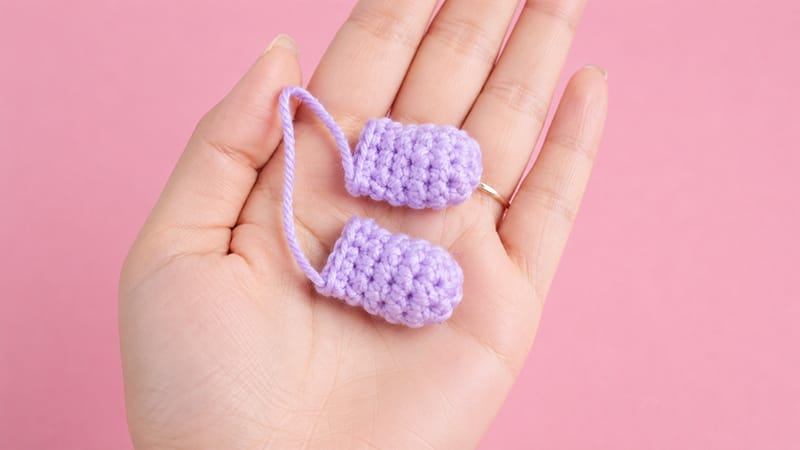
Stuff lower foot portion only.
- Start with White yarn:
- Rnd 1: Work 6 sc into a MR. [6]
- Rnd 2: Work 1 inc in each st around. [12]
- Rnds 3–4: Work 1 sc in each st around. [12]
- Rnd 5: 3 dec, 6 sc. [9]
- Switch to Base color:
- Rnd 6: Work 1 sc in each st around. [9]
Pinch the top opening flat and sc 4 across both sides to close. Fasten off with a tail for attaching.
5. Ears (Make 2)
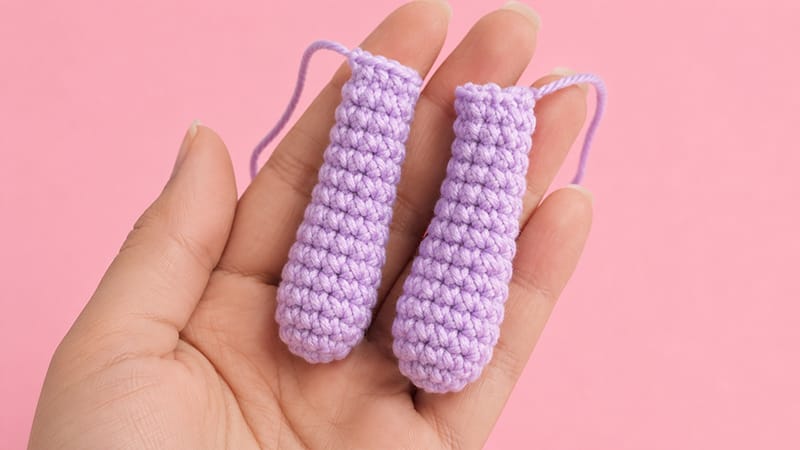
Do not stuff.
- Rnd 1: Work 6 sc into a MR. [6]
- Rnd 2: Work 1 inc in each st around. [12]
- Rnds 3–8: Work 1 sc in each st around. [12]
- Rnd 9: 1 dec, 4 sc, 1 dec, 4 sc. [10]
- Rnds 10–12: Work 1 sc in each st around. [10]
- Rnd 13: 1 dec, 3 sc, 1 dec, 3 sc. [8]
- Rnds 14–15: Work 1 sc in each st around. [8]
Work 1 additional sc to align, fold top edge flat, and sc 4 across both loops. Leave yarn tail for assembly.
6. Fluffy Tail
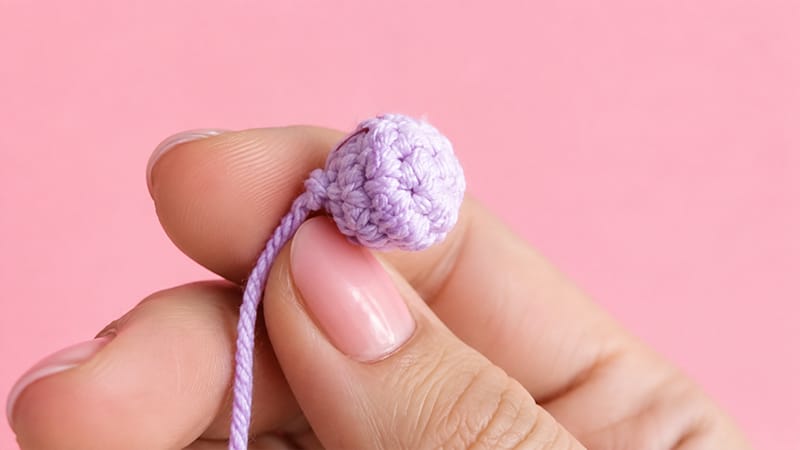
Stuff lightly before attaching.
- Use White yarn:
- Rnd 1: Work 6 sc into a MR. [6]
- Rnd 2: Work 1 inc in each st around. [12]
- Rnd 3: Work 1 sc in each st around. [12]
- Rnd 4: (1 sc, 1 dec) × 6. [6]
Sl st to end, leaving a tail for attachment.
7. Decorative Collar
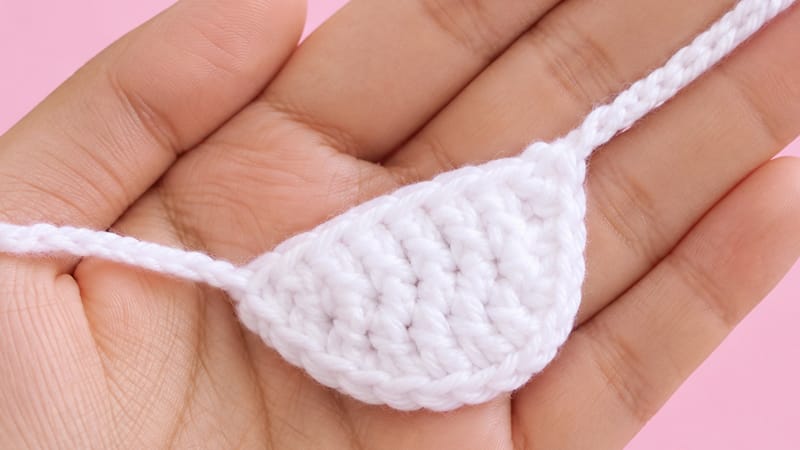
- Ch 9. Starting in second ch from hook: 8 sc. [8]
- Ch 1, turn. 1 dec, 4 sc, 1 dec. [6]
- Ch 1, turn. 2 sc, 1 dec, 2 sc. [5]
- Ch 1, turn. Work 2 dec. [3]
- Assembly Tie: Ch 30, attach along edge working: 4 sc, 1 inc, 2 sc, 1 inc, 1 sc, then Ch 30 for opposite strap tie. Fasten off.
Assembly & Facial Sculpting
- Facial Sculpting: Thread strong yarn matching your base color into a tapestry needle. Enter from the lower center base of the head, output near the outer corner of the left eye. Re-enter near the inner corner, pass across inside the head to the right eye, pull tight slightly to create realistic eye sockets, and knot securely at the neck base.
- Embroidering Details: Embroider a vertical nose stitch with dark thread between the eyes and add subtle white accent stitches under each eye for extra expression.
- Attaching Parts:
- Sew head securely to body opening.
- Position ears on sides of head around Rnds 15–17.
- Attach arms to upper sides below neck joint.
- Sew legs onto lower body base so bunny sits upright.
- Attach tail centrally at lower back.
- Tie decorative collar around neck!
