
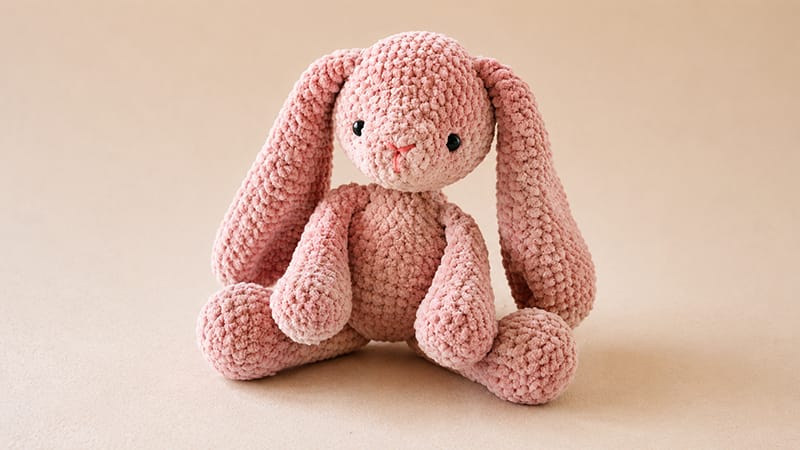
Meet Ben the Bunny, a charming amigurumi companion designed to bring warmth and playfulness to your handmade collection.
Featuring grand, floppy ears, sweet embroidered features, and a plush silhouette, Ben is a rewarding project for crocheters looking to craft a lovable keepsake.
Crafted with soft, chenille-style velvet yarn, this pattern produces a delightfully squishy finish that makes him irresistibly huggable.
Whether you are creating a thoughtful baby shower gift, a cozy nursery decoration, or simply expanding your own amigurumi family, this detailed step-by-step guide will walk you through every round to help you bring this adorable long-eared bunny to life with ease.
Pattern Details & Materials
Recommended Materials
- Yarn: Bulky chenille velvet yarn (Brown)
- Crochet Hook: 3.5 mm
- Safety Eyes: 8 mm (or black embroidery thread)
- Embroidery Floss: Light brown (for the nose)
- Notions: Polyfill fiberfill, darning needle, stitch markers, scissors
Abbreviations
- mc: Magic circle
- st: Stitch
- sc: Single crochet
- inc: Increase (2 sc in same stitch)
- dec: Decrease (sc 2 stitches together)
- Rnd: Round
Assembly Instructions
Ears (Make 2)
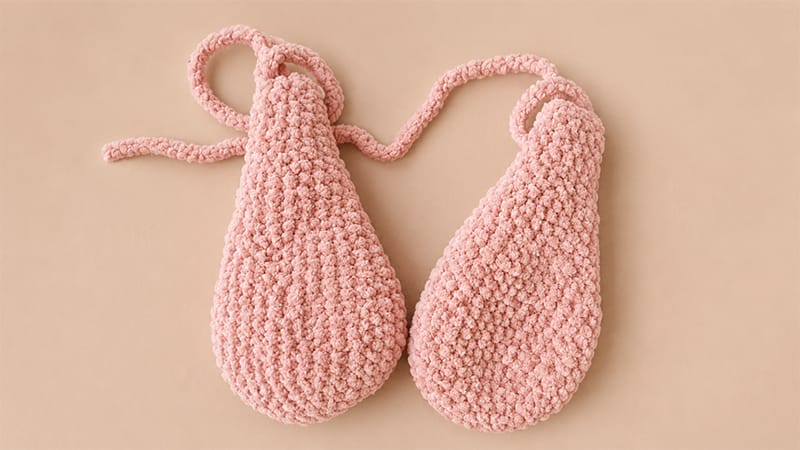
Do not stuff.
- Rnd 1: 6 sc in mc [6]
- Rnd 2: 6 inc [12]
- Rnd 3: (1 sc, inc) × 6 [18]
- Rnd 4: (2 sc, inc) × 6 [24]
- Rnd 5: (3 sc, inc) × 6 [30]
- Rnds 6–12: 1 sc in each st around [30]
- Rnd 13: (3 sc, dec) × 6 [24]
- Rnds 14–17: 1 sc in each st around [24]
- Rnd 18: (2 sc, dec) × 6 [18]
- Rnds 19–22: 1 sc in each st around [18]
- Rnd 23: (1 sc, dec) × 6 [12]
- Rnds 24–27: 1 sc in each st around [12]
- Rnd 28: (1 sc, dec) × 4 [8]
- Rnd 29: 1 sc in each st around [8]
To finish: Flatten the opening edge and work 3 sc across both layers to seal. Fasten off, leaving a long yarn tail for sewing.
Arms (Make 2)
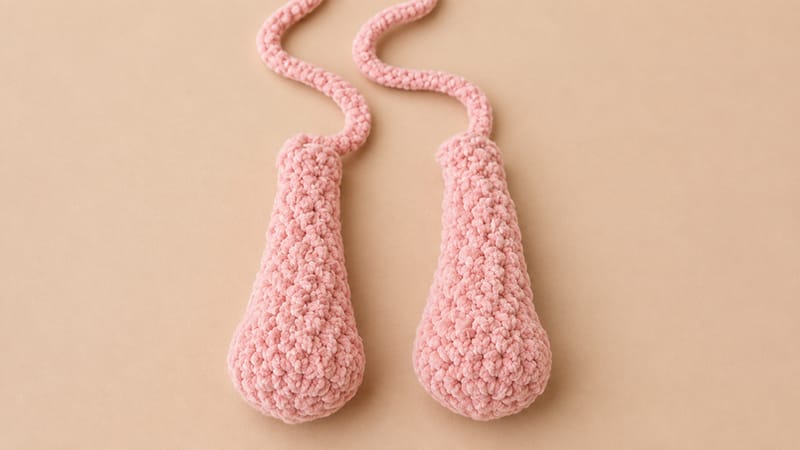
Stuff lightly with fiberfill as you work.
- Rnd 1: 6 sc in mc [6]
- Rnd 2: 6 inc [12]
- Rnd 3: (1 sc, inc) × 6 [18]
- Rnds 4–6: 1 sc in each st around [18]
- Rnd 7: (1 sc, dec) × 6 [12]
- Rnds 8–10: 1 sc in each st around [12]
- Rnd 11: (2 sc, dec) × 3 [9]
- Rnds 12–14: 1 sc in each st around [9]
- Rnd 15: (1 sc, dec) × 3 [6]
- Rnd 16: 1 sc in each st around [6]
To finish: Press the top edges together and work 3 sc through both sides to close. Fasten off with a long tail.
Legs (Make 2)
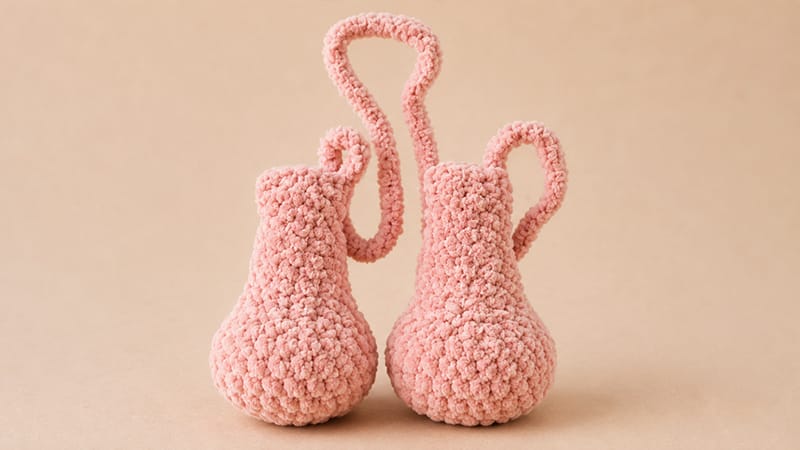
Stuff firmly as you work.
- Rnd 1: 6 sc in mc [6]
- Rnd 2: 6 inc [12]
- Rnd 3: (1 sc, inc) × 6 [18]
- Rnd 4: (2 sc, inc) × 6 [24]
- Rnds 5–6: 1 sc in each st around [24]
- Rnd 7: (2 sc, dec) × 6 [18]
- Rnd 8: (1 sc, dec) × 6 [12]
- Rnds 9–13: 1 sc in each st around [12]
- Rnd 14: (2 sc, dec) × 3 [9]
- Rnds 15–18: 1 sc in each st around [9]
To finish: Flatten the top opening and crochet 4 sc across both edges to seal. Fasten off with a long tail.
Tail
Do not stuff.
- Rnd 1: 6 sc in mc [6]
- Rnd 2: (1 sc, inc) × 3 [9]
- Rnds 3–4: 1 sc in each st around [9]
Fasten off, leaving a tail for attachment.
Body
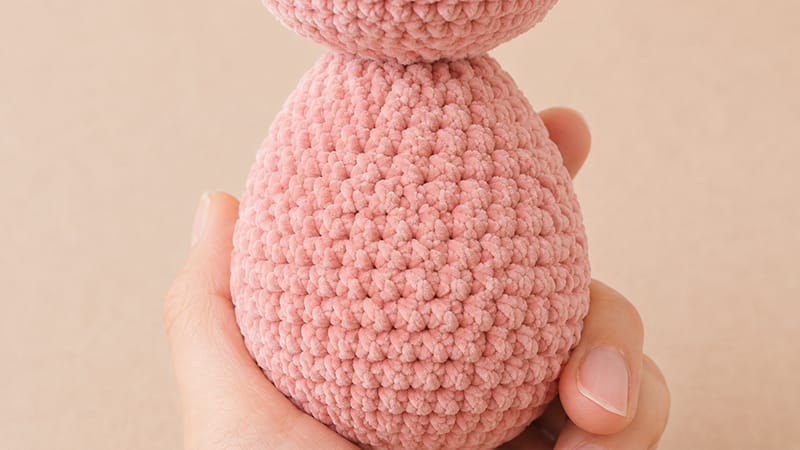
Stuff continuously with fiberfill as you progress.
- Rnd 1: 6 sc in mc [6]
- Rnd 2: 6 inc [12]
- Rnd 3: (1 sc, inc) × 6 [18]
- Rnd 4: (2 sc, inc) × 6 [24]
- Rnd 5: (3 sc, inc) × 6 [30]
- Rnd 6: (4 sc, inc) × 6 [36]
- Rnd 7: (5 sc, inc) × 6 [42]
- Rnds 8–11: 1 sc in each st around [42]
- Rnd 12: (5 sc, dec) × 6 [36]
- Rnds 13–14: 1 sc in each st around [36]
- Rnd 15: (4 sc, dec) × 6 [30]
- Rnd 16: (3 sc, dec) × 6 [24]
- Rnds 17–18: 1 sc in each st around [24]
- Rnd 19: (2 sc, dec) × 6 [18]
- Rnd 20: 1 sc in each st around [18]
- Rnd 21: (1 sc, dec) × 6 [12]
Fasten off, leaving a generous tail to secure the head.
Head
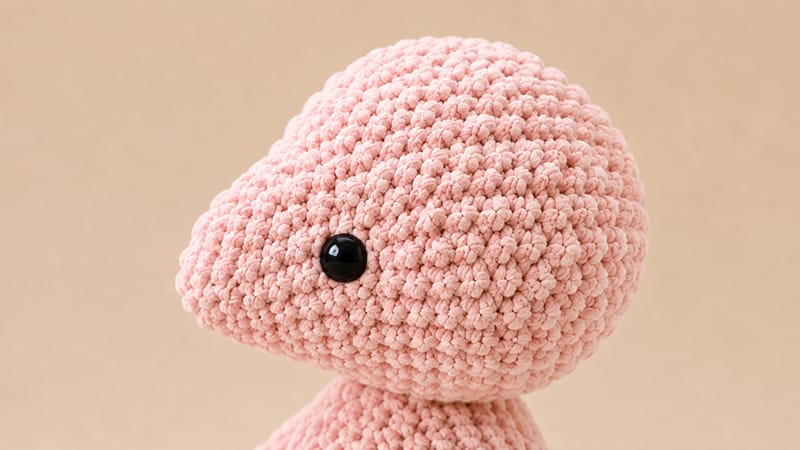
- Rnd 1: 6 sc in mc [6]
- Rnd 2: 6 inc [12]
- Rnd 3: (1 sc, inc) × 6 [18]
- Rnd 4: 1 sc in each st around [18]
- Rnd 5: (2 sc, inc) × 6 [24]
- Rnd 6: (5 sc, inc) × 4 [28]
- Rnd 7: (6 sc, inc) × 4 [32]
- Rnd 8: 1 sc, (4 sc, inc) × 6, 1 sc [38]
- Rnd 9: 1 sc, (5 sc, inc) × 6, 1 sc [44]
- Rnd 10: 1 sc, (6 sc, inc) × 6, 1 sc [50]
- Rnds 11–14: 1 sc in each st around [50]
Face Details: Place safety eyes between Rnds 7 and 8, spaced 10 stitches apart (or embroider them using black thread). Using light brown thread, stitch a small “Y” shaped nose centered between the eyes.
- Rnd 15: 1 sc, (6 sc, dec) × 6, 1 sc [44]
- Rnd 16: 1 sc, (5 sc, dec) × 6, 1 sc [38]
- Rnd 17: 1 sc, (4 sc, dec) × 6, 1 sc [32]
- Rnd 18: (6 sc, dec) × 4 [28]
- Rnd 19: (5 sc, dec) × 4 [24]
- Rnd 20: (2 sc, dec) × 6 [18]
- Rnd 21: (1 sc, dec) × 6 [12]
- Rnd 22: 6 dec [6]
Stuff the head firmly with fiberfill. Weave the tail through the front loops of the final round, pull tight to close, and fasten off.
Final Assembly
- Legs: Attach to the lower body, positioned between Rounds 3 and 6.
- Arms: Secure to the upper body along Round 19.
- Tail: Sew onto the lower back between Rounds 5 and 8.
- Ears: Attach symmetrically near the top of the head between Rounds 13 and 15.
- Head to Body: Align the bottom opening of the head to the top opening of the body, then stitch together securely using the remaining yarn tail.
