
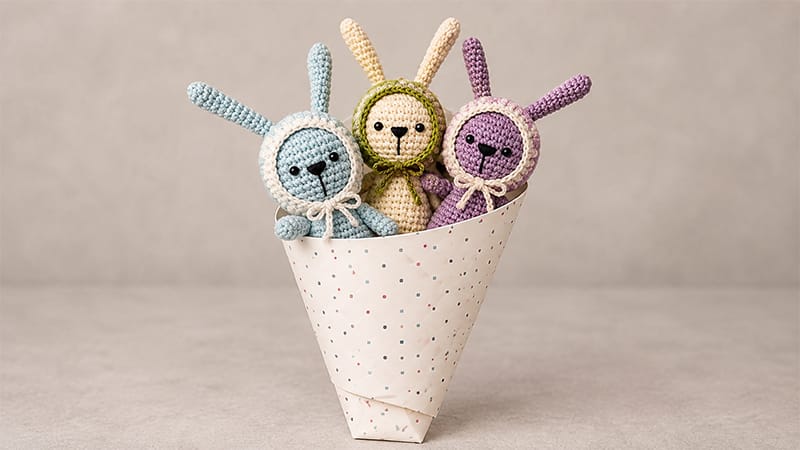
Crafting a miniature bunny project is an enjoyable way to utilize leftover yarn while making a thoughtful, handmade gift.
Standing approximately 15 cm tall when finished, this project pairs a seamless, integrated body structure with customizable styling options.
Working the main form in a single continuous piece simplifies assembly, while adding a removable textured accessory offers a playful, cozy element.
The straightforward stitch sequence makes it easy to adapt in various color palettes, making each creation unique.
Recommended Supplies
- Yarn: 5-ply sport weight (semi-cotton blend recommended)
- Hook: 2.0 mm
- Notions: Fiberfill stuffing, two 5 mm black beads, tapestry needle, black thread, pink thread
Abbreviations
- MR: Magic Ring
- st / ch: stitch/chain
- sc: single crochet
- inc/dec: 2 sc in same st / sc 2 together
- sl st: slip stitch
- Puff St: (Yarn over, insert hook, pull loop) 3 times into same st (7 loops on hook), yarn over and pull through all loops.
Head & Main Body
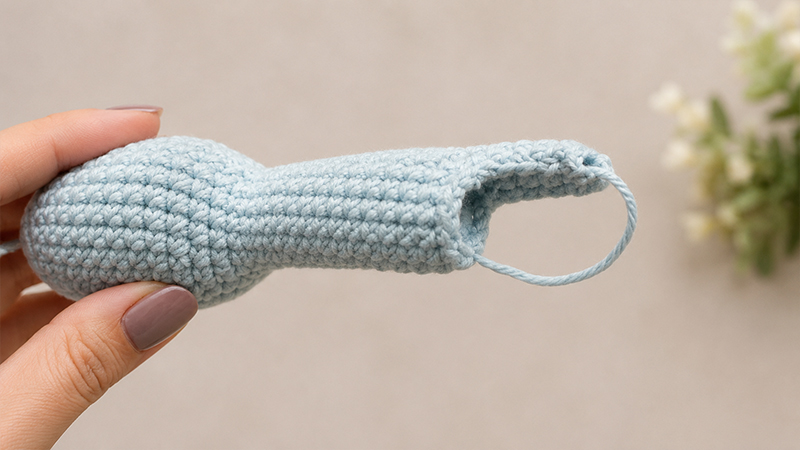
Work in continuous spirals, adding fiberfill as you progress.
- R1: 6 sc in MR (6)
- R2: 6 inc (12)
- R3: (1 sc, inc) × 6 (18)
- R4: (2 sc, inc) × 6 (24)
- R5: (3 sc, inc) × 6 (30)
- R6–11: 1 sc in each st around (30)
- R12: (3 sc, dec) × 6 (24)
- R13: (2 sc, dec) × 6 (18)
- R14: 1 sc in each st around (18)
- R15: (1 sc, dec) × 6 (12)
- R16–18: 1 sc in each st around (12)
- R19: (3 sc, inc) × 3 (15)
- R20–24: 1 sc in each st around (15)
- R25: (4 sc, inc) × 3 (18)
- R26–29: 1 sc in each st around (18)
Flatten the bottom base. Divide the opening to isolate 7 stitches for the first leg.
- Leg 1: Work 4 continuous rounds of 7 sc. Fasten off.
- Leg 2: Attach yarn to the opposite side, sew the central gap closed using a tapestry needle, and work 4 continuous rounds of 7 sc over the remaining 7 stitches. Stuff firmly, cinch openings closed, and weave in ends.
Limb Details
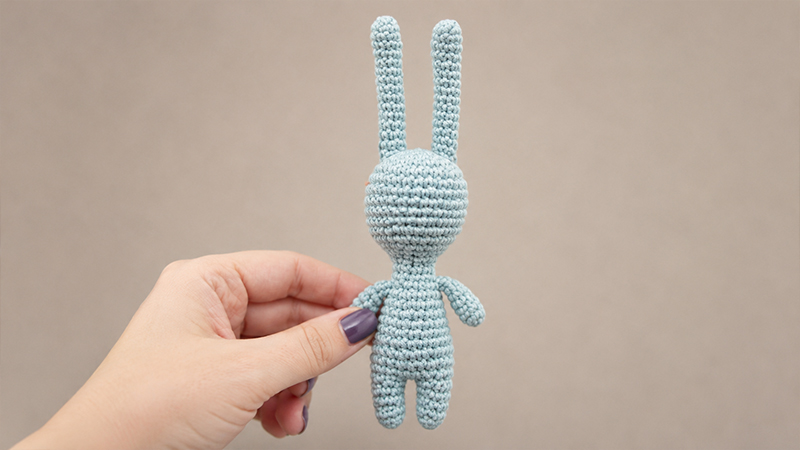
Arms (Make 2)
- R1: 6 sc in MR (6)
- R2–7: 1 sc in each st around (6)
- Finish: Lightly stuff, flatten the top, and leave a yarn tail for attachment.
Ears (Make 2)
- R1: 7 sc in MR (7)
- R2–13: 1 sc in each st around (7)
- Finish: Do not stuff. Fasten off, leaving a tail for attachment.
Tail
- R1: 6 sc in MR (6)
- R2: 1 sc in each st around (6)
- Finish: Fasten off, leaving a tail to sew and stuff lightly upon attachment.
Textured Bonnet Accessory
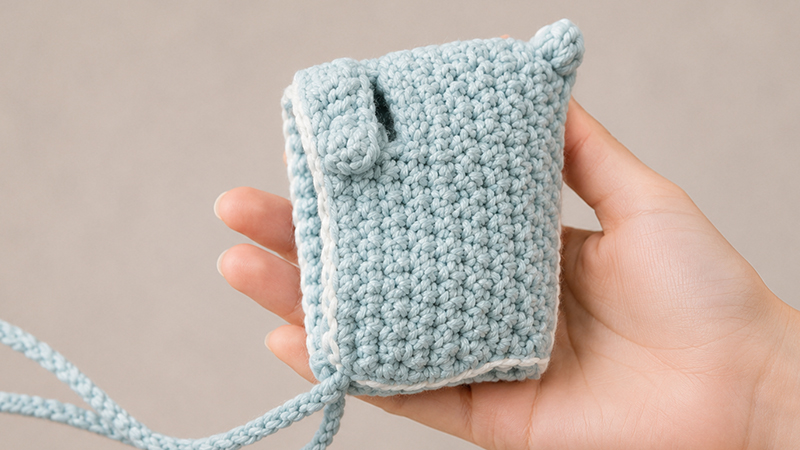
Worked in turned rows back and forth. Start with Ch 33 (32 + 1 turning ch).
- Row 1: 10 sc, Puff St, (2 sc, Puff St) × 4, 9 sc, ch 1, turn (32)
- Row 2: 32 sc, ch 1, turn (32)
- Row 3 (Ear Holes): 10 sc, ch 4 (skip 4 st), 4 sc, ch 4 (skip 4 st), 10 sc, ch 1, turn (32)
- Row 4: 32 sc, ch 1, turn (32)
- Row 5: 1 sc, dec, 26 sc, dec, 1 sc, ch 1, turn (30)
- Row 6: 30 sc, ch 1, turn (30)
- Row 7: 1 sc, dec, 24 sc, dec, 1 sc, ch 1, turn (28)
- Row 8: 28 sc, ch 1, turn (28)
- Row 9: 1 sc, dec, 22 sc, dec, 1 sc, ch 1, turn (26)
- Row 10–11: 26 sc, ch 1, turn (26)
Fold the piece lengthwise and join the back seam using single crochet, topping the peak with a decorative Puff Stitch.
Finishing Touches & Ties
- Chin Ties: Chain 25, single crochet evenly along the neck edge of the bonnet, then chain 25 more. Fasten off.
- Face Edging: Join yarn to the front opening edge and work: (4 sc, dec) × 5, 2 sc. Fasten off.
- Assembly: Secure arms, ears, and tail to the main body. Attach black beads for eyes, and embroider facial features with black and pink thread.
