
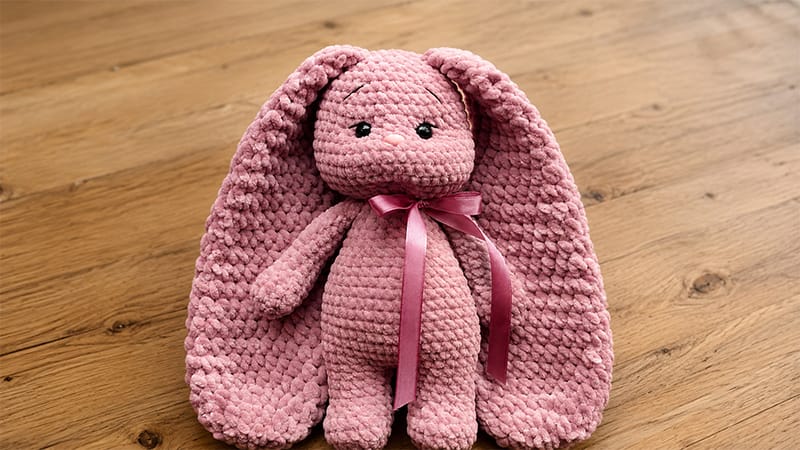
Crafting plushies using soft velvet yarn offers a wonderfully tactile amigurumi project. This particular bunny design combines structural shaping with velvet yarn, utilizing a combination of standard single crochet and half-double crochet stitches to build full, floppy ears, a tapered snout, and seamlessly attached limbs.
The pattern utilizes strategic decreases along the lower jaw to create a distinct facial structure before tapering into the head. Ideal for intermediate crafters, this project requires steady tension and careful stitch counting, resulting in a charming, display-ready plushie featuring securely embedded safety features and embroidered facial detailing.
Materials & Tools
- Yarn: Plush velvet/chenille yarn (100g/120m) – approx. 1.5 skeins
- Hooks: 3.5 mm for body/limbs; 4.5 mm for ears
- Notions: 12 mm safety eyes, 10 mm safety nose, black cotton embroidery thread, fiberfill stuffing, stitch marker, tapestry needle, scissors
Pattern Abbreviations (US)
- MR: Magic Ring
- SC / HDC: Single Crochet / Half Double Crochet
- INC / DEC: Increase (2 sts in 1) / Decrease (2 sts together)
- ST / CH: Stitch / Chain
Step-by-Step Instructions
Paws (Make 2)
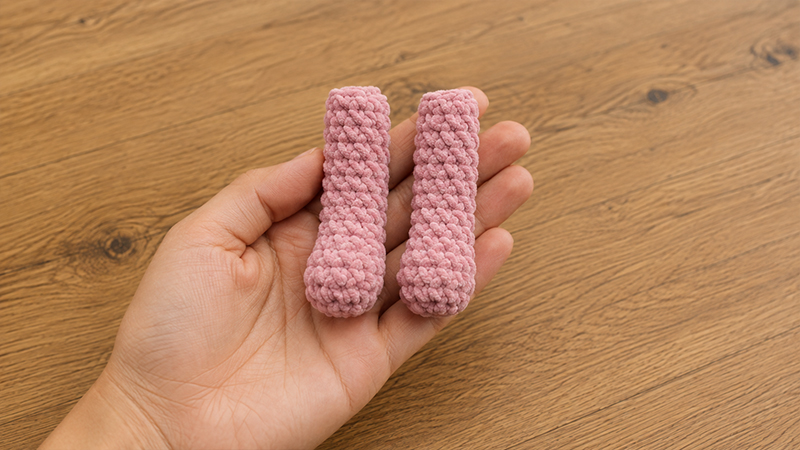
Stuff lower portion only.
- R1: 6 SC in MR (6)
- R2: 6 INC (12)
- R3–4: 12 SC
- R5: 2 DEC, 8 SC (10)
- R6: 1 DEC, 8 SC (9)
- R7–15: 9 SC across 9 rounds
Finishing: Work 2 extra shift stitches to align, flatten top opening, and join across with 4 SC. Fasten off.
Tail
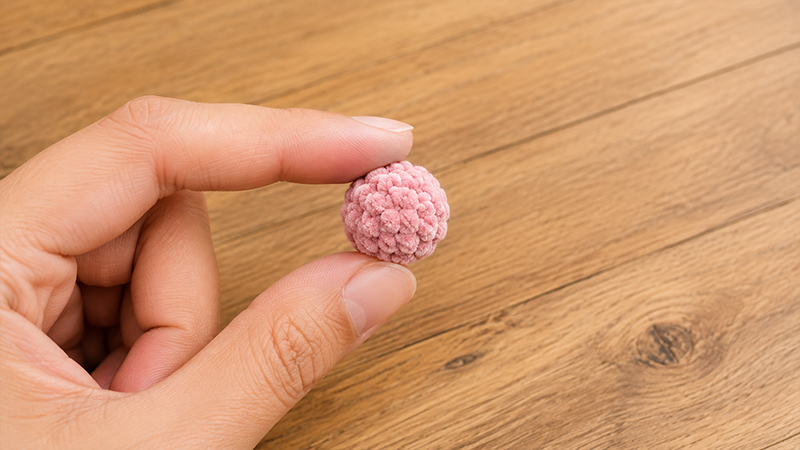
- R1: 6 SC in MR (6)
- R2: 6 INC (12)
- R3: 12 SC
- R4: 6 DEC (6)
Finishing: Lightly stuff with fiberfill and fasten off.
Ears (Make 2)
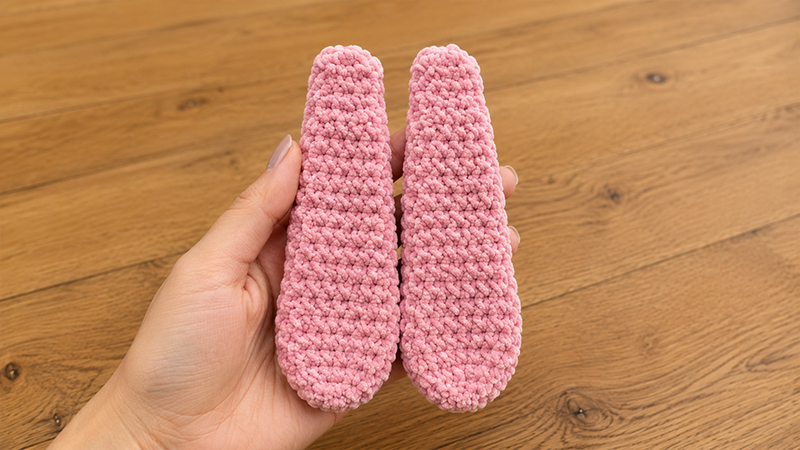
Use a 4.5 mm hook. Do not stuff.
- R1: 6 HDC in MR (6)
- R2: 6 HDC-INC (12)
- R3: (1 HDC, 1 HDC-INC) × 6 (18)
- R4: (2 HDC-INC, 7 HDC) × 2 (22)
- R5–9: 22 HDC across 5 rounds
- R10: (1 HDC-DEC, 9 HDC) × 2 (20)
- R11–12: 20 HDC
- R13: (1 HDC-DEC, 8 HDC) × 2 (18)
- R14–15: 18 HDC
- R16: (1 HDC-DEC, 7 HDC) × 2 (16)
- R17–18: 16 HDC
- R19: (1 HDC-DEC, 6 HDC) × 2 (14)
- R20–21: 14 HDC
- R22: (1 HDC-DEC, 5 HDC) × 2 (12)
- R23–24: 12 HDC
- R25: (1 HDC-DEC, 4 HDC) × 2 (10)
Finishing: Press open edges flat and work 5 SC across both layers. Fasten off.
Legs (Make 2)
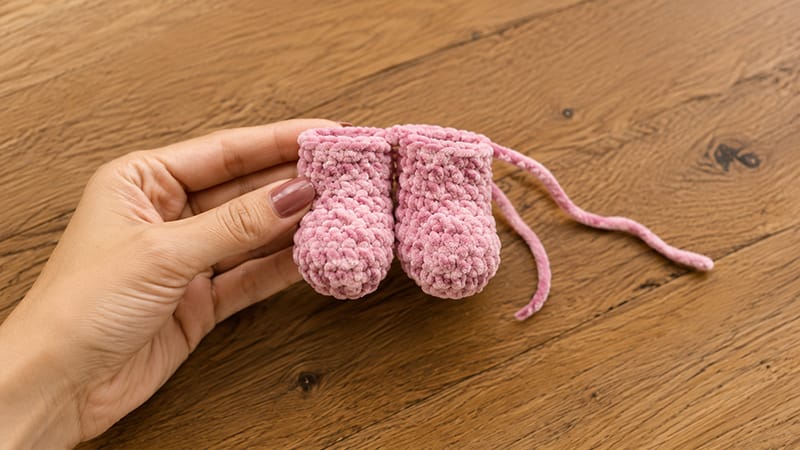
Stuff progressively.
- R1: 6 SC in MR (6)
- R2: 6 INC (12)
- R3: (1 SC, 1 INC) × 6 (18)
- R4–5: 18 SC
- R6: 2 SC, 4 DEC, 8 SC (14)
- R7–9: 14 SC across 3 rounds
Right Leg: Fasten off yarn.
Left Leg: Continue to R10: 10 SC. Do not cut yarn; proceed to body connection.
Body & Head Assembly
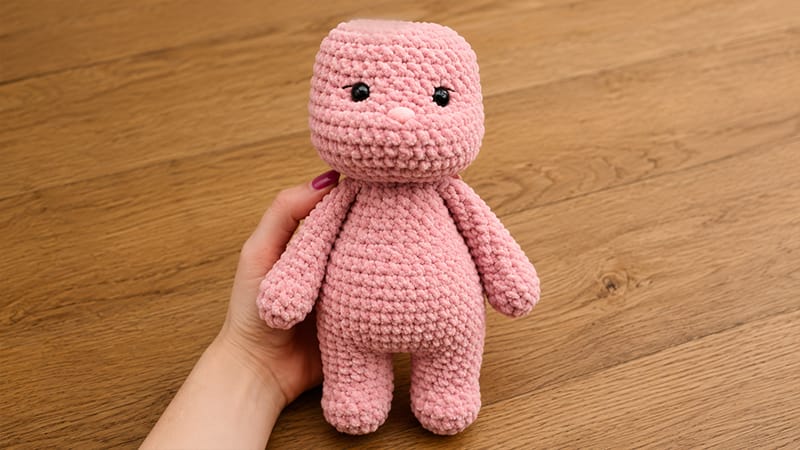
- R10 (Joining): CH 3 from Left Leg, attach to Right Leg at last slip stitch point. Work 14 SC around right leg, 3 SC along chain, 4 SC (34)
- R11: 1 SC, 1 INC, 18 SC, 1 INC, 13 SC (36)
- R12: (3 SC, 1 INC, 5 SC, 1 INC) × 2, 7 SC, 1 INC, 3 SC, 1 INC, 4 SC (42)
- R13–14: 42 SC
- R15 (Attach Tail): 35 SC, 3 SC through tail and body simultaneously, 4 SC (42)
- R16–18: 42 SC across 3 rounds
- R19: 5 SC, 1 DEC, 14 SC, 1 DEC, 11 SC, 1 DEC, 6 SC (39)
- R20: (11 SC, 1 DEC) × 3 (36)
- R21: 6 SC, 1 DEC, (10 SC, 1 DEC) × 2, 4 SC (33)
- R22: (9 SC, 1 DEC) × 3 (30)
- R23: 4 SC, 1 DEC, (8 SC, 1 DEC) × 2, 4 SC (27)
- R24: 27 SC
- R25: (7 SC, 1 DEC) × 3 (24)
- R26: 3 SC, 1 DEC, (6 SC, 1 DEC) × 2, 3 SC (21)
- R27: (5 SC, 1 DEC) × 3 (18)
- R28 (Attach Paws): 1 SC, 4 SC through first paw and body, 6 SC, 4 SC through second paw and body, 3 SC (18)
- R29: (4 SC, 1 DEC) × 3 (15)
- R30 (Head Base): 15 INC (30)
- R31: (4 SC, 1 INC) × 6 (36)
- R32: (5 SC, 1 INC) × 6 (42)
- R33: (6 SC, 1 INC) × 6 (48)
- R34–37: 48 SC across 4 rounds
- R38 (Muzzle Shaping): 12 SC, (1 SC, 1 DEC) × 6, 18 SC (42)
- R39–43: 42 SC across 5 rounds
Placement: Secure safety nose between R37–38. Insert 12 mm safety eyes between R39–40, spaced 6 stitches apart.
- R44: (5 SC, 1 DEC) × 6 (36)
- R45: 2 SC, 1 DEC, (4 SC, 1 DEC) × 5, 2 SC (30)
- R46: (3 SC, 1 DEC) × 6 (24)
- R47 (Attach Ears): Integrate ear bases evenly across side stitches while continuing decrease pattern (18)
- R48: (1 SC, 1 DEC) × 6 (12)
- R49: 6 DEC (6)
Finishing: Weave yarn tail through remaining stitches, pull tight to close, and hide thread inside.
Facial Sculpting & Details
- Eye & Mouth Sculpting: Thread a tapestry needle with matching yarn. Insert base of chin, pull through outer corner of eye, insert into inner corner, and exit chin base. Pull tight to indent. Repeat for both eyes and anchor at mouth line (R32–33).
- Embroidery: Using black cotton thread, stitch upper eyelids, subtle eyebrows above eyes, a vertical line running down from nose to mouth line, and small whisker accents.
