
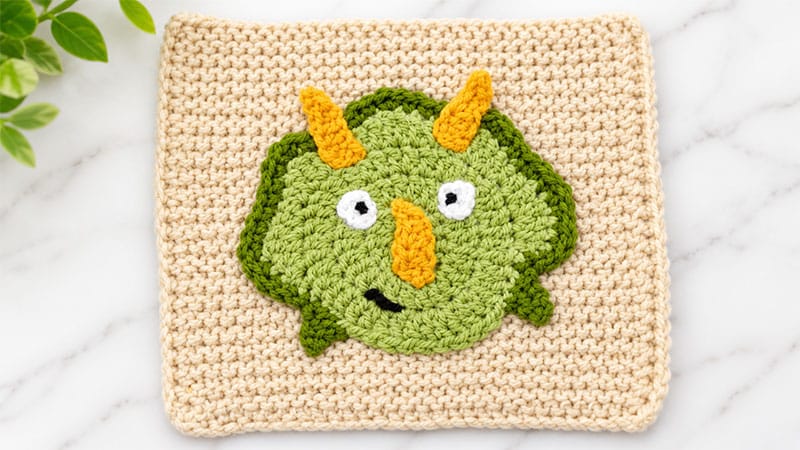
This delightful pattern bridges the gap between a three-horned and a five-horned dinosaur, creating a whimsical, customizable creature.
Perfect for charity blankets or children’s gifts, the design features a distinct textured head plate (the frill) and customizable horns.
By switching up your yarn colors, you can easily transform this little dinosaur from a calm, friendly herbivore to a spunky, mischievous character!
Project Overview
- Skill Level: Advanced Beginner
- Sizing: Designed to fit perfectly as an applique on a 6-inch (15 cm) square
- Terminology: Written in UK Crochet Terms
Materials & Tools
- Yarn: Double Knitting (DK) weight yarn. You will need a Main Color for the face, a Contrast Color for the frill border, White for the eyes, Red (or your choice) for the horns, and a scrap of Black for facial details.
- Hook: 3.5 mm (US E/4) crochet hook
- Notions: Tapestry needle for assembly, and sharp scissors
Crochet Abbreviations (UK Terms)
- st(s): stitch(es)
- ch: chain
- ss: slip stitch
- dc: double crochet (US single crochet)
- htr: half treble crochet (US half double crochet)
- tr: treble crochet (US double crochet)
- dtr: double treble crochet (US treble crochet)
Step-by-Step Pattern Instructions
1. The Big Dino Eyes (Make 2)
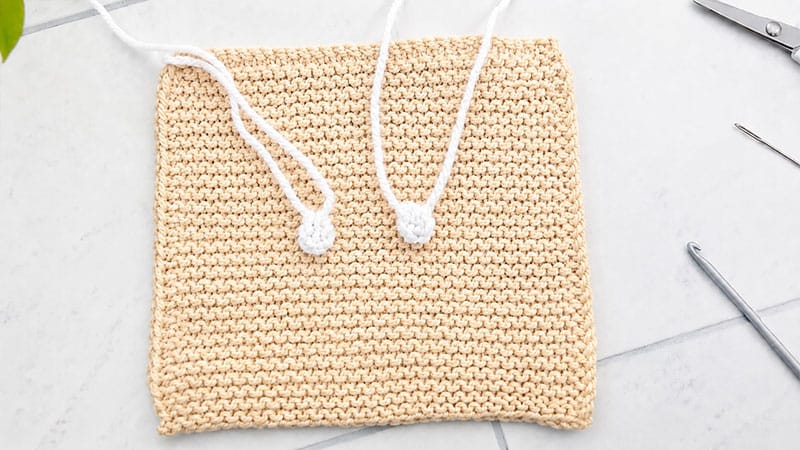
Using your white yarn:
- Start by making a chain of 6.
- Join the last chain to the first chain with a slip stitch to create a small ring.
- Fasten off, leaving a tail for sewing.
2. Main Horns (Make 3)
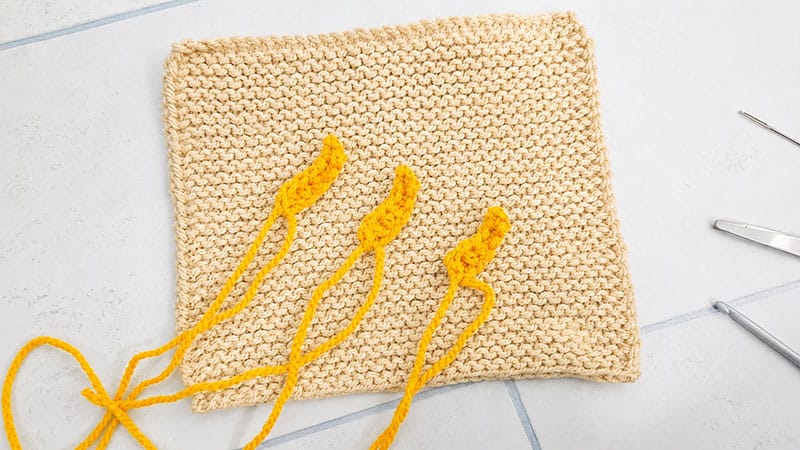
Using your horn color yarn (e.g., Red):
- Chain 6.
- Working back down the chain, place 1 dc into the 2nd chain from your hook.
- 1 dc in the next chain space.
- 1 htr in each of the next 2 chain spaces.
- In the very last chain space, work 1 tr, then immediately work 1 ss into that same final space to taper the horn base. Fasten off.
3. Optional Cheek Horns (Make 2)
Using your horn color yarn:
- Chain 3.
- Place 1 dc into the 2nd chain from your hook.
- Place 1 tr into the last chain space. Fasten off.
4. The Dino Head & Frill
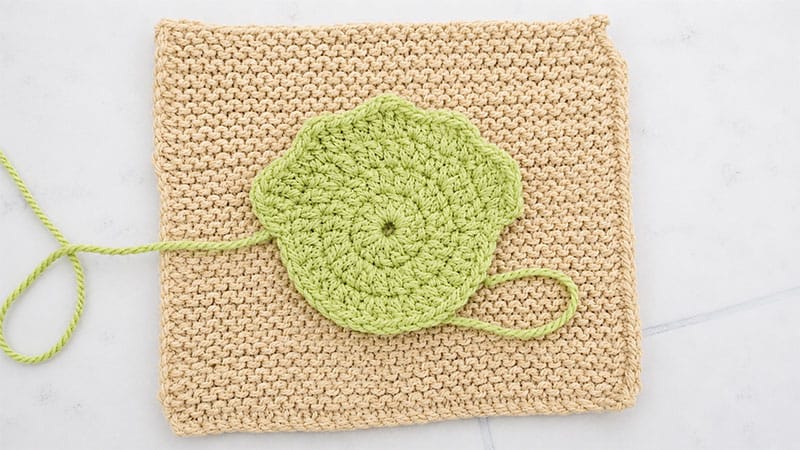
Using your Main Color yarn:
- Create a flat circle by working 3 full rounds of treble crochet (tr), increasing evenly so the circle stays flat. Do not fasten off.
- The Frill (Partial Round): Ch 2, htr in the next st.
- Repeat the following bracketed sequence 4 times: [work 1 tr and 1 dtr together in the next st, 1 tr in the following st, 2 htr in the next st].
- To finish the frill shape: work 1 tr and 1 dtr in the next st, 1 tr in the following st, 1 htr in the next st, ch 1, and finish with a ss into that very same htr space. Fasten off.
5. Edging the Head Plate
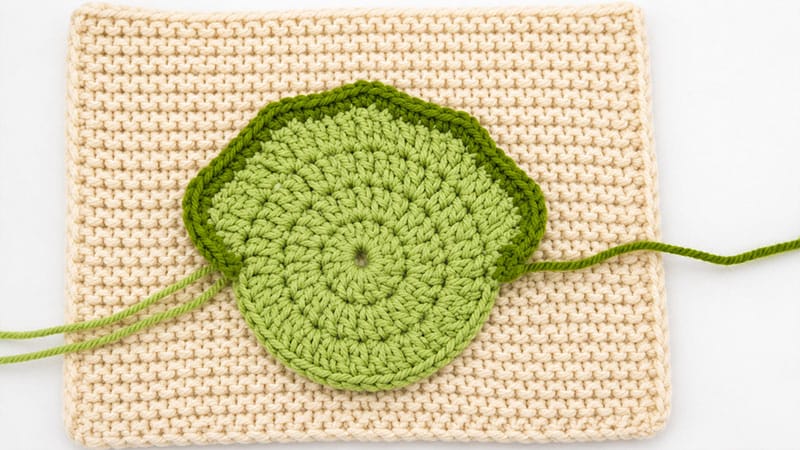
Using your Contrast Color yarn:
- Attach the new yarn to the main head circle, exactly one stitch before the frill section begins.
- Work 1 dc into every stitch along the ruffled edge of the frill.
- Note: When you reach the peak space between a tr and a dtr, work 2 dc into that single stitch to keep the edge crisp.
- Finish by making 1 ss into the main head circle, then fasten off.
Assembly & Finishing Touches
- Secure the Base: Pull the center ring of your main head circle tight and secure the yarn. Stitch the completed dinosaur head firmly onto the center of your pre-made 6-inch granny square.
- Attach the Horns: Position the three main horns along the top edge of the head armor and nose. If you chose to make the cheek horns, sew them lower down on the sides of the face.
- Bring the Face to Life: Sew the two white eye circles onto the face. Using a scrap of black yarn and your darning needle, embroider a small pupil inside each white circle, then stitch on a friendly (or mischievous!) little mouth.
- Weave in Ends: Secure all remaining yarn tails on the back of your square.
