
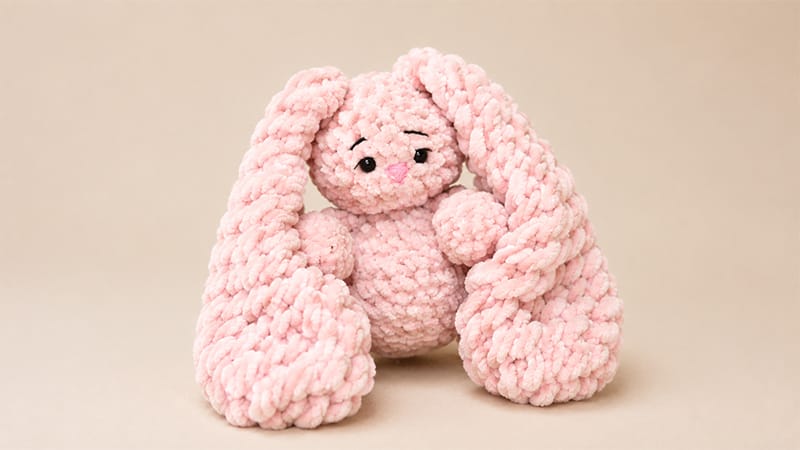
Welcome to the wonderful world of handmade plushies! If you are looking for a quick, charming project, this velvet-soft bunny is the perfect place to start.
Designed with extra floppy ears and a soft body, this adorable rabbit makes a delightful gift, a sweet nursery decoration, or a comforting companion for little ones.
Using simple stitches and basic assembly techniques, even confident beginners can bring this fuzzy buddy to life in just a few hours. Grab your softest yarn, and let’s start crafting!
Materials & Tools
- Yarn: Plush / Chenille yarn in your choice of color
- Crochet Hooks:
- 2.5 mm for the body, legs, and arms
- 3.5 mm for the floppy ears
- Safety Eyes: 1 pair (placed between rounds 14 and 15)
- Nose: Safety nose or embroidery thread
- Stuffing: Fiberfill / Toy stuffing
- Notions: Yarn needle, stitch marker, and scissors
Pattern Instructions
1. Body & Head (Worked continuous bottom-to-top)
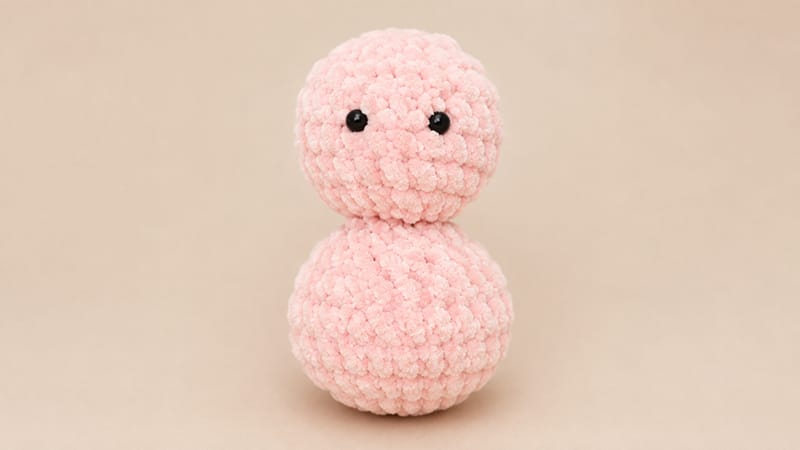
Body
- Round 1: 7 sc into a magic ring (7)
- Round 2: Work 1 inc in every stitch around (14)
- Round 3: 2 sc, repeat (1 inc,1 sc) 5 times, 2 sc (19)
- Round 4: 4 sc, repeat (1 sc,1 inc) 5 times, 5 sc (24)
- Round 5: 1 sc in each stitch around (24)
- Round 6: Repeat (2 sc,1 dec) 6 times (18)
- Round 7: 1 sc in each stitch around (18)
- Round 8: 3 sc, 6 dec, 3 sc (12)
- Round 9: 6 dec (6)
Stuff the body firmly with fiberfill before moving on to the head.
Head
- Round 10: Work 1 inc in each stitch around (12)
- Round 11: Repeat (1 sc,1 inc) 6 times (18)
- Round 12: Repeat (2 sc,1 inc) 6 times (24)
- Rounds 13–14: 1 sc in each stitch around (24)
Place safety eyes between Rounds 14 and 15, approximately 4–5 stitches apart. Embroider or attach the nose centered between the eyes.
- Round 15: Repeat (2 sc,1 dec) 6 times (18)
- Round 16: Repeat (1 sc,1 dec) 6 times (12)
Stuff the head firmly.
- Round 17: 1 sc in each stitch around (12)
- Round 18: 6 dec (6)
Fasten off, weave the tail through front loops of remaining stitches, pull tight to close, and hide thread end.
2. Arms (Make 2)
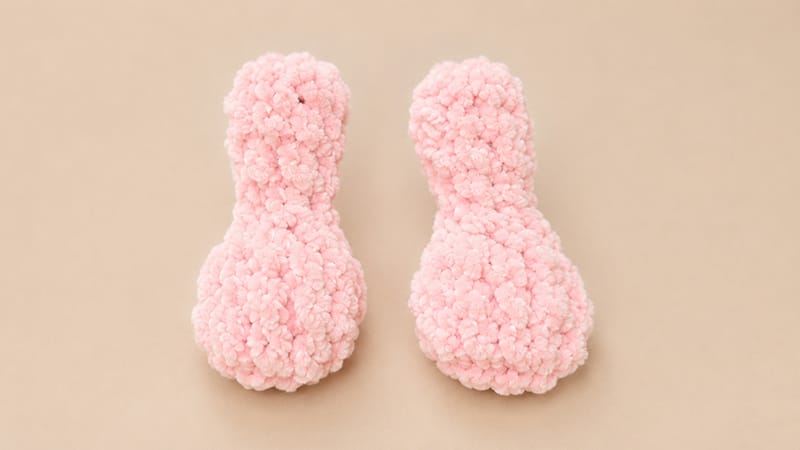
- Round 1: 6 sc into a magic ring (6)
- Round 2: Repeat (1 sc,1 inc) 3 times (9)
- Round 3: 1 sc in each stitch around (9)
- Round 4: 3 sc, 3 dec (6)
- Rounds 5–8: 1 sc in each stitch around (6)
Lightly stuff the lower hand section. Flatten the open top edge together and work 3 sc across both sides to seal. Fasten off, leaving a tail for sewing.
3. Legs (Make 2)
- Round 1: 6 sc into a magic ring (6)
- Round 2: Work 1 inc in every stitch around (12)
- Round 3: 1 sc in each stitch around (12)
- Round 4: 3 sc, 3 dec, 3 sc (9)
- Round 5: 4 sc, 1 dec, 3 sc (8)
- Rounds 6–8: 1 sc in each stitch around (8)
Stuff the lower foot portion lightly. Press top edges flat and crochet 4 sc across to seal closed. Fasten off with long tail.
4. Tail
- Round 1: 6 sc into a magic ring (6)
- Round 2: Work 1 inc in each stitch around (12)
Fasten off with a long tail. Stuff gently before stitching to the back of the body.
5. Long Ears (Make 2 – Use 3.5 mm Hook)
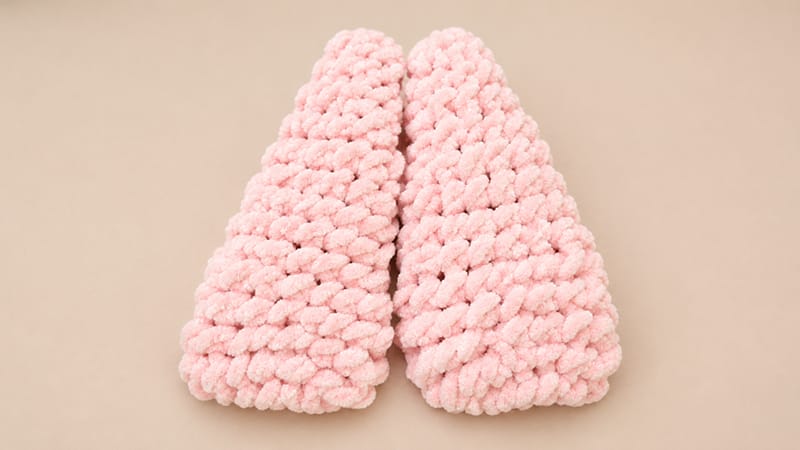
- Round 1: 6 hdc into a magic ring (6)
- Round 2: Work 1 hdc inc in every stitch around (12)
- Round 3: Repeat (1 hdc,1 hdc inc) 6 times (18)
- Round 4: 1 hdc in each stitch around (18)
- Round 5: Repeat (4 hdc,1 hdc dec) 3 times (15)
- Round 6: 1 hdc in each stitch around (15)
- Round 7: Repeat (3 hdc,1 hdc dec) 3 times (12)
- Rounds 8–9: 1 hdc in each stitch around (12)
- Round 10: Repeat (1 hdc dec,4 hdc) 2 times (10)
- Round 11: 1 hdc in each stitch around (10)
- Round 12: Repeat (1 hdc dec,3 hdc) 2 times (8)
- Round 13: 1 hdc in each stitch around (8)
- Round 14: Repeat (1 hdc dec,2 hdc) 2 times (6)
- Round 15: 1 hdc in each stitch around (6)
Do not stuff ears. Press open ends together flat and crochet 4 sc across to secure. Cut yarn, leaving a long tail for attachment.
Assembly
- Ears: Secure ears symmetrically to the top of the head around Round 17.
- Arms: Attach arms vertically onto sides near Round 9 (the neck junction).
- Legs: Position legs on lower portion of body near Rounds 3–4 so bunny can sit evenly.
- Tail: Sew a small tail round to the lower back center for balance.
