
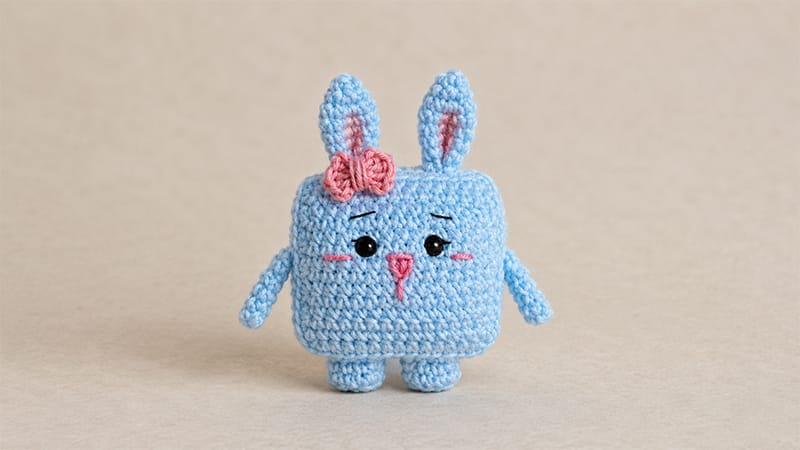
Meet Charlotte the Plush Bunny, an adorable square-shaped amigurumi design reminiscent of a sweet, fluffy marshmallow!
Featuring a soft blocky form, tiny rounded limbs, long upright ears, and a cute accent bow, this quick project makes a fantastic bag charm, car mirror ornament, or handmade gift for plushie enthusiasts.
Written in accessible standard US terms, the quick-building construction is designed to be approachable for crafters of all skill levels while yielding a delightfully squishy finish.
Pattern Overview & Preparation
Materials Needed
- Medium Weight Amigurumi Yarn (Colors: White, Bright Pink, Salmon/Peach)
- 2.0 mm Crochet Hook
- Safety Eyes (approx. 6mm – 8mm)
- Black Embroidery Floss
- Polyester Fiberfill Stuffing
- Tapestry Needle & Scissors
- Stitch Markers
- Optional: Soft pink blush or makeup for ear inner shading
Standard Abbreviations (US Terms)
- ch: chain
- sc: single crochet
- hdc: half double crochet
- dc: double crochet
- sl st: slip stitch
- inc: increase (2 sc in same st)
- MR: magic ring
- BLO: back loop only
- st(s): stitch(es)
Step-by-Step Instructions
Main Front Body Panel
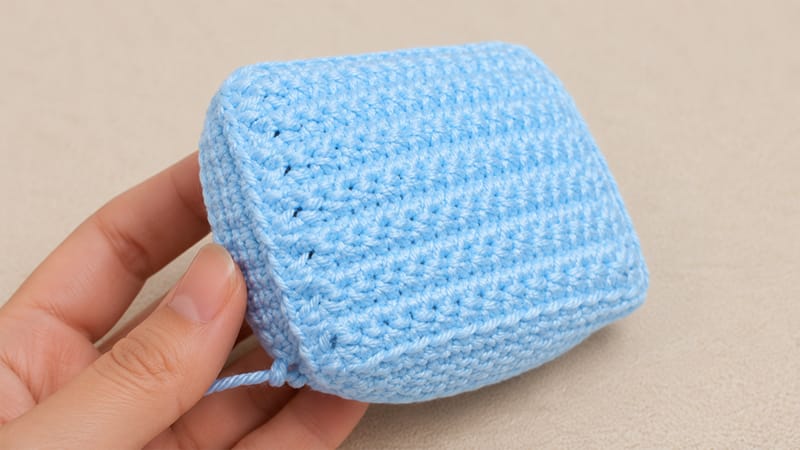
Worked in White Yarn. Turning chain does NOT count as a stitch.
- Row 1: Ch 15. Starting in 2nd ch from hook, work 14 sc across. Ch 1, turn. (14 sts)
- Rows 2–13: Work 14 sc across each row, ch 1, turn. (14 sts)
- Row 14: Work 14 sc across. (14 sts)
- Round 15 (Border): Do not turn. Work sc evenly along the three remaining unworked edges (14 sc on each side) to form a flat rectangle base. (42 sts around edge)
- Round 16 (Dimensional Ridge): 56 sc worked into the Back Loops Only (BLO) around all outer edges.
- Rounds 17–19: 56 sc around (working in both loops).
Fasten off and neatly weave in the starting tail.
Main Back Body Panel
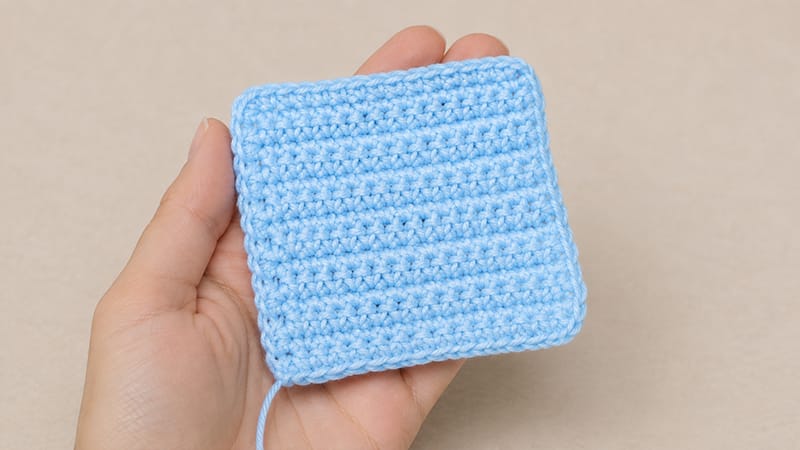
- Rows 1–15: Repeat the exact steps used for Rows 1–15 of the Front Panel.
Fasten off, leaving an extra-long yarn tail for final assembly.
Lower Legs (Make 2)
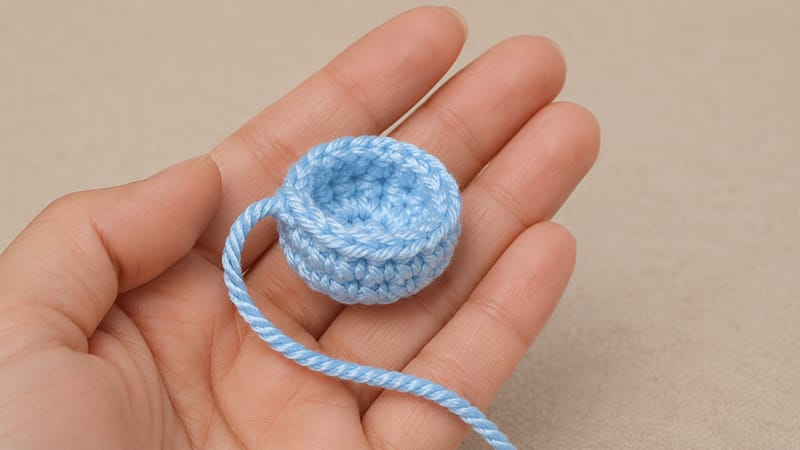
Worked in White Yarn.
- Row 1: Ch 4. Starting in 2nd ch from hook, work 3 sc. Ch 1, turn. (3 sts)
- Row 2: 3 sc across, ch 1, turn. (3 sts)
- Row 3: 3 sc across. (3 sts)
- Round 4 (Border): Do not turn. Work 3 sc along each of the three remaining flat edges. (9 sts around)
- Round 5 (Depth): 12 sc in BLO around.
- Round 6: 12 sc around both loops.
Fasten off, leaving a long tail for attachment.
Side Arms (Make 2)
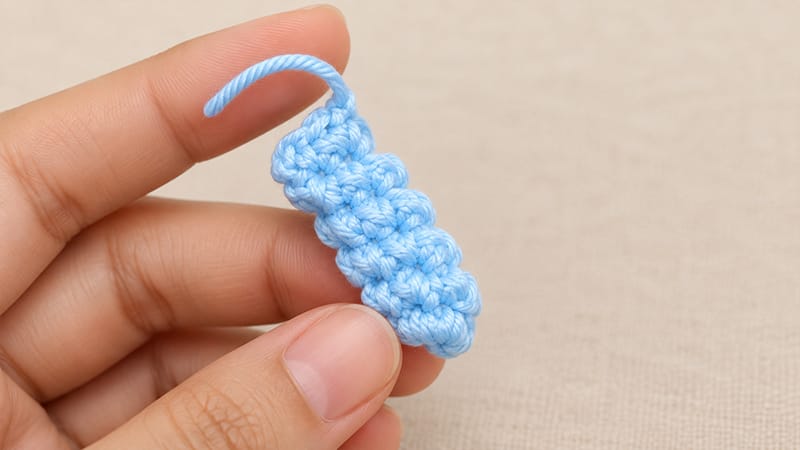
Worked in White Yarn in continuous spiral rounds.
- Rnd 1: 6 sc into a MR. (6 sts)
- Rnds 2–5: 6 sc around. (6 sts per rnd)
Flatten the open end flat and work 3 sc across through both sides to close.
Fasten off, leaving a tail for sewing.
Bunny Ears (Make 2)
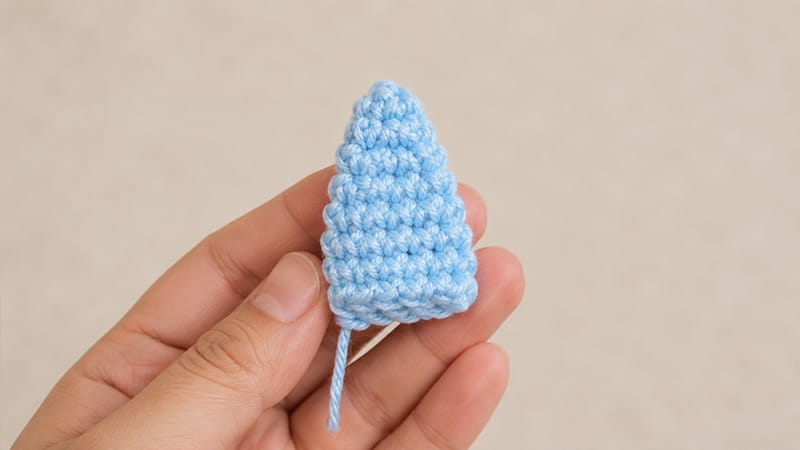
Worked in White Yarn.
- Rnd 1: 5 sc into a MR. (5 sts)
- Rnd 2: 5 sc around. (5 sts)
- Rnd 3: 2 sc into every stitch around [inc x 5]. (10 sts)
- Rnds 4–8: 10 sc around. (10 sts per rnd)
Fasten off, leaving a long tail for sewing.
Tail
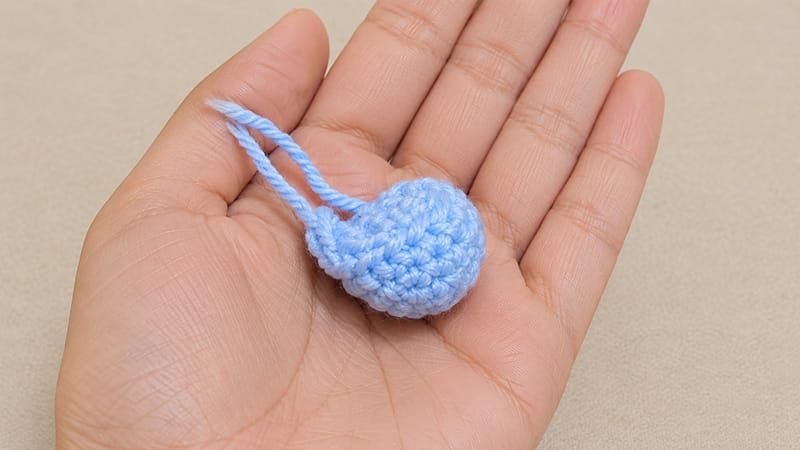
Worked in White Yarn.
- Rnd 1: 6 sc into a MR. (6 sts)
- Rnd 2: Repeat
(2 sc, inc)2 times. (8 sts) - Rnd 3: 8 sc around. (8 sts)
Fasten off, leaving a tail for sewing.
Decorative Bow
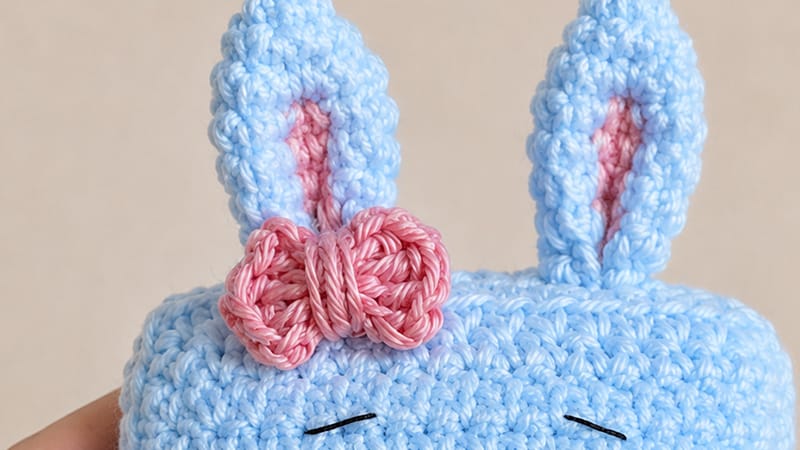
Worked in Salmon/Peach Yarn.
- Rnd 1: In a MR work: [ch 2, 1 hdc, 1 dc, 1 hdc, ch 2, 1 sl st] into the ring twice to form two bow loops.
- Pull center core tight to close. Fasten off, leaving a long tail.
- Wrap the central tail tightly around the center join several times to form a neat bow center, then knot behind to secure.
Assembly & Finishing Details
- Facial Features (Front Panel):
- Insert safety eyes between Rounds 5 and 6 (counting from top down), spacing them about 3 stitches apart.
- With pink yarn, embroider a small nose centered between the eyes, along with subtle cheek stitches beneath each eye.
- Using black embroidery floss, stitch delicate eyelashes beside each eye and minimalist eyebrows above.
- Joining Body Panels:
- Align the Front and Back body sections with wrong sides together.
- Using the long tail left on the back piece, whipstitch or single crochet the outer edges together.
- Firmly stuff with fiberfill right before completing the closing seam, then weave in the remaining end securely.
- Attaching Limbs & Tail:
- Stitch the flattened arms to each side of the body, leveling them evenly with eye height.
- Secure the two small boxy legs side-by-side along the flat bottom seam.
- Attach the round fluffy tail centered onto the lower back.
- Ears & Bow Attachment:
- Optional: Dust the inner surface of each ear gently with soft pink makeup blush for added color.
- Pinch/fold the bottom edge of each ear in half, then stitch onto the top of the head, leaving approximately 6 stitches between them.
- Anchor the bow directly in front of or next to one ear base.
