
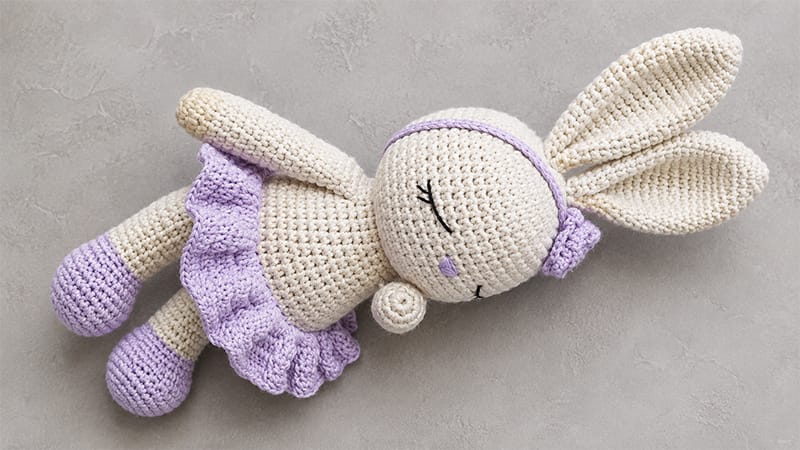
This charming handmade toy features a sweet, resting expression, soft floppy ears, and a cute ruffled dress topped with a floral headband.
Designed with simple stitches and straightforward shaping, it is an accessible and rewarding project whether you are a beginner looking to expand your skills or an experienced crafter searching for a thoughtful baby shower gift.
Using cozy yarn and a matching hook, you will craft each piece individually before bringing this lovely bunny to life through simple assembly. Let’s grab your materials and get started!
Pattern Overview & Notes
- Skill Level: Easy / Beginner-Friendly
- Finished Style: Soft plush sleeping bunny with customizable dress and headband options.
- Working Method: Worked in continuous spirals unless noted otherwise. Use a stitch marker to track the beginning of each round.
Abbreviations (US Terms)
- MR: Magic Ring
- ch: Chain
- sc: Single Crochet
- inc: Single Crochet Increase (2 sc in the same stitch)
- dec: Invisible Single Crochet Decrease (sc 2 stitches together)
- dc: Double Crochet
- tr: Treble Crochet
- sl st: Slip Stitch
- BLO: Back Loop Only
- FLO: Front Loop Only
Materials Required
- Yarn: Sport weight (2 mm thickness) in Gray, Light Pink, and Dark Pink (or colors of choice)
- Crochet Hook: 2.5 mm
- Embroidery Thread: Black/Dark Brown for sleeping eyes and nose
- Filling: Fiberfill stuffing
- Tools: Tapestry needle, scissors, stitch markers, pins
Step-by-Step Instructions
1. Head (Gray Yarn)
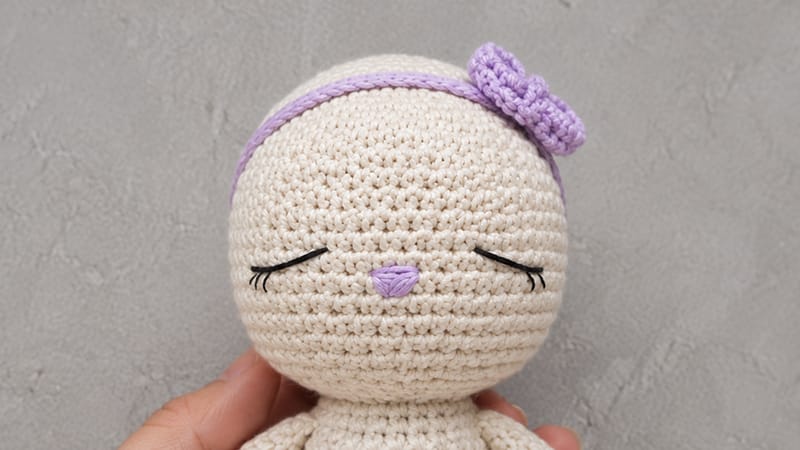
Stuff the head firmly with fiberfill as you decrease.
- Rnd 1: 6 sc into MR (6)
- Rnd 2: 6 inc (12)
- Rnd 3: [1 sc, inc] × 6 (18)
- Rnd 4: [2 sc, inc] × 6 (24)
- Rnd 5: [3 sc, inc] × 6 (30)
- Rnd 6: [2 sc, inc, 2 sc] × 6 (36)
- Rnd 7: [5 sc, inc] × 6 (42)
- Rnd 8: [3 sc, inc, 3 sc] × 6 (48)
- Rnds 9–19: 48 sc (48) — 11 rounds total
- Rnd 20: [3 sc, dec, 3 sc] × 6 (42)
- Rnd 21: [5 sc, dec] × 6 (36)
- Rnd 22: [2 sc, dec, 2 sc] × 6 (30)
- Rnd 23: [3 sc, dec] × 6 (24)
Fasten off, leave a short tail, and weave in the end inside the head.
Facial Embroidery
Using dark embroidery floss and a tapestry needle:
- Eyes: Embroider two downward-curving arcs across Rounds 14–15, spaced about 6–7 stitches apart, with small eyelashes pointing outward.
- Nose & Mouth: Stitch a tiny upside-down triangle in pink thread centered between the eyes around Round 16.
2. Ears (Make 2 – Gray Yarn)
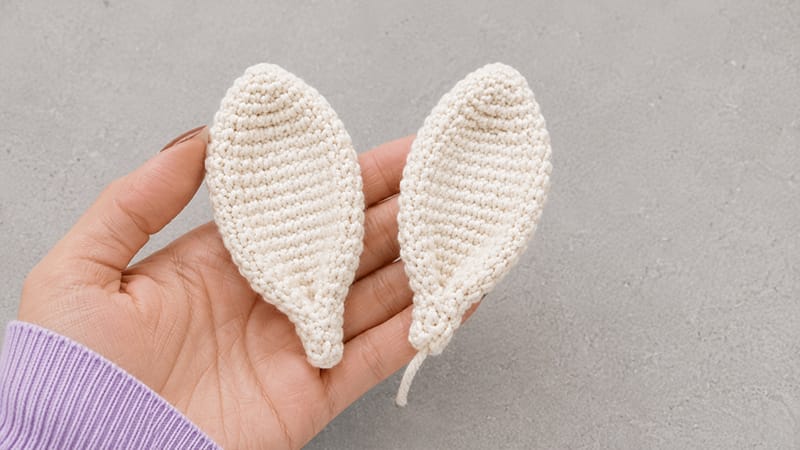
Do not stuff the ears.
- Rnd 1: 6 sc into MR (6)
- Rnd 2: 6 sc (6)
- Rnd 3: 6 inc (12)
- Rnd 4: 12 sc (12)
- Rnd 5: [1 sc, inc] × 6 (18)
- Rnd 6: 18 sc (18)
- Rnd 7: [2 sc, inc] × 6 (24)
- Rnds 8–17: 24 sc (24) — 10 rounds total
- Rnd 18: [6 sc, dec] × 3 (21)
- Rnd 19: [5 sc, dec] × 3 (18)
- Rnd 20: [4 sc, dec] × 3 (15)
- Rnd 21: [3 sc, dec] × 3 (12)
- Rnd 22: [2 sc, dec] × 3 (9)
Flatten the opening and work 4 sc across both sides to seal the top. Fasten off, leaving a long tail for sewing.
3. Body (Light Pink & Gray Yarn)
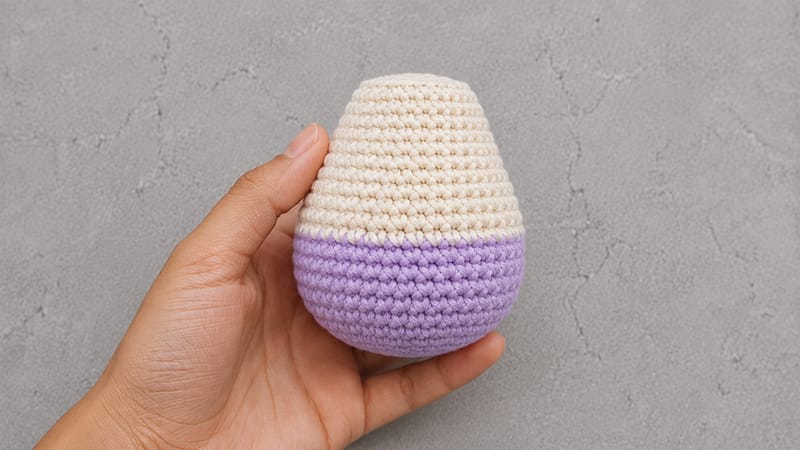
Stuff as you progress.
- Rnd 1 (Light Pink): 6 sc into MR (6)
- Rnd 2: 6 inc (12)
- Rnd 3: [1 sc, inc] × 6 (18)
- Rnd 4: [2 sc, inc] × 6 (24)
- Rnd 5: [3 sc, inc] × 6 (30)
- Rnd 6: [2 sc, inc, 2 sc] × 6 (36)
- Rnd 7: [5 sc, inc] × 6 (42)
- Rnd 8: [3 sc, inc, 3 sc] × 6 (48)
- Rnds 9–13: 48 sc (48) — 5 rounds total
- Rnd 14 (Change to Gray): In BLO, [6 sc, dec] × 6 (42)
- Rnds 15–16: 42 sc (42)
- Rnd 17: [5 sc, dec] × 6 (36)
- Rnds 18–19: 36 sc (36)
- Rnd 20: [4 sc, dec] × 6 (30)
- Rnds 21–22: 30 sc (30)
- Rnd 23: [3 sc, dec] × 6 (24)
- Rnds 24–25: 24 sc (24)
Fasten off, leaving a long tail for joining to the head.
4. Dress Ruffle (Dark Pink Yarn)
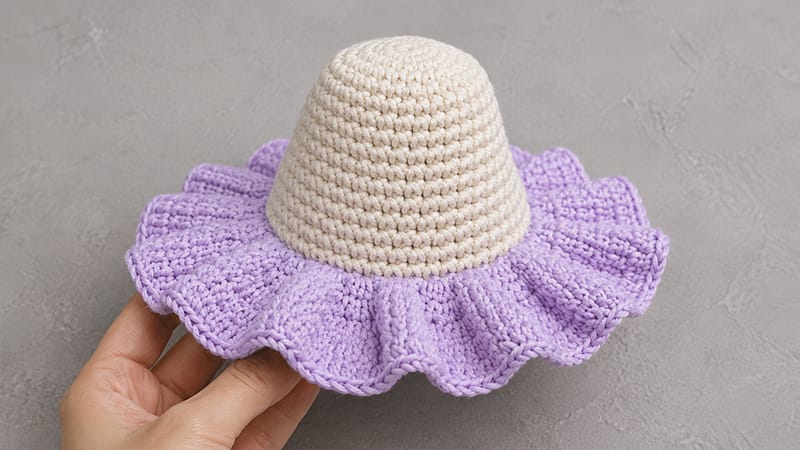
Attach yarn to the remaining unworked front loops of Round 13 on the body.
- Rnd 14: Ch 3, [2 dc in 1st st, 3 dc in next st] repeat around, sl st to top of ch-3 to join.
- Rnd 15: Ch 3, [2 dc in 1st st, 1 dc in next st] repeat around, sl st to join.
- Rnds 16–17: Ch 3, 1 dc in each st around, sl st to join.
Fasten off and weave in loose ends.
5. Arms (Make 2 – Gray Yarn)
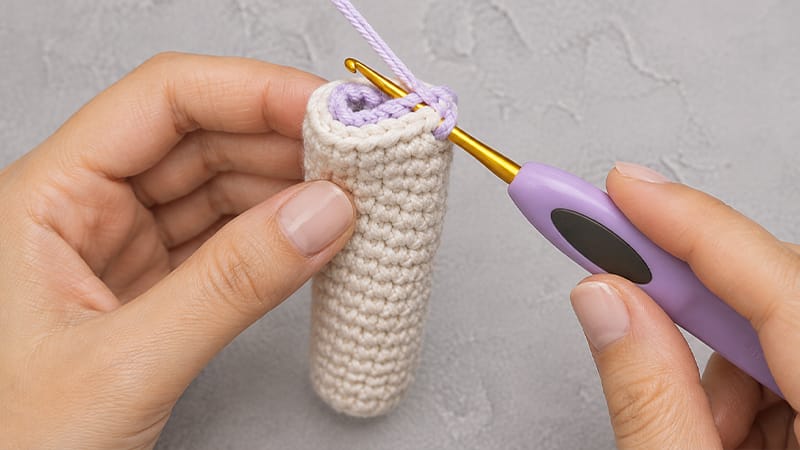
Stuff lightly near the bottom half only.
- Rnd 1: 6 sc into MR (6)
- Rnd 2: 6 inc (12)
- Rnds 3–19: 12 sc (12) — 17 rounds total
Flatten the opening and work 4 sc across both edges to close. Fasten off, leaving a sewing tail.
6. Legs (Make 2 – Gray Yarn)
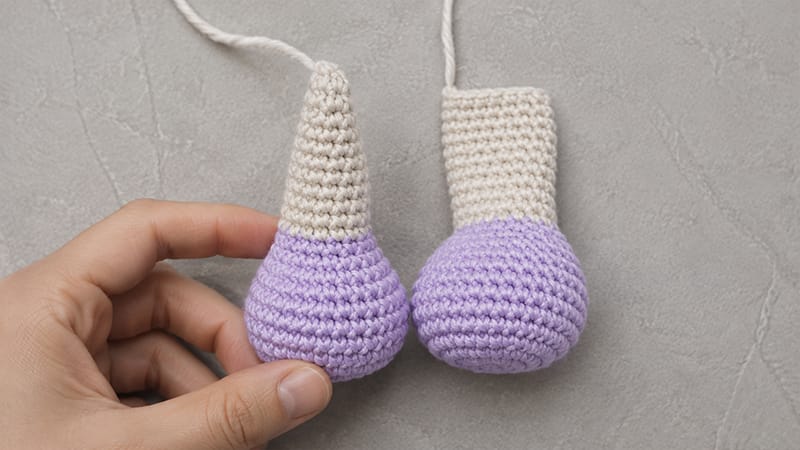
Stuff the feet firmly, lightening stuffing toward the top.
- Rnd 1: 6 sc into MR (6)
- Rnd 2: 6 inc (12)
- Rnd 3: [1 sc, inc] × 6 (18)
- Rnd 4: [2 sc, inc] × 6 (24)
- Rnd 5: [3 sc, inc] × 6 (30)
- Rnd 6: [2 sc, inc, 2 sc] × 6 (36)
- Rnds 7–10: 36 sc (36)
- Rnd 11: 12 sc, 6 dec, 12 sc (30)
- Rnd 12: 9 sc, 6 dec, 9 sc (24)
- Rnd 13: [2 sc, dec] × 6 (18)
- Rnds 14–24: 18 sc (18) — 11 rounds total
Fasten off, leaving a long tail for sewing.
7. Headband & Flowers
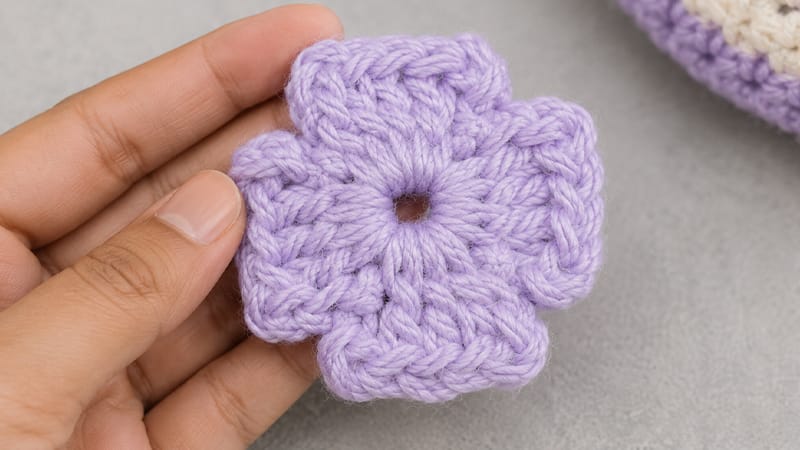
Headband (Pink Yarn)
- Ch 75, turn, starting in 2nd ch from hook, work 74 sc. Fasten off and weave in ends.
Small Flower (Pink Yarn)
- Into a MR: [ch 3, 3 dc, ch 3, sl st] × 4. Pull ring tight, fasten off, leaving a tail to attach.
Large Flowers (Make 2 – Pink Yarn)
- Into a MR: [ch 5, 4 tr, ch 5, sl st] × 4. Pull ring tight, fasten off, leaving a tail to attach.
Assembly Instructions
- Attach Head: Securely stitch the neck opening of the body (24 sts) to the base of the head using the long gray yarn tail.
- Attach Ears: Fold the bottom of each ear slightly and sew onto the sides of the head near Rounds 4–5.
- Attach Arms: Pin and stitch the arms onto the sides of the body just below the neck join on Round 24.
- Attach Legs: Position the legs on the lower sides of the body so the bunny can sit comfortably, then stitch in place.
- Add Headband Accessory: Stitch the small and large flowers onto the headband chain, then wrap it around the head between the ears and secure with a few concealed stitches.
