
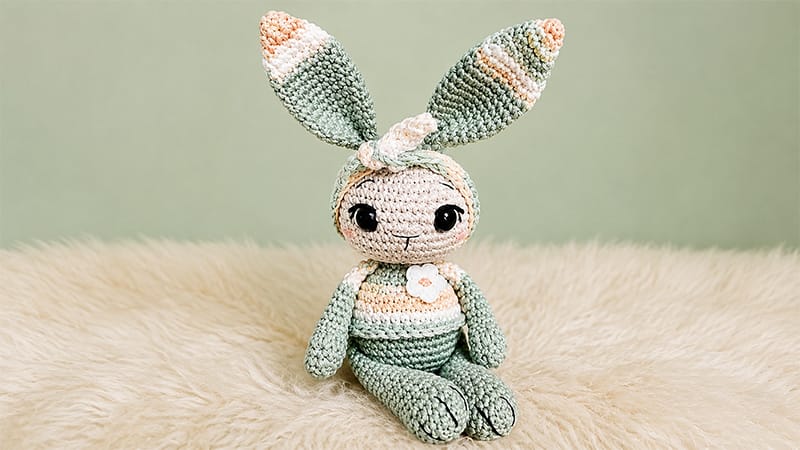
Meet Lotta, an adorable amigurumi bunny designed to bring warmth and joy to your crochet collection!
Featuring a charming built-in sweater, sweet facial details, and a soft, fluffy tail, Lotta makes a wonderful handmade gift or a cozy playmate for children.
This pattern is beginner-friendly yet offers fun textures through yarn changes and unique stitch placements.
By using smooth cotton combined with colorful print yarn, you’ll create a unique plushie standing about 18 cm tall. Grab your hooks, gather your favorite yarn colors, and let’s craft this delightful little rabbit together step by step!
Materials & Tools
- Yarn A: Light Brown Cotton Yarn (DK / 8-ply, ~35g)
- Yarn B: Multi-color/Print DK Cotton Yarn (for sweater, ears, and headband)
- Yarn C: White Faux Fur Yarn (for the tail)
- Hooks: 2.5 mm (main) & 3.0 mm (for fur tail)
- Eyes: 10 mm Safety Eyes
- Embroidery Thread: Black, White, Pink, and Accent color (for face/paws)
- Stuffing: Polyester Fiberfill
- Notions: Tapestry needle, stitch markers, pins, scissors, optional small decorative button
Stitch Guide & Abbreviations
- MR: Magic Ring
- sc: Single Crochet
- inc: Increase (2 sc in same stitch)
- dec: Decrease (sc 2 together)
- hdc: Half Double Crochet
- bs: Bobble Stitch (4 unfinished dc closed together)
- sl st: Slip Stitch
- ch: Chain
- FLO: Front Loop Only
- BLO: Back Loop Only
- Rnd / Row: Round / Row
Detailed Pattern Instructions
1. Head
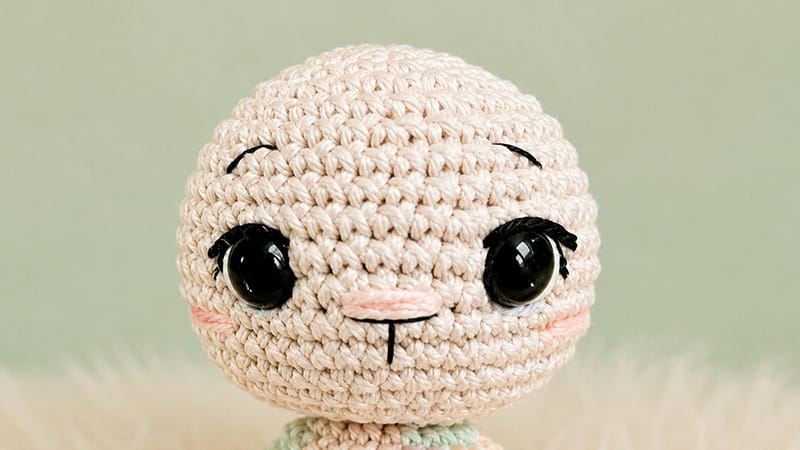
Work from the top down using Light Brown Yarn and a 2.5 mm hook.
- Rnd 1: 6 sc in MR (6)
- Rnd 2: [inc] x6 (12)
- Rnd 3: [1 sc, inc] x6 (18)
- Rnd 4: [2 sc, inc] x6 (24)
- Rnd 5: [3 sc, inc] x6 (30)
- Rnd 6: 30 sc (30)
- Rnd 7: [4 sc, inc] x6 (36)
- Rnd 8–9: 36 sc (36) (2 rounds)
- Rnd 10: [5 sc, inc] x6 (42)
- Rnd 11: 42 sc (42)
- Rnd 12: [6 sc, inc] x6 (48)
- Rnd 13–14: 48 sc (48) (2 rounds)
- Rnd 15: [6 sc, dec] x6 (42)
Safety Eye Placement: Insert 10 mm safety eyes between Rnds 11 and 12, leaving 7 visible stitches between them.
- Rnd 16: [5 sc, dec] x6 (36)
- Rnd 17: [4 sc, dec] x6 (30)
- Rnd 18: [3 sc, dec] x6 (24)
- Rnd 19: [dec] x12 (12)
- Rnd 20: Working in FLO: 12 sc (12)
Stuff the head firmly, adding extra fiberfill near the cheeks for a plump, cute look. Use embroidery thread to indent the eye sockets slightly for added expression. Do not cut the yarn—continue directly to the body.
2. Body
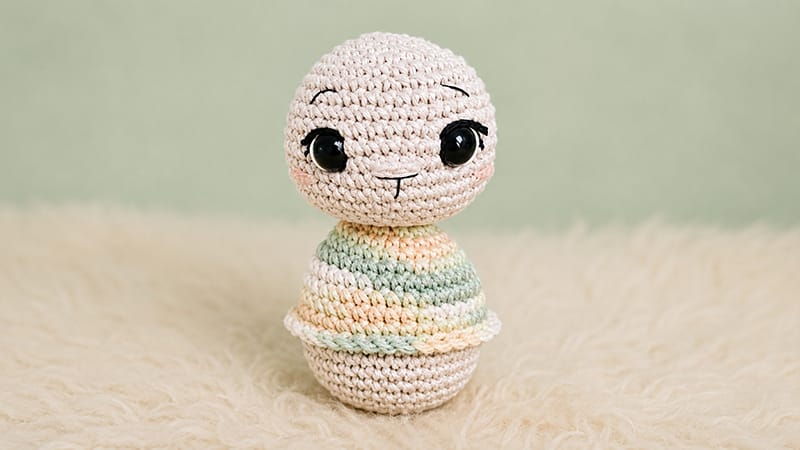
Switch to Multi-color Sweater Yarn.
- Rnd 21: [inc] x12 (24)
- Rnd 22–23: 24 sc (24) (2 rounds)
- Rnd 24: [3 sc, inc] x6 (30)
- Rnd 25: [4 sc, inc] x6 (36)
- Rnd 26–28: 36 sc (36) (3 rounds)
Switch to Light Brown Yarn.
- Rnd 29: Working in BLO: 36 sc (36)
- Rnd 30–32: 36 sc (36) (3 rounds)
- Rnd 33: [4 sc, dec] x6 (30)
- Rnd 34: [3 sc, dec] x6 (24)
- Rnd 35: [2 sc, dec] x6 (18)
- Rnd 36: [1 sc, dec] x6 (12)
- Rnd 37: [dec] x6 (6)
Stuff the body firmly before closing. Weave through the remaining 6 front loops, pull tight, and fasten off.
Sweater Bottom Trim:
Turn the body upside down. Attach the Multi-color Yarn to the unworked front loops of Rnd 29. Sc in each of the 36 loops. Join with a sl st, tie off, and weave in ends.
3. Ears (Make 2)
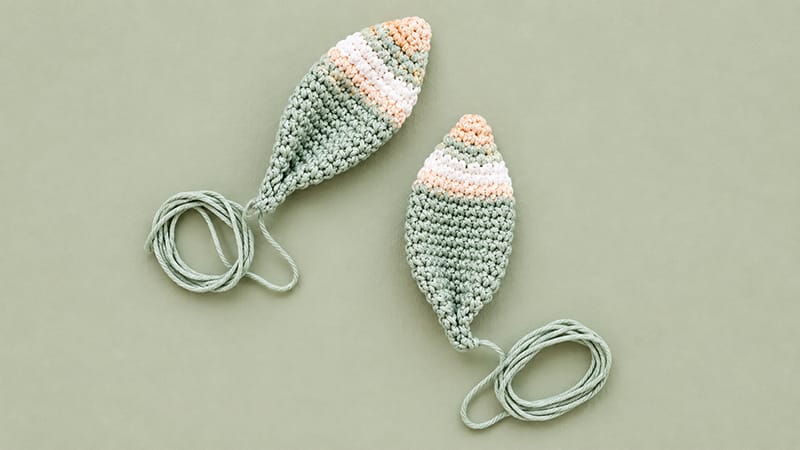
Do not stuff the ears.
- Rnd 1: With Multi-color Yarn, 6 sc in MR (6)
- Rnd 2: 6 sc (6)
- Rnd 3: [1 sc, inc] x3 (9)
- Rnd 4: [2 sc, inc] x3 (12)
- Rnd 5: [3 sc, inc] x3 (15)
- Rnd 6: [4 sc, inc] x3 (18)
- Rnd 7–8: 18 sc (18) (2 rounds)
Switch to Light Brown Yarn.
- Rnd 9–14: 18 sc (18) (6 rounds)
- Rnd 15: [4 sc, dec] x3 (15)
- Rnd 16: [3 sc, dec] x3 (12)
- Rnd 17: [2 sc, dec] x3 (9)
- Rnd 18: [1 sc, dec] x3 (6)
Press the opening flat and join with 3 sc. Pinch/fold the base in half and take a few securing stitches across to create a subtle crease. Leave a long tail for sewing.
4. Arms (Make 2)
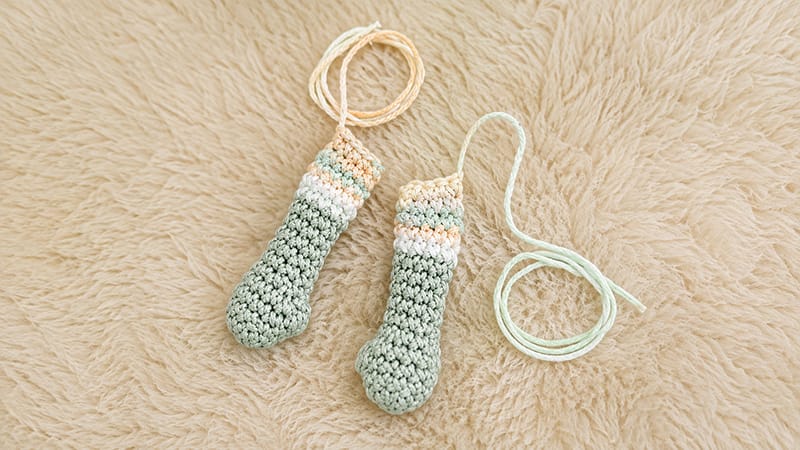
Start with Light Brown Yarn.
- Rnd 1: 6 sc in MR (6)
- Rnd 2: [inc] x6 (12)
- Rnd 3–4: 12 sc (12) (2 rounds)
- Rnd 5: 1 bs (thumb), 11 sc (12)
- Rnd 6: [2 sc, dec] x3 (9)
Lightly stuff the hand region only.
- Rnd 7–11: 9 sc (9) (5 rounds)
Work 3 extra sc to shift the starting stitch, then switch to Multi-color Yarn.
- Rnd 12–15: 9 sc (9) (4 rounds)
Work 1 additional sc to ensure the top flattens evenly aligned with the thumb. Leave the upper arm unstuffed. Press the opening flat, close with 4 sc, and leave a long tail.
5. Legs (Make 2)
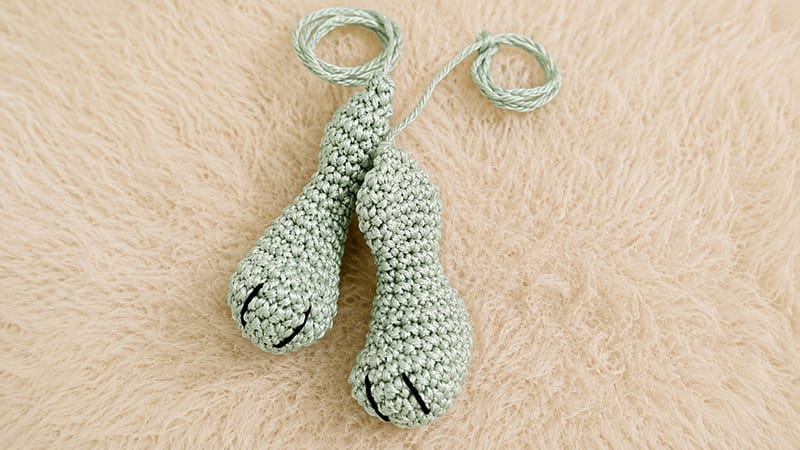
Use Light Brown Yarn throughout.
- Rnd 1: 6 sc in MR (6)
- Rnd 2: [inc] x6 (12)
- Rnd 3: [1 sc, inc] x6 (18)
- Rnd 4: [2 sc, inc] x6 (24)
- Rnd 5–6: 24 sc (24) (2 rounds)
- Rnd 7: 6 sc, [dec] x6, 6 sc (18)
- Rnd 8: 6 sc, [dec] x3, 6 sc (15)
- Rnd 9: 15 sc (15)
- Rnd 10: [3 sc, dec] x3 (12)
- Rnd 11–12: 12 sc (12) (2 rounds)
Stuff the foot firmly.
- Rnd 13: [2 sc, dec] x3 (9)
- Rnd 14–15: 9 sc (9) (2 rounds)
- Rnd 16: [2 sc, inc] x3 (12)
- Rnd 17: [3 sc, inc] x3 (15)
- Rnd 18: [4 sc, inc] x3 (18)
- Rnd 19–20: 18 sc (18) (2 rounds)
- Rnd 21: [1 sc, dec] x6 (12)
- Rnd 22: [dec] x6 (6)
Do not stuff the upper leg. Thread yarn through remaining front loops, pull tight, close the gap, and leave a long tail. Embroider 3 dark vertical lines on each foot to separate the toes.
6. Fluffy Bunny Tail
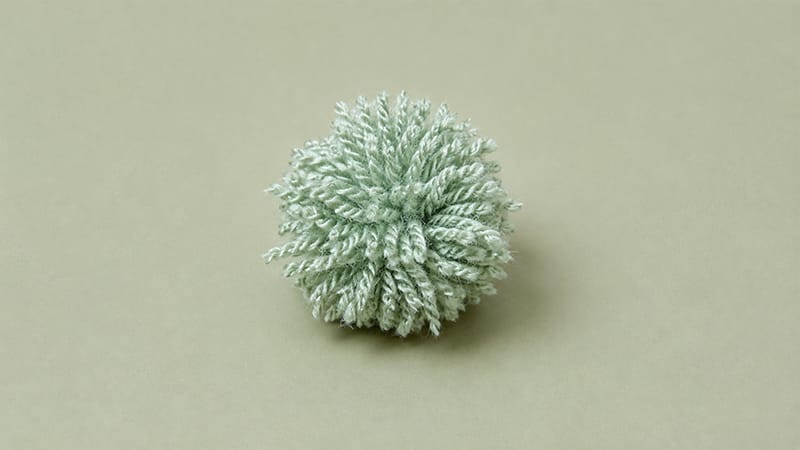
Use White Fur Yarn and a 3.0 mm hook (or substitute with a small white pompom).
- Rnd 1: 6 sc in MR (6)
- Rnd 2: [inc] x6 (12)
- Rnd 3: 12 sc (12)
Fasten off with a sl st and leave a yarn tail for sewing.
7. Headband Accessory
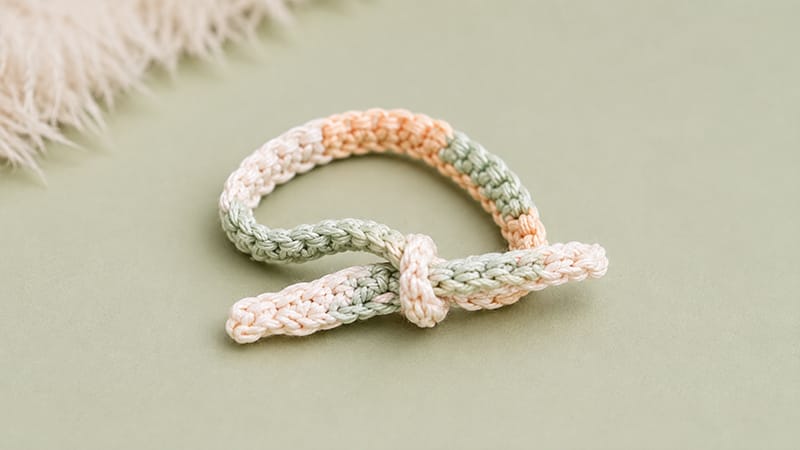
Worked in flat rows using Multi-color Yarn.
- Row 1: Ch 61. Starting in 2nd ch from hook: 1 sl st, 59 sc, 1 sl st (61).
Fasten off, secure threads, and tie neatly around the bunny’s head.
Assembly & Facial Embroidery
- Facial Details:
- Eyes: Add a curve of white yarn along the outer edge of each safety eye for highlights. Outline the top with thin black thread for eyelids/lashes. Add a small pop of colored thread for a bright accent.
- Nose: Stitch a small horizontal pink nose in Rnd 13 (spanning roughly 3 stitches wide), adding a tiny vertical center line.
- Brows: Angle black thread slanting downward between Rnds 8 and 9 (about 6 stitches apart).
- Cheeks: (Optional) Add soft pink stitches right beneath each eye across 2 stitches.
- Ears: Attach symmetrically on top of the head between Rnds 3 and 4.
- Arms: Position on the left and right sides of the body right beneath the neckline.
- Legs: Attach securely to the sides of the lower body, positioning them so Lotta can sit comfortably.
- Tail & Button: Center the fluffy tail onto the back of the sweater section. Stitch a decorative button onto the front of the sweater to finish off your bunny!
