
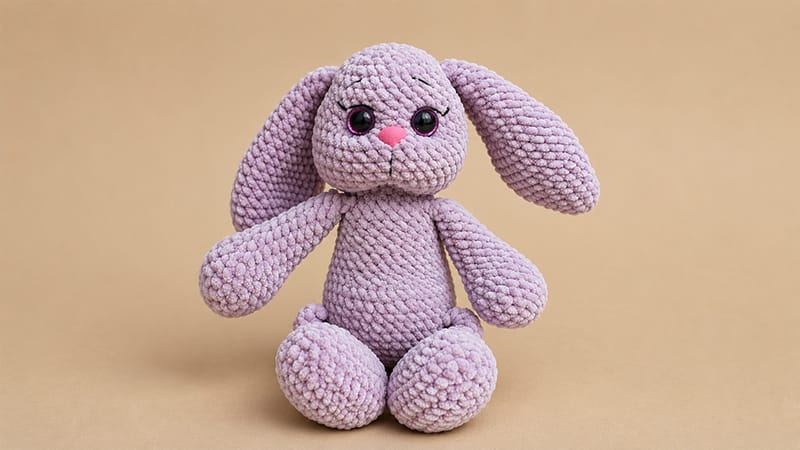
Crafting a plush amigurumi bunny is a wonderful project for crocheters looking to make a soft, huggable creation.
Using velvet yarn gives this design a lovely, luxurious texture, while the seamless body-to-head construction simplifies assembly.
This step-by-step pattern guides you through building each piece, attaching the limbs directly as you work, and adding facial features for a charming finish.
Materials & Tools
- Main Yarn: ~1.5 skeins of Super Bulky plush yarn (e.g., 100g / 120m)
- Crochet Hook: 3.5 mm (or preferred size for dense stitches)
- Safety Features: 16 mm safety eyes and a 16 mm safety nose
- Finishing Essentials: Fiberfill stuffing, strong thin yarn for embroidery/shaping, tapestry needle, scissors, and stitch markers
Pattern Abbreviations (US Terms)
- MR: Magic Ring
- ch: Chain
- sc: Single Crochet
- inc: Increase (2 sc in same stitch)
- dec: Decrease (sc 2 stitches together)
- st(s): Stitch(es)
Lower Legs (Make 2)
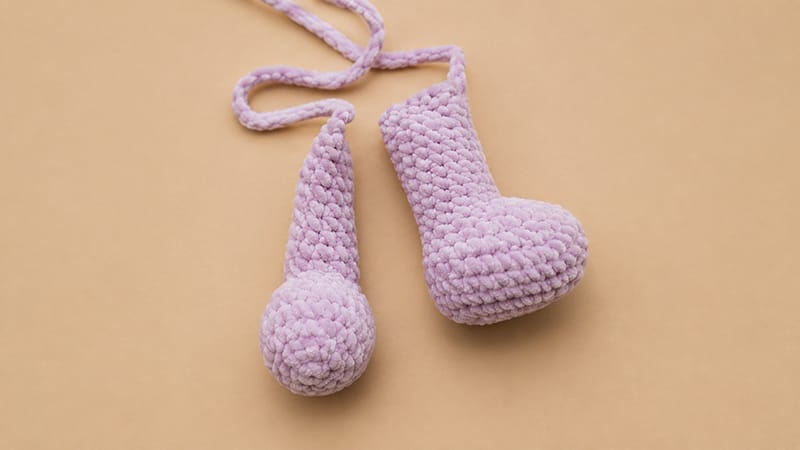
Note: Fill only the foot section; leave the leg unstuffed.
- Ch 12. Starting in 2nd ch from hook: 10 sc, 3 sc in last st, turn to work along opposite side of chain: 9 sc, 1 inc. [24]
- 1 inc, 9 sc, 3 inc, 9 sc, 2 inc. [30] 3–4. Sc in each st around (2 rows). [30]
- 7 sc, 8 dec, 7 sc. (Ensure decreases center on the foot) [22]
- 5 sc, 6 dec, 5 sc. [16]
- 4 sc, 4 dec, 4 sc. [12] 8–17. Sc in each st around (10 rows). [12]
Flatten top edge and crochet 6 sc through both layers to close. [6]
Fasten off.
Arms (Make 2)
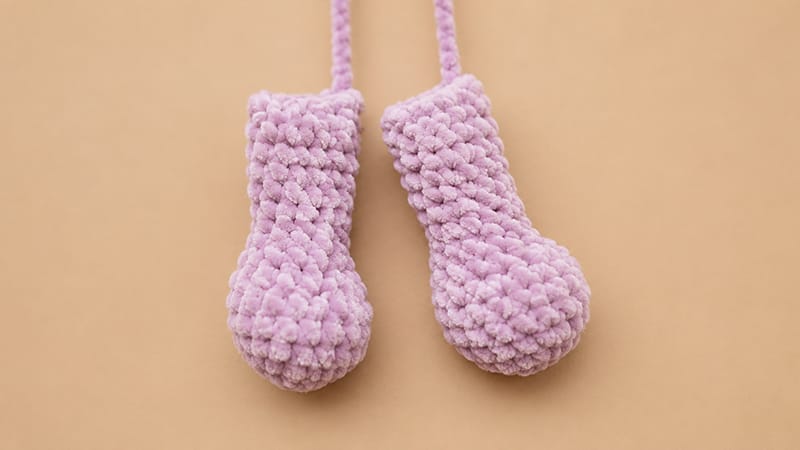
Note: Stuff only the hand section lightly.
- 6 sc in MR. [6]
- 6 inc. [12]
- (1 sc, 1 inc) × 6. [18] 4–6. Sc in each st around (3 rows). [18]
- 6 sc, 3 dec, 6 sc. [15]
- Sc in each st around. [15]
- (3 sc, 1 dec) × 3. [12] 10–17. Sc in each st around (8 rows). [12]
- Flatten top edge and crochet 6 sc through both layers to close. [6]
Fasten off.
Ears (Make 2)
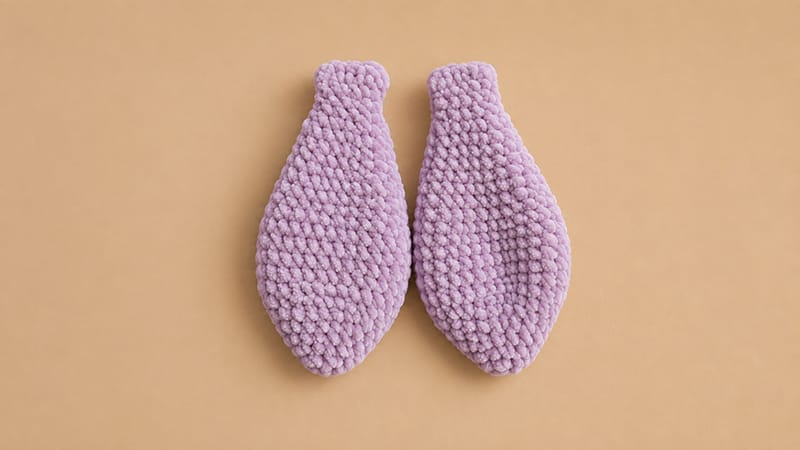
Note: Do not stuff the ears.
- 6 sc in MR. [6]
- 6 inc. [12]
- (2 sc, 1 inc) × 4. [16]
- Sc in each st around. [16]
- (3 sc, 1 inc) × 4. [20]
- (4 sc, 1 inc) × 4. [24]
- (3 sc, 1 inc) × 6. [30] 8–13. Sc in each st around (6 rows). [30]
- (3 sc, 1 dec) × 6. [24] 15–17. Sc in each st around (3 rows). [24]
- (2 sc, 1 dec) × 6. [18] 19–21. Sc in each st around (3 rows). [18]
- (1 sc, 1 dec) × 6. [12] 23–25. Sc in each st around (3 rows). [12]
- Flatten opening and sc 6 across both sides. [6]
Fasten off, leaving a tail for attachment.
Tail
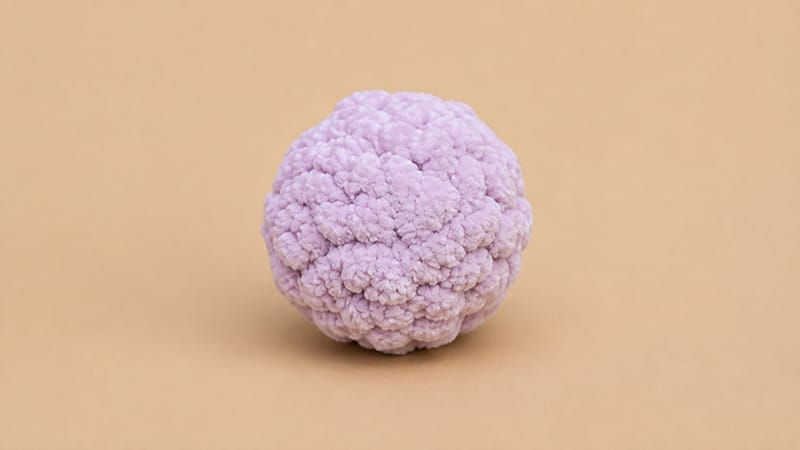
- 6 sc in MR. [6]
- 6 inc. [12] 3–4. Sc in each st around (2 rows). [12]
Fasten off. Stuff firmly before attaching.
Main Body & Head (One Piece)
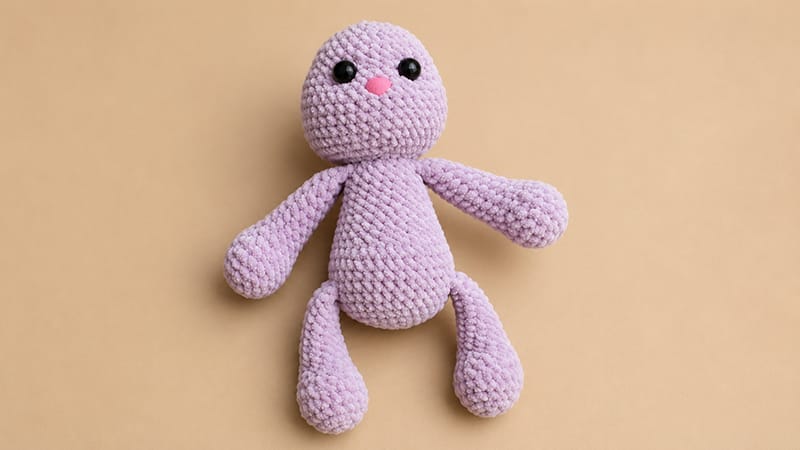
Stuff the body firmly as you work, adding extra stuffing into the neck area.
- 6 sc in MR. [6]
- 6 inc. [12]
- (1 sc, 1 inc) × 6. [18]
- (2 sc, 1 inc) × 6. [24]
- (3 sc, 1 inc) × 6. [30]
- (4 sc, 1 inc) × 6. [36] 7–8. Sc in each st around (2 rows). [36]
- Join Legs: 6 sc combining left leg to body, 12 sc across front, 6 sc combining right leg to body, 12 sc across back. [36] 10–12. Sc in each st around (3 rows). [36]
- Form Tummy: 6 sc, 6 dec ( belly curve ), 18 sc. [30] 14–16. Sc in each st around (3 rows). [30]
- (3 sc, 1 dec) × 6. [24] 18–21. Sc in each st around (4 rows). [24]
- Join Arms: 6 sc joining left arm, 6 sc, 6 sc joining right arm, 6 sc. [24]
- (2 sc, 1 dec) × 6. [18]
- Sc in each st around. [18]
Transition to Head
- 18 inc. [36]
- (5 sc, 1 inc) × 6. [42] 27–33. Sc in each st around (7 rows). [42]
- (5 sc, 1 dec) × 6. [36]
- (4 sc, 1 dec) × 6. [30] 36–37. Sc in each st around (2 rows). [30]
Safety Placement: Attach the nose between R25–R26. Position safety eyes between R27–R28, keeping roughly 4–5 sts apart.
- (3 sc, 1 dec) × 6. [24]
- (2 sc, 1 dec) × 6. [18]
- (1 sc, 1 dec) × 6. [12]
- 6 dec. [6]
Weave yarn end through front loops of remaining 6 sts, pull tight to close, and weave in end.
Assembly & Finishing Details
- Ears: Stitch both ears across the upper sides of the head near R31–R32.
- Tail: Position and sew the tail onto the back around R7–R10.
- Facial Sculpting: Using strong embroidery thread, anchor the needle at the base of the neck, exit near the outer edge of an eye, re-enter at the inner edge, and pull back out through the neck base. Gently pull the thread to sink the eye slightly into the head, knot, and repeat for the other eye.
- Details: Embroider delicate eyelashes, thin eyebrows, and a small vertical mouth line under the nose using dark cotton yarn.
