
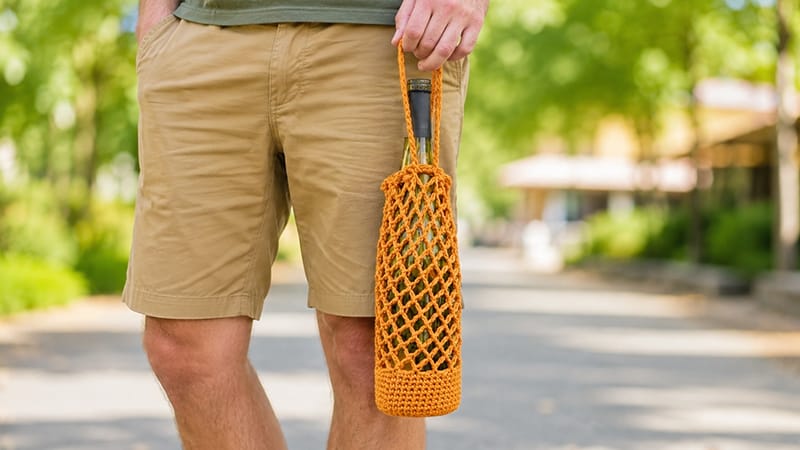
This project is tailored for an advanced beginner. It uses basic stitches combined with simple skipping techniques to create a flexible, breathable mesh texture.
Required Tools & Supplies
- Yarn: Approximately 1.5 oz (100 grams) of #3 Light Weight/DK cotton yarn (such as Yarn Bee Sugarwheel Cotton). One cake can easily yield up to 4 totes.
- Hook: Size G+ (4.5 mm) crochet hook.
- Notions: Tapestry needle, scissors, and 2 beads featuring a 3mm opening.
- Sizing Gauge: A 4″×4″ square equals 16 half double crochets (hdc) by 11 rows.
Key Pattern Notes
- This design uses US Crochet Terminology.
- The initial chain 1 at the start of a round serves only as a height transition and never counts as an actual stitch.
- The base is worked in joined rounds, while the mesh body transitions into continuous, unjoined spirals.
Step-by-Step Instructions
Phase 1: Creating the Solid Base
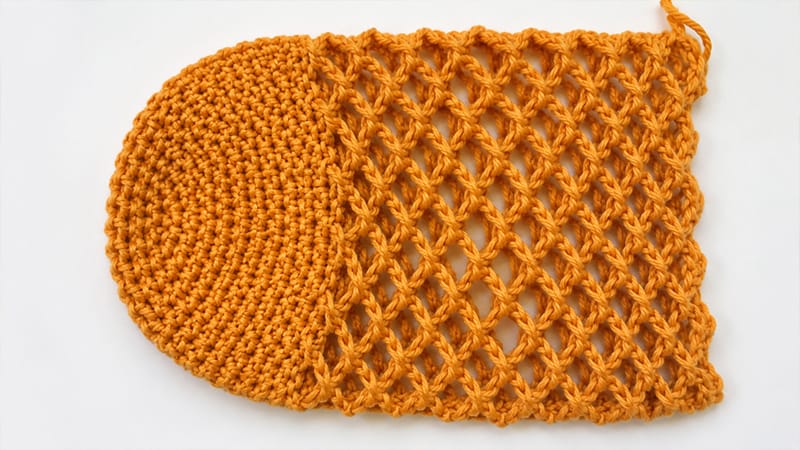
The bottom of the tote is formed by standard flat-circle increases to create a sturdy foundation for the bottle.
- Round 1: Form a magic ring. Work 8 single crochets (sc) inside the loop. Join with a slip stitch (sl st) to your first sc, then chain (ch) 1. (8 sts)
- Round 2: Place 2 sc into every stitch around. Sl st to the first stitch to join, ch 1. (16 sts)
- Round 3: [Work 2 sc in the first st, then 1 sc in the next st]. Repeat this sequence all the way around. Sl st to join, ch 1. (24 sts)
- Round 4: [Work 2 sc in the first st, then 1 sc in each of the next 2 sts]. Repeat this sequence around. Sl st to join, ch 1. (32 sts)
- Round 5: [Work 2 sc in the first st, then 1 sc in each of the next 3 sts]. Repeat this sequence around. Sl st to join, ch 1. (40 sts)
- Rounds 6–14: Work 1 sc into every stitch around. Secure each round with a sl st to the first stitch and ch 1 before moving to the next. (40 sts per round)
Phase 2: Building the Mesh Body
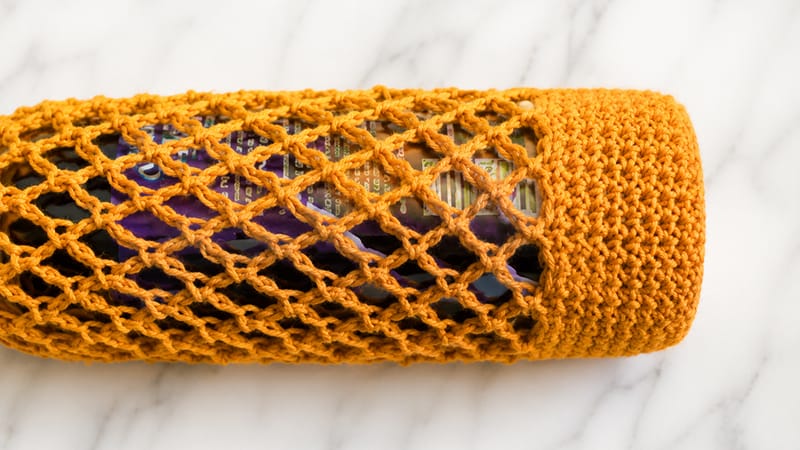
Here, you will switch to an open lace pattern. You will no longer join the ends of the rounds with a slip stitch; instead, you will work in a continuous spiral.
- Round 15: Ch 3, skip the next 2 stitches, and sl st into the following stitch. Repeat the [ch 3, skip 2, sl st] pattern across the entire round. For the final repeat, ch 3 and sl st directly into the very first ch-3 space created. (14 mesh spaces)
- Round 16 and beyond: Continue spiraling by working [ch 3, sl st into the next ch-3 loop] repeatedly. Keep going until the netting measures roughly 7 inches tall while resting flat, or until it reaches just below the neck line when slipped onto a standard 750 ml wine bottle.
Phase 3: Finishing the Upper Rim
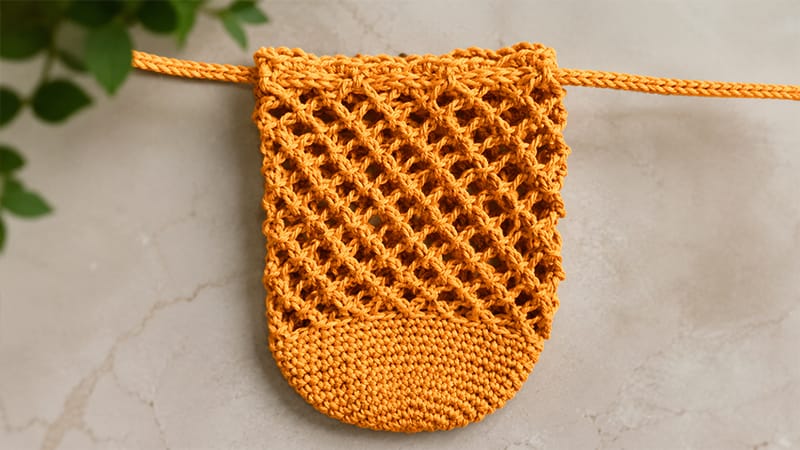
- Final Round: Ensure your last movement joins into a ch-3 space. Ch 1, then work 3 sc directly into that same loop. Place 3 sc into every remaining ch-3 space around the rim. (42 sts total)
- Fastening Off: Sl st to the first sc, cut your yarn, fasten off, and cleanly weave in all loose ends using your tapestry needle.
Drawstrings & Final Assembly
1. Creating the Cords
Tip: Leave a generous 6 to 7-inch yarn tail before you make your slip knot, and leave an equally long tail when you cut the yarn at the end. You will need these to attach the beads.
- Make 2: Ch 48. Working back down the chain, sl st into the second chain from your hook and into every remaining chain across. Fasten off. (47 slip stitches per cord)
2. Weaving the Cords
- Cord 1: Thread one drawstring in and out of 8 mesh spaces along the top row of the bag.
- Cord 2: Turn the bag completely over. Thread the second drawstring through the opposite side in the same manner. The two cords should overlap and share the open mesh spaces at both outer edges, allowing you to pull them in opposite directions to cinch the bag closed.
3. Adding the Beads
- Cut two extra pieces of yarn, each roughly 10 inches long.
- Thread one piece through the end of a drawstring that doesn’t have an existing tail (giving each cord tip a set of double strands).
- Gather all four loose yarn strands at one side of the tote and thread them together through your tapestry needle.
- Slide a 3mm bead onto the needle and push it firmly against the base of the drawstring. Tie a secure double knot directly underneath the bead to lock it in place, then trim any excess yarn fringe. Repeat this process for the other side.
