
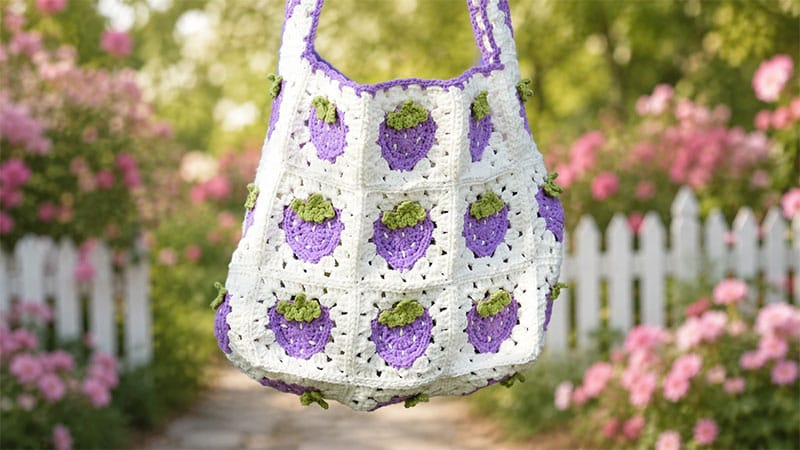
Bring a taste of summer to your accessory collection with this charming Strawberry Granny Square Bag. Featuring a vibrant, textured strawberry nestled in a clean white frame, this intermediate-friendly pattern is perfect for creating a durable market bag or a playful everyday tote.
Pattern Overview & Dimensions
This project blends traditional granny square construction with 3D motif stitching.
- Finished Size: Approximately 12 inches (30 cm) tall by 8.2 inches (21 cm) wide.
- Component Breakdown: You will need to crochet a total of 33 individual squares (approx. 2.5 inches each):
- Front & Back Panels: 18 squares (arranged in two 3×3 grids)
- Sides & Bottom Gusset: 8 squares
- Continuous Shoulder Strap: 7 squares
Materials & Tools
- Yarn: Loopara 5-ply combed milk cotton yarn (or any Sport/DK weight cotton blend)
- Color A: Cherry Red (Strawberry body and final bag trim)
- Color B: Pure White (Square borders and embroidered seed details)
- Color C: Lime Green (Leaves)
- Hook: 3.0 mm (adjust to a 2.75 mm if you crochet loosely, or 3.5 mm if you crochet tightly to ensure a stiff, sturdy fabric)
- Notions: Scissors, yarn needle, and several stitch markers.
Abbreviations (US Terms)
- ch: chain
- sc: single crochet
- hdc: half double crochet
- dc: double crochet
- sl st: slip stitch
- BLO: back loops only
- FLO: front loops only
- inc: increase (2 stitches in the same space)
- sk: skip
- sp: space
Step-by-Step Crochet Instructions
1. The Strawberry Body (Color A – Red)
This section forms the plump, teardrop base of the fruit.
- Round 1: Form a magic ring. Ch 3 (counts as your first dc), work 11 dc into the ring. Join with a sl st to the top of the initial ch-3. (12 sts)
- Round 2: Ch 2, hdc in the same base stitch, then work 4 dc over the next 4 stitches. In the next stitch, work (1 hdc, 1 sc). Sc in the next stitch, followed by a sc inc. Hdc in the next 2 stitches, work a sc inc, then sc in the next stitch. In the following stitch, work (1 sc, 1 hdc). Work 4 dc over the next 4 stitches, then finish with a hdc in the final stitch. Join with a sl st to the first stitch.
- Round 3: Ch 1, sc in the next 2 stitches, work a sc inc in each of the next 3 stitches, then sc in the next 5 stitches. In the next stitch, work the bottom point: (1 sc, 1 hdc), ch 1, (1 hdc, 1 sc) all in that same space. Sc in the next 5 stitches, work a sc inc in each of the next 3 stitches, then sc in the final 2 stitches. Fasten off and weave in your red ends.
2. The Framing Borders (Color B – White)
This transition squares off the round strawberry shape into a workable granny square.
- Round 1 (BLO): Attach white yarn to the back loops only. Sc, ch 1, sk 3 stitches. In the next stitch, create the first corner: (3 dc, ch 2, 3 dc). Ch 1, sk 2 stitches, work a sc inc. Ch 1, sk 2 stitches, work (2 sc, 1 hdc) in the next stitch, ch 2, then work 3 hdc in the following space. Ch 1, sk 2 stitches, 2 hdc, ch 1, sk 2 stitches, 3 hdc. Ch 2, work (1 hdc, 2 sc) in the next stitch, ch 1, sk 2 stitches, work a sc inc. Ch 1, sk 2 stitches, create the final corner: (3 dc, ch 2, 3 dc). Ch 1, sk 3 stitches, sc in the last stitch. Fasten off.
- Round 2: Attach yarn to any corner space. (Ch 3, 2 dc, ch 2, 3 dc, ch 1) in the corner. Work (3 dc, ch 1) into each of the next two ch-spaces along the side. Repeat this sequence—[Corner, 2 side clusters]—3 more times to complete the square profile. Join with a sl st, fasten off, and weave in your ends securely.
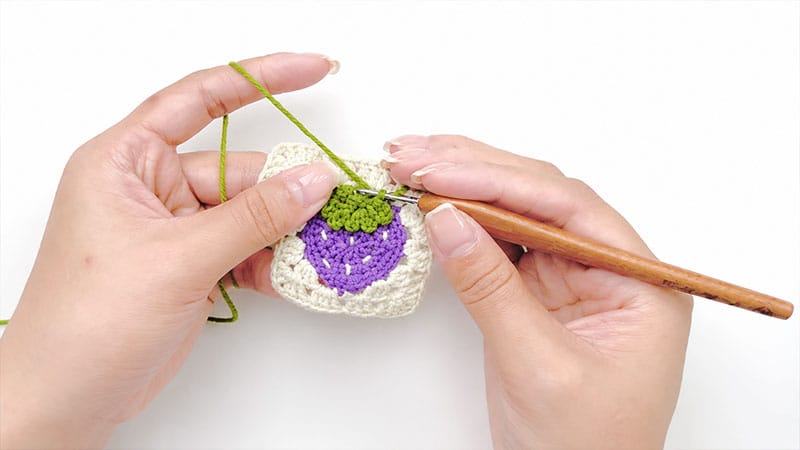
3. The Greenery & Seeds (Color C – Green & Color B – White)
Adding the finishing, lifelike dimensions.
- The Leaves:
- Row 1: Ch 1. Working in the FLO of the top of the strawberry, make 2 sl sts. Ch 4, then turn and work 3 sl sts back down the chain, starting from the second chain from your hook. Secure back to the base with an FLO sl st, then make 2 more FLO sl sts across the top.
- Row 2: (Ch 4, sl st into the next FLO stitch) 5 times across to create the textured, pointed topper. Fasten off.
- The Seeds: Thread a yarn needle with a length of white yarn. Embroider small, vertical, straight stitches randomly across the red strawberry body to mimic seeds.
Assembly & Finishing
       [ STRAP: 7 SQUARES IN A SINGLE ROW ]
                 /             \
       [FRONT PANEL]          [BACK PANEL]
       3 x 3 Squares          3 x 3 Squares
                 \             /
         [SIDES & BOTTOM: 8 SQUARES]
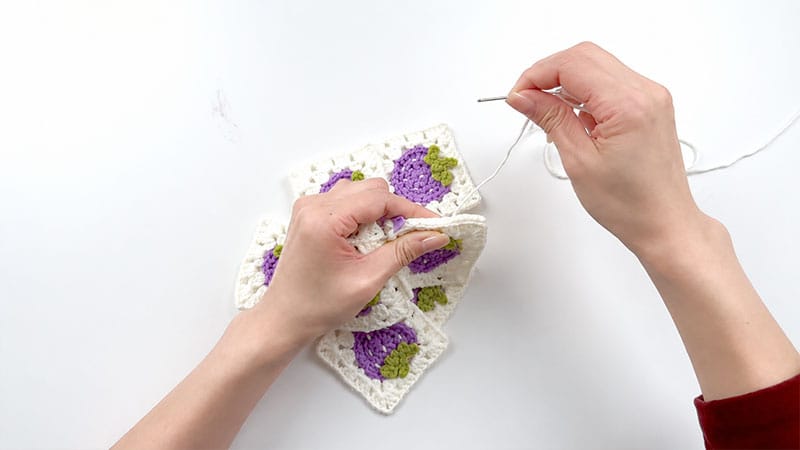
Joining the Panels
- Layout: Layout your squares according to the blueprint above. You will assemble three main components: the front face, the back face, and a long continuous U-shaped strip (sides, bottom, and top strap).
- Alignment: Place the squares wrong sides together. Pin them in place using stitch markers to keep the corners aligned.
- Seaming: Using your yarn needle and a length of white yarn, whipstitch the squares together through the inner loops (back loops) only. This creates a clean, flat seam.
Edging & Details
Once the entire bag structure is joined, attach Color A (Red) yarn to the opening of the bag to tie the design together:
- Round 1: Work a continuous decorative border around the inner and outer raw edges of the shoulder strap and bag opening by repeating the pattern: (1 sc, ch 3, sk 1).
- Fasten off, weave in every remaining loose tail, and gently steam-block your finished bag to settle the stitches.
Care Guide
- Washing: Hand wash exclusively in cool water using a mild, delicate detergent. Do not scrub or wring, as this can distort the 3D leaves.
- Drying: Press excess water out gently using a dry towel. Reshape the bag flat on a fresh towel away from direct sunlight.
- Storage: Store the bag flat or stuffed lightly with tissue paper to preserve its shape. Avoid hanging it long-term to prevent the cotton stitches from stretching out.
