
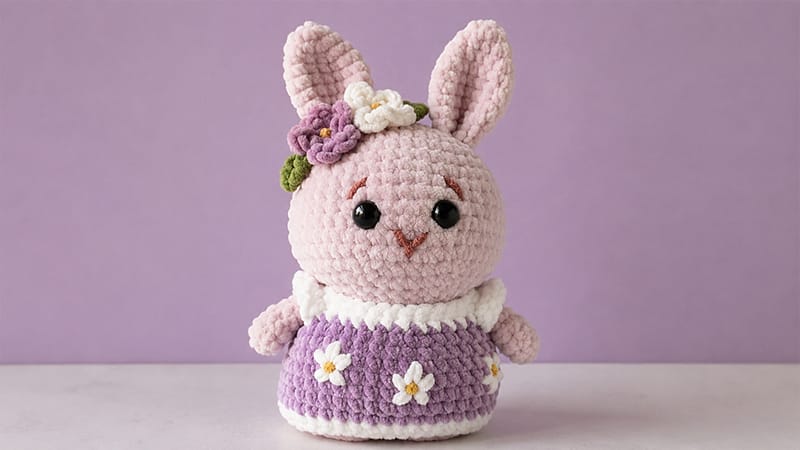
Get ready to create a soft, pocket-sized bunny plush complete with a custom handmade dress.
Standing at approximately 13 cm tall when made with standard DK cotton yarn, this project is ideal for intermediate crocheters or confident beginners looking to practice basic shaping, color changes, and simple embroidery.
Materials & Tools
- Yarn: 8-ply / DK Cotton Yarn (~50g total)
- Main shades: Cream, Pink, White
- Accent shades: Orange, Mustard, Yellow, Purple, Green
- Hooks: 2.5 mm (for body/head) and 2.0 mm / 2.2 mm (for tight accent work/details)
- Safety Eyes: 6 mm (1 pair)
- Stuffing: Fiberfill polyester stuffing
- Embroidery Thread: Dark brown, white, and yellow stranded cotton
- Notions: Stitch markers, yarn needle, embroidery needle, scissors, and optional blush/makeup for ears
Pattern Notes & Abbreviations
This project is worked in US crochet terminology in continuous spiral rounds (unless specified as joined rounds for the outfit).
- MR: Magic Ring
- st / sts: stitch/stitches
- sc: Single Crochet
- inc: Single Crochet Increase (2 sc in the same st)
- dec: Single Crochet Decrease (sc 2 together)
- hdc: Half Double Crochet
- hdc-inc: Half Double Crochet Increase (2 hdc in the same st)
- sl st: Slip Stitch
- ch: Chain
- BLO: Back Loop Only
- FLO: Front Loop Only
Tip: Use a stitch marker in the last stitch of every round to keep track of your count!
Step-by-Step Instructions
1. Head
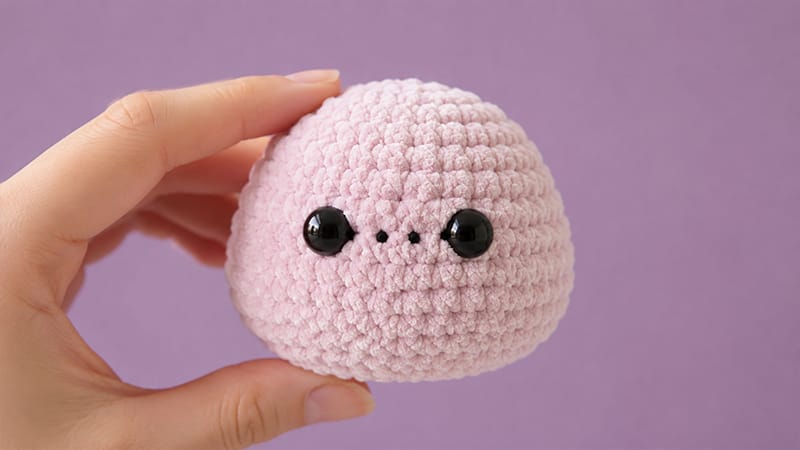
Using 2.5 mm hook and Cream yarn.
- Rnd 1: 6 sc into MR [6]
- Rnd 2: Inc in each st around [12]
- Rnd 3: (1 sc, inc) × 6 [18]
- Rnd 4: (2 sc, inc) × 6 [24]
- Rnd 5: (3 sc, inc) × 6 [30]
- Rnd 6: (4 sc, inc) × 6 [36]
- Rnds 7–8: Sc in all 36 sts [36]
- Rnd 9: (5 sc, inc) × 6 [42]
- Rnds 10–12: Sc in all 42 sts [42]
- Rnd 13: (6 sc, inc) × 6 [48]
- Rnds 14–15: Sc in all 48 sts [48]
- Rnd 16: (6 sc, dec) × 6 [42]
- Rnd 17: (5 sc, dec) × 6 [36]
- Rnd 18: (4 sc, dec) × 6 [30]
- Rnd 19: (3 sc, dec) × 6 [24]
Eye & Facial Details:
- Insert 6 mm safety eyes between Rnds 12 and 13, leaving 4 visible stitches between them.
- Stuff the head firmly with fiberfill.
- With dark brown embroidery thread, stitch a delicate nose between the eyes and small slanted eyebrows two rounds above the eyes.
- Fasten off and weave in the tail.
2. Ears (Make 2)
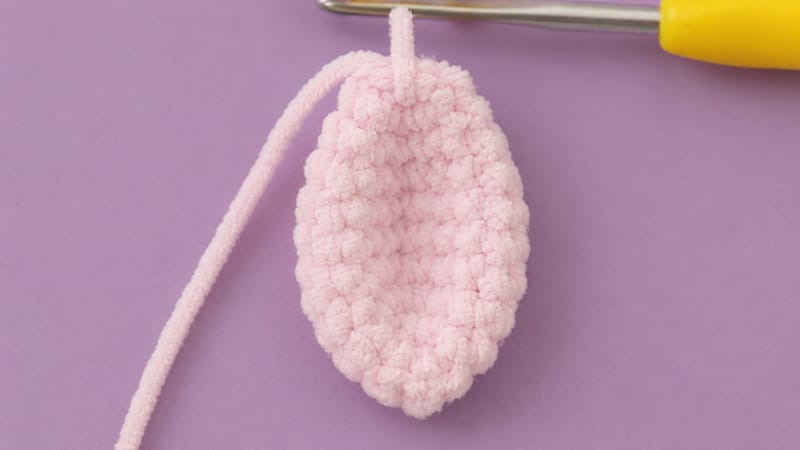
Using a 2.5 mm hook and Cream yarn.
- Rnd 1: 6 sc into MR [6]
- Rnd 2: (1 sc, inc) × 3 [9]
- Rnd 3: (2 sc, inc) × 3 [12]
- Rnd 4: (3 sc, inc) × 3 [15]
- Rnds 5–8: Sc in all 15 sts [15]
- Rnd 9: (3 sc, dec) × 3 [12]
- Rnd 10: (2 sc, dec) × 3 [9]
Fasten off, leaving a long tail for sewing. Do not stuff the ears.
- Shading & Shaping: Apply a tiny dab of pink blush or powdered crayon to the inner side of each ear for color. Pinch the bottom opening flat and make 2 slip stitches through both layers to set the folded shape.
3. Legs & Lower Body
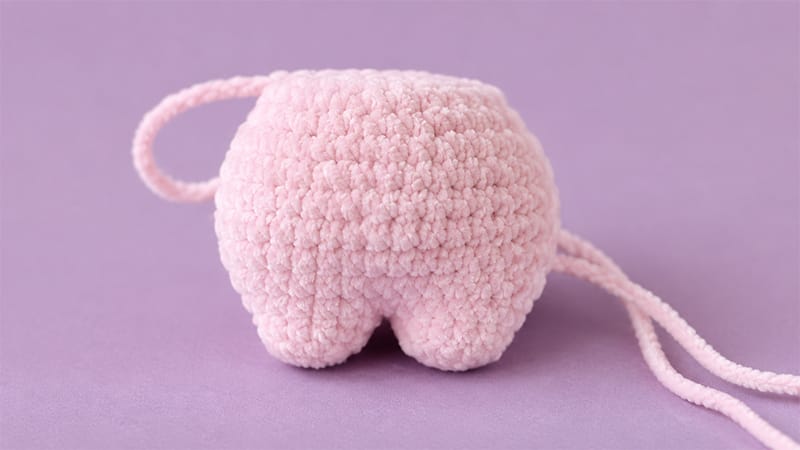
Using 2.5 mm hook and Cream yarn.
First Leg
- Rnd 1: 6 sc into MR [6]
- Rnd 2: Inc in each st around [12]
- Rnd 3: In BLO, sc in all 12 sts [12].
Fasten off First Leg.
Second Leg & Body Connection
Repeat Rnds 1–3 for the second leg, but do not cut the yarn.
- Rnd 4 (Joining): Sc across 12 sts of the second leg, then continue directly into the 12 sts of the first leg to join them together [24]
- Rnd 5: (3 sc, inc) × 6 [30]
- Rnd 6: Sc in all 30 sts [30]
- Rnd 7: (4 sc, inc) × 6 [36]
- Rnds 8–11: Sc in all 36 sts [36]
- Rnd 12: (4 sc, dec) × 6 [30]
- Rnd 13: (3 sc, dec) × 6 [24]
- Rnd 14: Sc in all 24 sts [24]
Fasten off, leaving a long tail. Use a yarn needle to stitch closed any tiny gap remaining between the legs, then stuff the body firmly.
4. Arms (Make 2)
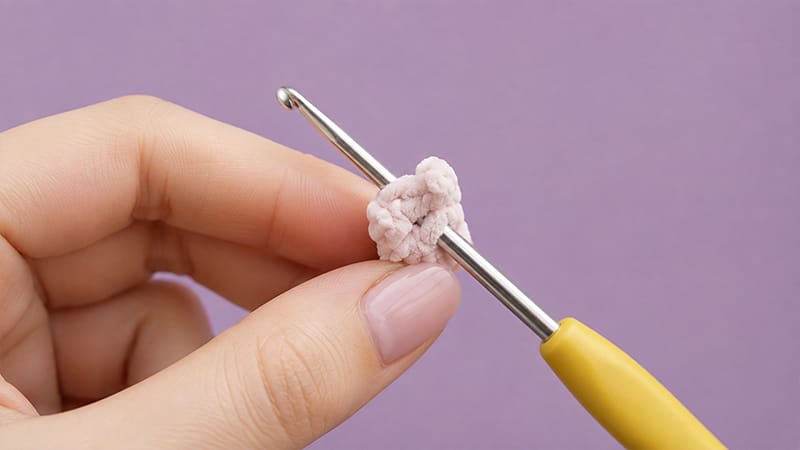
Using a 2.5 mm hook and Cream yarn.
- Rnd 1: 6 sc into MR [6]
- Rnd 2: (2 sc, inc) × 2 [8]
- Rnd 3: Sc in all 8 sts [8]
- Rnd 4: (2 sc, dec) × 2 [6]
- Rnds 5–6: Sc in all 6 sts [6]
Do not stuff. Press the top opening flat and crochet 3 sc across both edges to close. Fasten off with a long tail for attachment.
5. Assembly
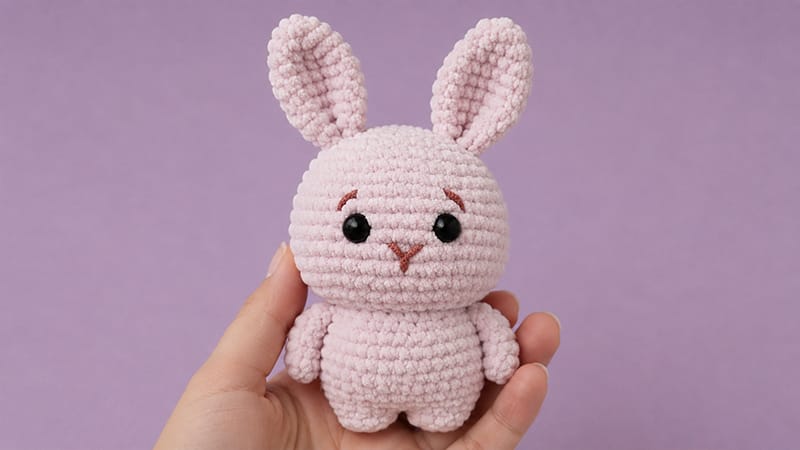
- Head & Body: Align the body with the base of the head and sew securely using the remaining yarn tail.
- Ears: Stitch the ears to the top of the head across Rnds 3 to 5.
- Arms: Attach the arms symmetrically to the sides of the body, just one round below the head seam.
6. Dress & Ruffles
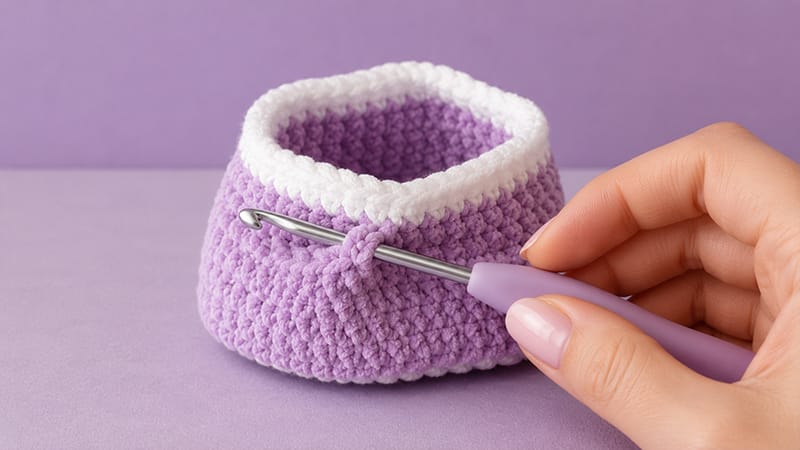
Worked in joined rounds. The starting ch-1 does not count as a stitch.
Main Dress Structure
Foundation: With White yarn, ch 36. Join to the first ch with a sl st to form a ring (be careful not to twist).
- Rnd 1 (White): Ch 1, 36 sc around, sl st to join [36]
- Switch to Pink yarn.
- Rnds 2–8 (Pink): Ch 1, 36 sc around, sl st to join [36]
- Switch to White yarn.
- Rnd 9 (Armholes): Ch 1, 6 sc, ch 6 (skip next 6 sts for armhole), 12 sc, ch 6 (skip next 6 sts for armhole), 6 sc, sl st to join [36]
- Rnd 10: Ch 1, 6 sc, 6 sc into the chain space, 12 sc, 6 sc into the chain space, 6 sc, sl st to join [36]
Fasten off and weave in ends.
Sleeve Ruffles
Attach White yarn to the bottom stitch of an armhole opening:
- Rnd 1: Ch 1, 6 sc along the bottom, 6 hdc-inc along the top curve, sl st to join [12].
- Fasten off. Repeat for the other armhole.
7. Floral Embroidery & Finishing
Decorate the front of the pink dress section with lazy daisy flowers:
- Petals (White Embroidery Thread): Work 5 lazy daisy stitch loops in a circle to form small flower petals.
- Flower Centers (Yellow Thread): Add a simple French knot in the center of each white flower.
- Secure all loose thread ends on the inside of the dress.
Dress your finished bunny, adjust the ears, and your seasonal amigurumi companion is complete!
