
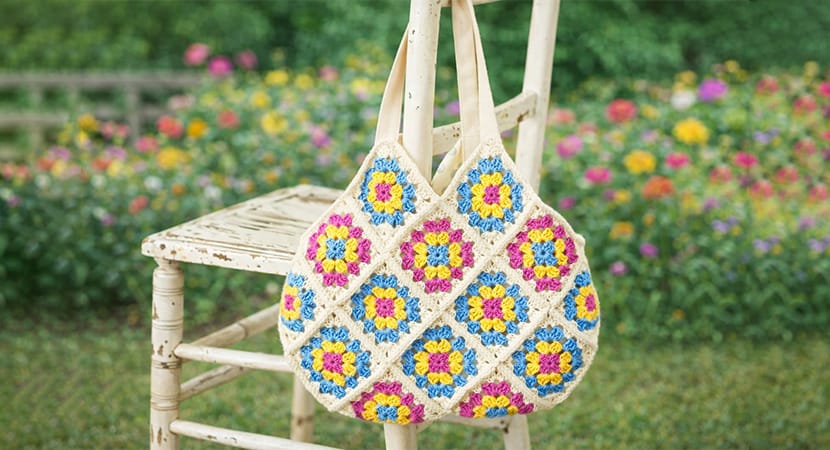
Celebrate the joy of crochet and color with a practical yet stylish project: a granny square crochet market bag. Perfect for Granny Square Day, this design by Debora Bradley blends creativity with functionality.
Whether you need a reusable shopping tote, a chic everyday handbag, or a storage bag for your yarn projects, this pattern is a quick, beginner-friendly make that produces a durable and eye-catching accessory.
Materials You’ll Need
For best results, use Paintbox Yarns Cotton DK, a strong and breathable 100% cotton yarn ideal for bags that need structure and durability. Gather the following:
- 2 balls of Paper White (401)
(Optional substitute: Vanilla Cream (408) for a softer look) - 1 ball each of:
- Ballet Pink (453)
- Dusty Lilac (447)
- Lime Green (429)
- Kingfisher Blue (435)
- Raspberry Pink (444)
- Summer Sky Blue (463)
- 4mm (US G/6) crochet hook
- Fabric (minimum 41 × 67 cm) for lining (recommended for strength)
- 1 meter of upholstery tape (5 cm wide) for handles
Finished Size
- With handles: 38 × 50 cm (15 × 19¾ in)
- Without handles: 38 × 32 cm (15 × 12½ in)
- Each square: 8.5 cm (3¼ in)
Note: This pattern uses UK crochet terms (e.g., tr = treble crochet).
Step 1: Making the Granny Squares
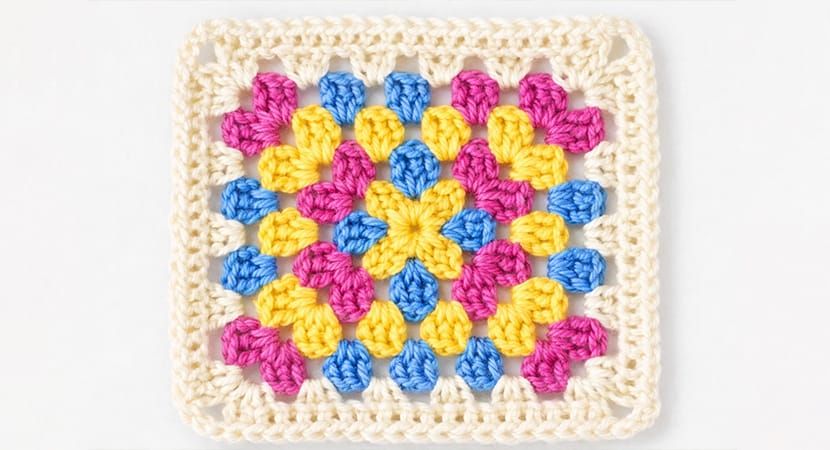
You will create 24 granny squares, each worked in four rounds. The first three rounds use colorful yarn combinations, while the final round is always worked in white for consistency.
Round 1 (Center Round)
- Using Yarn A, chain 4 and join with a slip stitch to form a ring.
- Chain 5 (counts as 1 treble + chain 2).
- Work (3 tr, ch 2) into the ring three times.
- Add 2 tr, then slip stitch into the third chain of the starting chain.
- Fasten off.
You should have 4 corner spaces and 4 clusters.
Round 2
- Join Yarn B in any corner space.
- Chain 5 (counts as tr + ch 2), then 3 tr in the same space.
- Chain 1, (3 tr, ch 2, 3 tr) in next corner; repeat around.
- Finish with 2 tr in the starting corner and join with slip stitch.
- Fasten off.
Round 3
- Join Yarn C in a corner space.
- Chain 5, then 3 tr in the same space.
- Chain 1, 3 tr in side space, chain 1, (3 tr, ch 2, 3 tr) in corner; repeat around.
- Complete final side and join with slip stitch.
- Fasten off.
Round 4 (Final Round – White)
- Join White yarn in a corner.
- Chain 5, then 3 tr in same space.
- (Chain 1, 3 tr in next side space) twice, chain 1, (3 tr, ch 2, 3 tr) in corner; repeat around.
- Finish last side, join with slip stitch, and fasten off.
- Weave in all ends neatly.
Tip: Keep your tension consistent so each square measures 8.5 cm, ensuring a neat final assembly.
Step 2: Joining the Squares
Once all 24 squares are complete:
- Arrange them according to your desired layout.
- Hold squares with wrong sides facing together.
- Join using slip stitches worked through the front loops only of both squares.
This creates a subtle raised seam and a clean finish.
Assembly
- Fold the joined panel into a bag shape.
- Join side edges labeled A-to-A and B-to-B.
- Important: Leave the top edges of the upper four squares open on both sides to form the bag opening.
Step 3: Strengthening the Opening
To stabilize the bag:
- Attach white yarn and work a round of double crochet (dc) evenly around the top edges.
- This prevents stretching and gives a polished finish.
- Fasten off and weave in remaining ends.
Step 4: Adding the Lining
A lining improves durability and prevents stretching.
- Lay the crochet bag flat on your fabric.
- Trace the shape, adding a 1 cm seam allowance.
- Cut two fabric pieces.
- Sew sides and bottom together.
- Fold the top edge twice (double hem) and press.
- Insert lining into the bag and pin in place.
- Sew the lining securely along the top edge.
Step 5: Creating and Attaching Handles
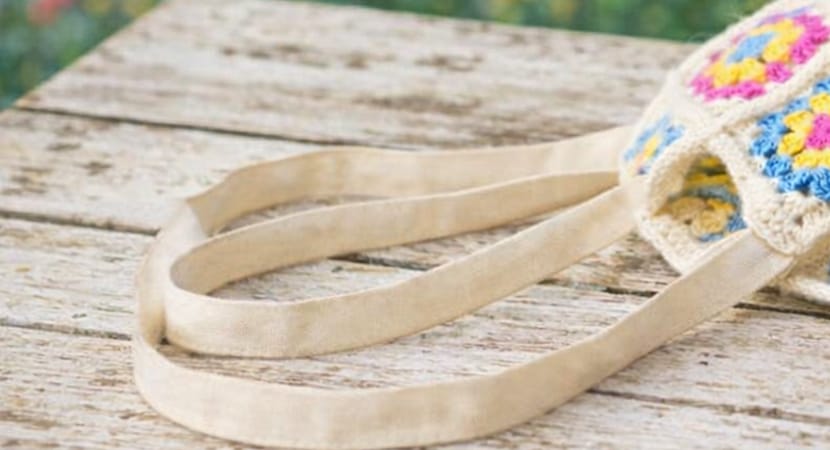
- Take the upholstery tape and fold it lengthwise.
- Stitch along the edge to create strong handles.
- Attach each handle approximately 4 cm below the top edge, aligning evenly on both sides.
- Sew securely, reinforcing the stitching for durability.
Customization Ideas
- Use leftover yarn scraps for a more eclectic color palette.
- Try different granny square designs—but ensure each remains 8.5 cm.
- Add buttons, tassels, or embroidery for a personal touch.
This granny square market bag is not only a celebration of crochet tradition but also a functional, eco-friendly accessory.
With its vibrant colors and sturdy construction, it’s perfect for everyday use and a satisfying project you’ll be proud to carry.
