
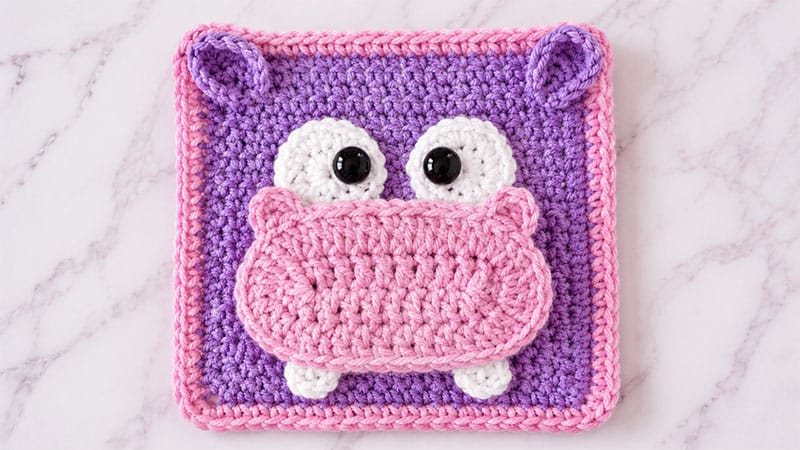
Bring a splash of playful color to your next blanket project with this adorable Hippo Granny Square. Originally designed as part of a monthly animal-themed Crochet-Along (CAL), this versatile motif features a sturdy single-crochet base embellished with a 3D snout, tiny teeth, and floppy ears.
Whether you are building a full zoo-themed double-sided blanket, crafting a whimsical accent pillow, or piecing together a fun scarf, this pattern is highly customizable and perfectly beginner-friendly.
Pattern Overview & Materials
This project is worked in separate pieces—the main background square, a dimensional snout, two ears, two eyes, and two teeth—which are then stitched together using a tapestry needle.
Materials Needed:
- Worsted Weight Yarn (Size 4): Medium purple (main body/ears), light pink or light purple (snout/border), and white (eyes/teeth).
- Crochet Hook: Size H/8 (5.0 mm)
- Notions: Two 20mm black safety eyes (or black yarn for embroidered/crocheted pupils), tapestry needle, and scissors.
Tension Tip: Because everyone crochets with different tension, measure your piece after completing the main rows to ensure it forms a perfect square. Adjust by adding or subtracting rows if necessary before moving on to the border.
Step-by-Step Instructions
1. The Main Background Square
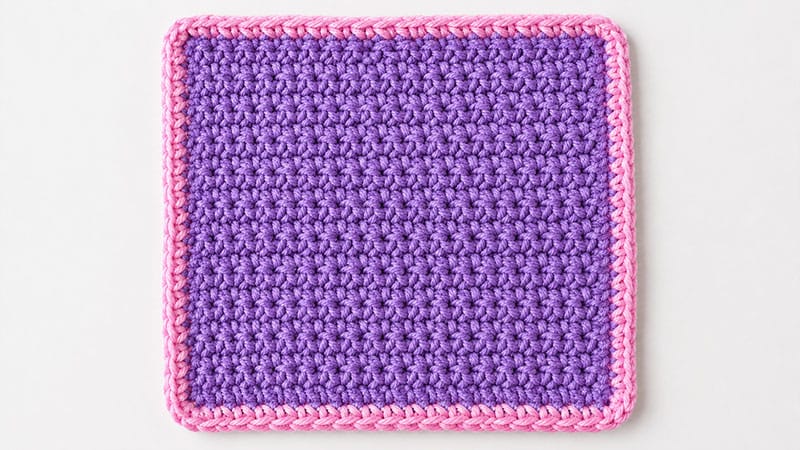
Using the medium purple yarn:
- Foundation: Chain 21.
- Row 1: Single crochet (sc) into the second chain from your hook and into every chain across. Chain 1 and turn. (20 sts)
- Rows 2–23: Sc in each stitch across. Chain 1 and turn.
- Square Edging (Purple): Do not fasten off after Row 23. Turn and sc evenly down the three raw sides of the square, placing 2 chains in each corner to turn smoothly.
- Border Change (Pink): Fasten off the purple yarn and join your pink/light purple yarn. Sc in every stitch completely around all four sides, placing 2 sc into each corner space. Fasten off and weave in your loose ends.
2. Hippo Snout
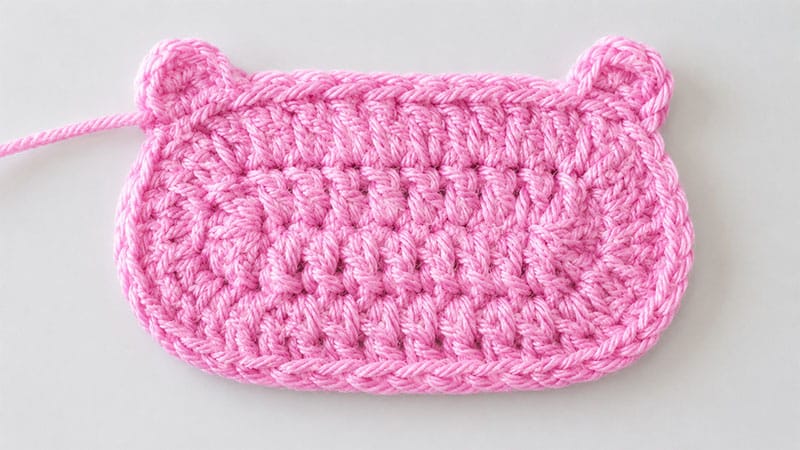
Using pink or light purple yarn:
- Round 1: Chain 12. Double crochet (dc) into the 3rd chain from your hook and into each remaining chain across. In the very last chain, work an additional 2 dc (3 dc total in that final stitch). Turn your work to crochet along the opposite side of the foundation chain; dc in each chain across, placing 3 dc in the final loop. Join with a slip stitch to the first dc, then chain 2. (24 dc)
- Round 2: Repeat the pattern sequence [2 dc in the first stitch, 1 dc in the next] a total of 4 times. Work 2 dc into each of the next 4 stitches. Repeat the sequence [2 dc in the first stitch, 1 dc in the next] 4 times. Finish by working 2 dc into the final 4 stitches. Join the first DC. (40 dc)
- Round 3 (Nostrils): Chain 3, work 2 dc into the 3rd chain from your hook. Skip the next stitch on the snout and slip stitch into the following stitch to anchor the first nostril. Slip stitch into the next 10 stitches. Chain 3, work 2 dc into the 3rd chain from your hook, skip one stitch, and slip stitch into the next to form the second nostril. Fasten off, leaving a long yarn tail for assembly.
3. Hippo Ears (Make 2)
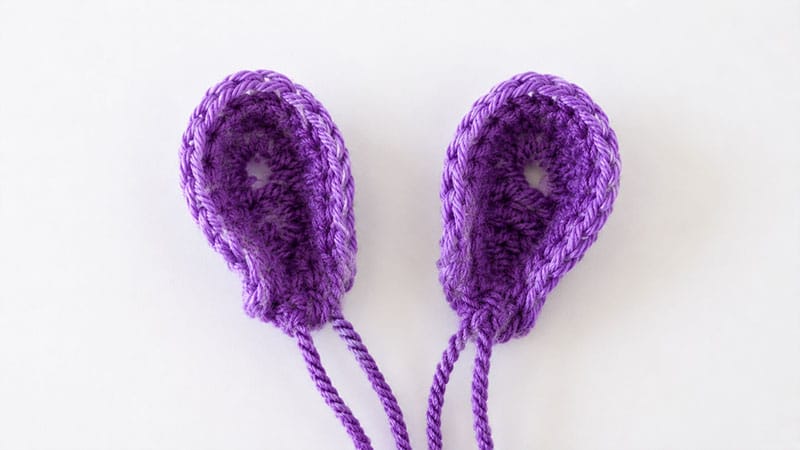
Using medium purple yarn:
- Row 1: Chain 6. Treble crochet (tc) into the 3rd chain from your hook. Dc into each of the next two chains, and sc into the final chain. Chain 1 and turn.
- Row 2: Sc evenly around the perimeter of the ear shape, placing 2 sc into each stitch along the top curve to create a rounded edge. Fasten off, leaving a long tail.
4. White of the Eyes (Make 2)
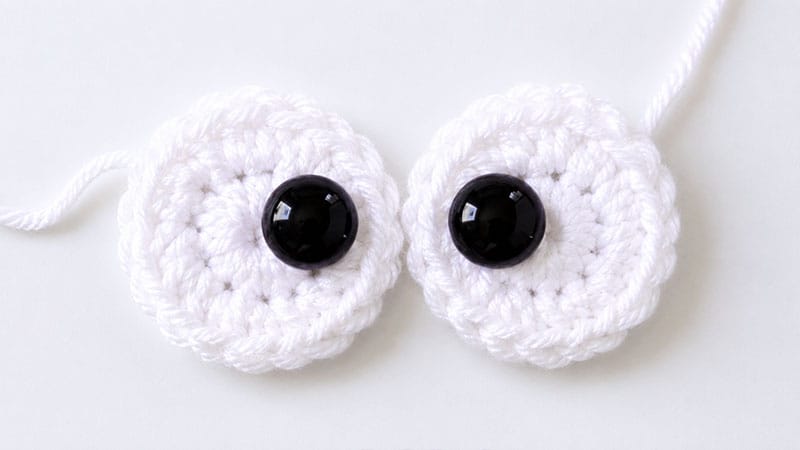
Using white yarn:
- Round 1: Form a magic ring, chain 1, and work 10 sc into the ring. Join with a slip stitch and chain 1.
- Round 2: Work 2 sc into every stitch around. Join and fasten off, leaving a long tail.
- Note: Insert your 20mm black safety eyes through the center of these circles, or crochet a small black circle (8 sc in a magic ring) to serve as the pupil.
5. Teeth (Make 2)
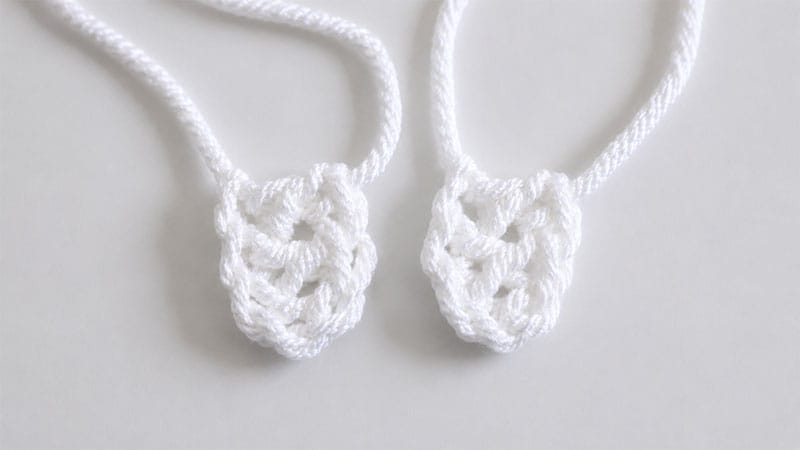
Using white yarn:
- Row 1: Chain 5. DC into the 4th and 5th chains from your hook. Fasten off, leaving a tail for sewing.
Final Assembly
Before picking up your tapestry needle, lay all the pieces flat onto your purple square to check the layout.
- Ears: Position and sew the two ears onto the top corners of the square.
- Eyes: Secure the safety eyes through the white backings and the main square, then stitch the white borders down securely.
- Teeth & Snout: Position the teeth so they will poke out from underneath the bottom edge of the snout. Sew the teeth down first, then pin the snout directly over them. Stitch the snout securely to the center-bottom of the square, ensuring the nostrils face upward.
- Finish: Weave all remaining ends into the back of the square. Your hippo is ready to be joined!
