
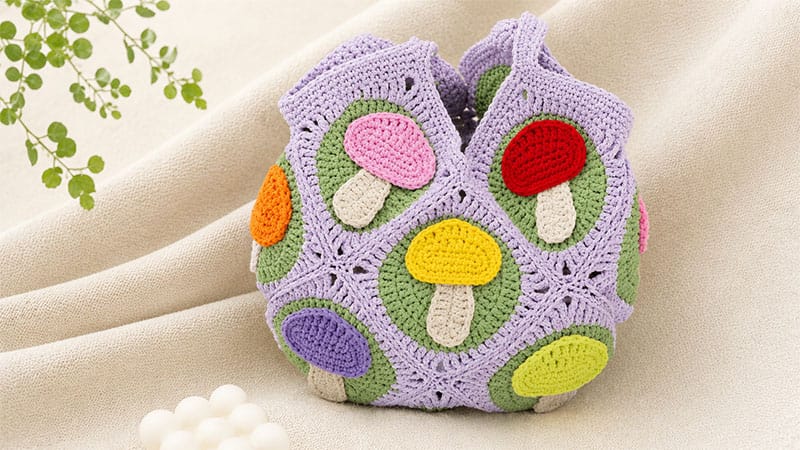
This playful accessory brings a touch of woodland magic to your wardrobe. By combining vibrant mushroom motifs with structured granny square backgrounds, you will create an asymmetrical, eye-catching tote bag that is as functional as it is charming.
What You’ll Need
- Yarn: Loopara 5-ply combed cotton. To replicate the original look, grab these shades:
- Backgrounds & Details: Green (03 & 06), Apricot (50)
- Mushroom Caps: Pink (19), Red (24), Yellow (30), Orange (35), Purple (48)
- Crochet Hook: 3.0 mm
- Notions: Yarn needle, sharp scissors, stitch markers, and hot melt adhesive (for securing details)
Stitch Abbreviations (US Terms)
- ch: Chain
- sc: Single crochet
- hdc: Half double crochet
- dc: Double crochet
- tr: Treble crochet
- sl st: Slip stitch
- MR: Magic Ring
- FLO: Front loop only
Motif Breakdown: Stitching the Pieces
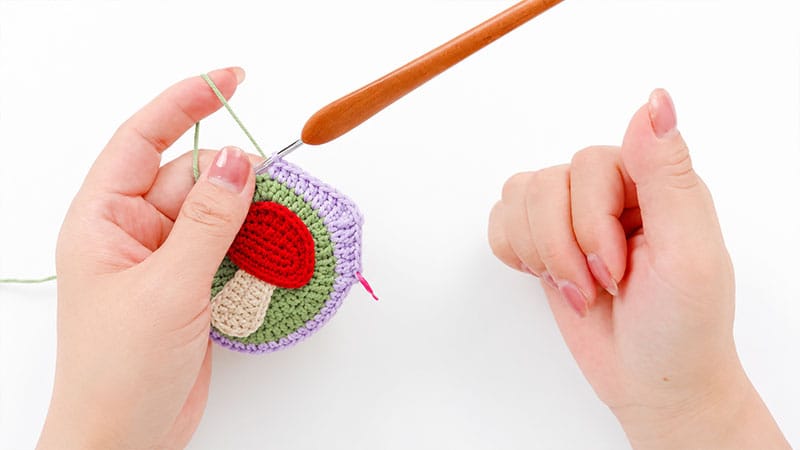
1. The Mushroom Cap
This builds the curved, iconic dome of your mushroom using graduated stitch heights.
- Round 1: Start by chaining 9. Working into the second chain from your hook, execute 7 sc. In the next chain space, work 3 sc to round the corner. Continue down the opposite side of the chain with 6 sc, and place 2 sc in the very last loop. Join your round with a sl st.
- Round 2: Ch 1 (this does not count as a stitch here or throughout). Put 2 sc into the first stitch. Follow this with 2 hdc, 2 dc, and 2 hdc. Work 3 consecutive sc increases around the curve. Crochet 6 sc down the straight edge, followed by 2 sc increases. Join with a sl st.
- Round 3: Ch 1. Work 1 sc into the first stitch, then complete an hdc increase. Crochet 2 dc, 2 tr, and 2 dc to define the cap’s peak. Work another hdc increase. Repeat the sequence of (1 sc, 1 sc increase) two times. Crochet 7 straight sc, then repeat the (1 sc, 1 sc increase) sequence two final times. Sl st to join, fasten off, and weave in your ends.
2. The Mushroom Stem
A quick, linear piece that utilizes varying stitch heights to create a natural, tapered stalk.
- Row 1: Ch 10. Starting in the third chain from your hook, work 4 hdc. Follow this with 3 dc. In the next chain, group your stitches by working: (1 tr, 4 dc, 1 tr). Continue down the remaining chains with 3 dc, and finish with 3 hdc increases. Sl st to join and fasten off, leaving a tail for assembly.
3. The Granny Square Base
This circular foundation gradually transforms into a crisp, four-cornered granny square using clever stitch distribution in the final round.
- Round 1: Begin with a tight MR. Ch 3 (this counts as your first dc), then work 11 dc directly into the ring. Sl st to the top of your turning chain to close the circle. (12 stitches)
- Round 2: Ch 3 and place a dc into that same stitch. Work a dc increase (2 dc in the same stitch) in each of the remaining 11 stitches around. Sl st to join. (24 stitches)
- Round 3: Ch 3. Alternate between a DC increase and a single DC 11 times. End the sequence with one final dc increase, then sl st to join. (36 stitches)
- Round 4: Ch 3. Repeat a pattern of (1 dc increase followed by 2 individual dc) 11 times. Complete the round with a dc increase and a final dc. Sl st to join. (48 stitches)
- Round 5 (Squaring Off): Switch to your border color (like Apricot/Cream). Ch 2 (counts as your first hdc. Work the following corner-shaping pattern 3 times:$$1 hdc, 3 dc, 1 tr, then create the corner space by working **(1 tr, ch 2, 1 tr)** all in one stitch, followed by 3 dc and 2 hdc$$. To finish the final side, work 1 hdc, 3 dc, 1 tr, the corner cluster of (1 tr, ch 2, 1 tr), 3 dc, and 1 final hdc. Sl st to join, fasten off, and block your square.
Bag Assembly & Finishing
[ Layout Suggestion ]
Arrange your finished squares in an alternating, playful checkerboard or asymmetrical pattern before joining to ensure the colors pop beautifully against one another.
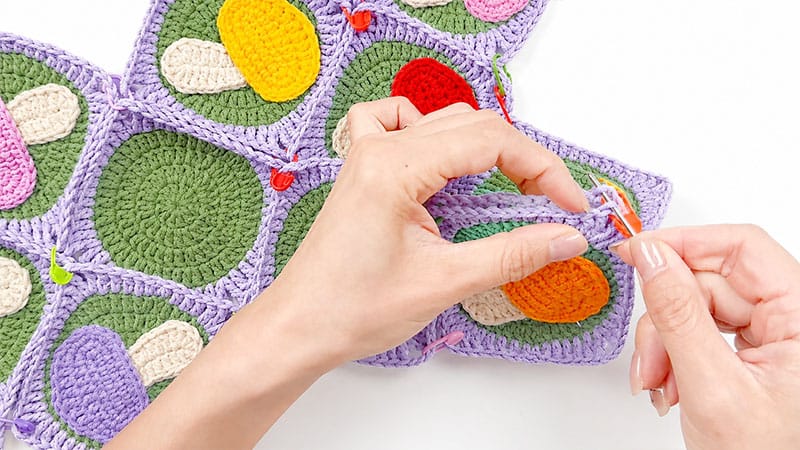
Joining the Squares
- Aligning: Place your finished squares back-to-back, ensuring the right sides are facing inward if you want a hidden seam, or outward if you prefer a textured look.
- Seaming: Using your yarn needle, catch only the inside loops (half stitches) of both pieces to create a flat, rolled seam. Double-stitch your starting points to secure them.
- Constructing: Stitch your squares into rows according to your desired layout, then fold the completed fabric panel to match up the side seams, creating the main pocket of your tote. Secure all your thread ends tightly.
Adding the Handles
- Round 1: Join your yarn to the top opening of the bag. Work a clean row of sc all the way around the rim. When you reach the corners, place 3 sc into the corner gaps to keep the edges crisp.
- Round 2 (Creating Straps): Sc across the flat edge. When you hit the center of a corner cluster, chain 110 (or your preferred strap length). Skip across to the opposite corner, joining with a sc to the middle of that corner’s cluster. Sc along the side panel to the next corner, and repeat the process for the second handle.
- Rounds 3 & 4: Work a continuous round of sc over all stitches, including right over your handle chains, to reinforce them. Run an extra row of sc along the inside edge of the straps for ultimate durability.
Care & Maintenance
Keeping it Fresh
Because this bag is handmade from 100% cotton, it can stretch if overloaded. Keep it looking pristine by reserving it for lightweight essentials. Use a lint roller or a soft-bristled brush occasionally to clear away dust or fuzz.
Washing Guide
Skip the washing machine to avoid distortion. Instead, submerge the bag in a basin of cold water mixed with a mild soap. Gently swirl it around without wringing or scrubbing. Rinse thoroughly, press out the excess water between two dry towels, reshape it while damp, and lay it flat to air dry away from harsh sunlight.
Storage
Avoid hanging your bag by its straps in the closet, as gravity will permanently stretch them out. Instead, gently stuff the inside with tissue paper so it holds its shape, and let it rest flat on a shelf or inside a drawer.
