
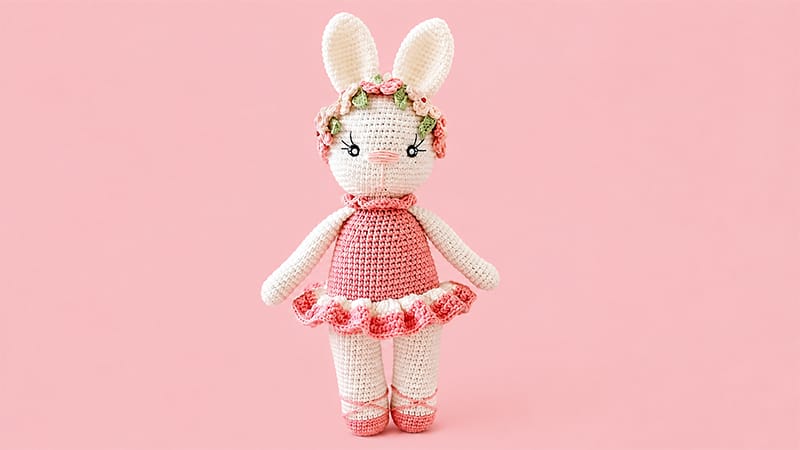
Brighten your crochet collection with this lovely Spring Bunny! Dressed in an elegant skirt with a sweet collar and adorned with a delightful floral headband, this bunny makes an enchanting handcrafted gift.
While crafting this piece takes time and patience due to its intricate, detailed construction, the final result is truly magnificent.
Gather your favorite yarn, double-check your schedule to ensure plenty of crafting time, and let’s dive into crocheting this adorable floral rabbit together step by step!
Materials & Abbreviations
- MR: Magic Ring
- sc: Single Crochet
- inc: Increase
- dec: Decrease
- hdc: Half Double Crochet
- dc: Double Crochet
- sl st: Slip Stitch
- ch: Chain
- FLO / BLO: Front Loop Only / Back Loop Only
Pattern Instructions
Legs & Main Lower Body
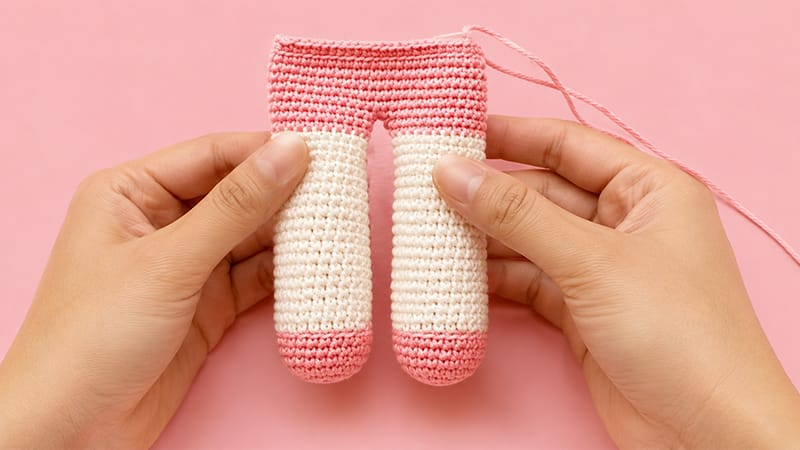
Start with pink yarn.
- R1: 6 sc into MR (6)
- R2: 6 inc (12)
- R3: (1 sc, inc) × 6 (18)
- R4: (2 sc, inc) × 6 (24)
- R5–R7: 24 sc
Switch to white yarn (work R8 in BLO).
- R8–R25: 24 sc
Switch to pink yarn.
- R26–R27: 24 sc
Fasten off the first leg. Repeat the entire process for the second leg, but do not cut the yarn.
- Joining Legs: Work 3 additional sc on the second leg, ch 2, then join with a sl st to the first leg.
- R28–R33: Work around both legs and the connecting chains for a total of 52 sc each round.
Upper Body
- R34 (BLO): 52 sc
- R35: 12 sc, dec, 24 sc, dec, 12 sc (50)
- R36: 50 sc
- R37: 11 sc, dec, 23 sc, dec, 12 sc (48)
- R38: 48 sc
- R39: 10 sc, dec, 22 sc, dec, 12 sc (46)
- R40: 46 sc
- R41: 9 sc, dec, 21 sc, dec, 12 sc (44)
- R42: 44 sc
- R43: 8 sc, dec, 20 sc, dec, 12 sc (42)
- R44: 42 sc
- R45: (5 sc, dec) × 6 (36)
- R46–R47: 36 sc
- R48: (4 sc, dec) × 6 (30)
- R49–R50: 30 sc
- R51: (3 sc, dec) × 6 (24)
- R52 (BLO): 24 sc
Switch to white yarn and sl st 24 times around to finish the neck base.
Skirt & Neck Collar
Skirt
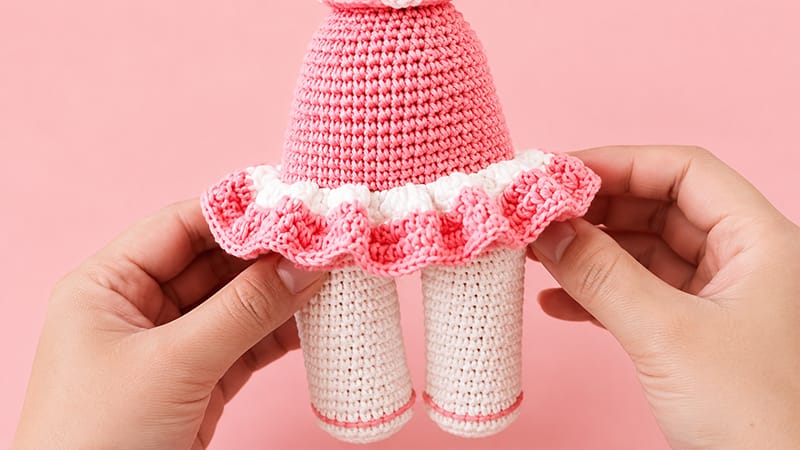
- Attach yarn to the front loops left open from R34.
- R1: Alternate making 2 dc in the first front loop, then 3 dc in the next loop across the row.
- R2–R3: 130 hdc
- R4: 130 sc. Fasten off.
Collar
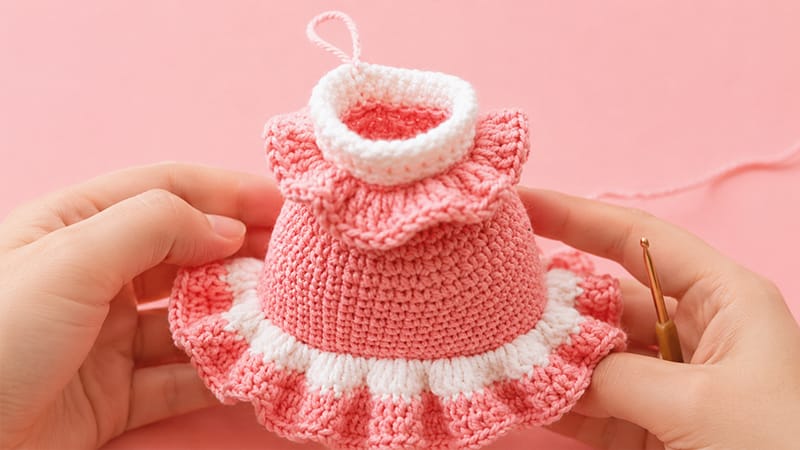
- Attach yarn to the unworked front loops left from R52.
- Work alternating stitches of 2 dc into the first loop and 3 dc into the next loop to achieve 60 total stitches. Fasten off.
Head
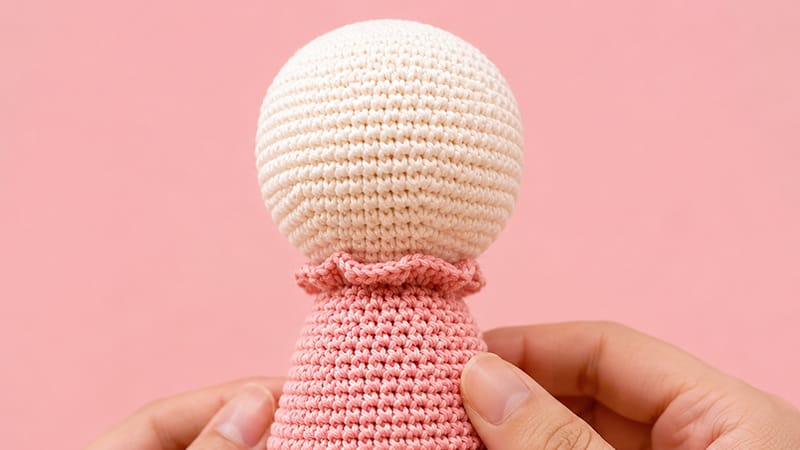
Work into the back loops remaining at R52.
- R1: 24 sc
- R2: (3 sc, inc) × 6 (30)
- R3: (4 sc, inc) × 6 (36)
- R4: (5 sc, inc) × 6 (42)
- R5: (6 sc, inc) × 6 (48)
- R6: (7 sc, inc) × 6 (54)
- R7: (8 sc, inc) × 6 (60)
- R8–R17: 60 sc
- R18: (8 sc, dec) × 6 (54)
- R19: (7 sc, dec) × 6 (48)
- R20: (6 sc, dec) × 6 (42)
- R21: (5 sc, dec) × 6 (36)
- R22: (4 sc, dec) × 6 (30)
- R23: (3 sc, dec) × 6 (24)
- R24: (2 sc, dec) × 6 (18)
- R25: (1 sc, dec) × 6 (12)
- R26: 6 dec. Fasten off and weave in the tail.
Ears (Make 2)
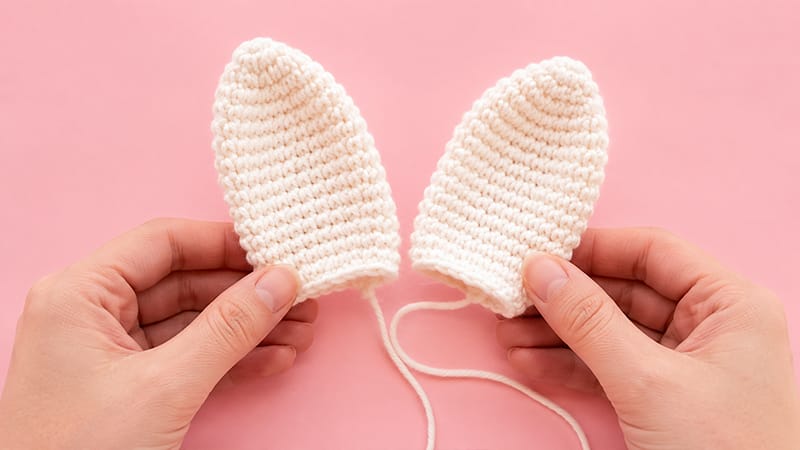
- R1: 6 sc into MR (6)
- R2: (1 sc, inc) × 3 (9)
- R3: (2 sc, inc) × 3 (12)
- R4: (1 sc, inc) × 6 (18)
- R5: (2 sc, inc) × 6 (24)
- R6–R16: 24 sc
- R17: (2 sc, dec) × 6 (18)
- R18: 18 sc. Fasten off, leaving a tail for sewing.
Arms (Make 2)
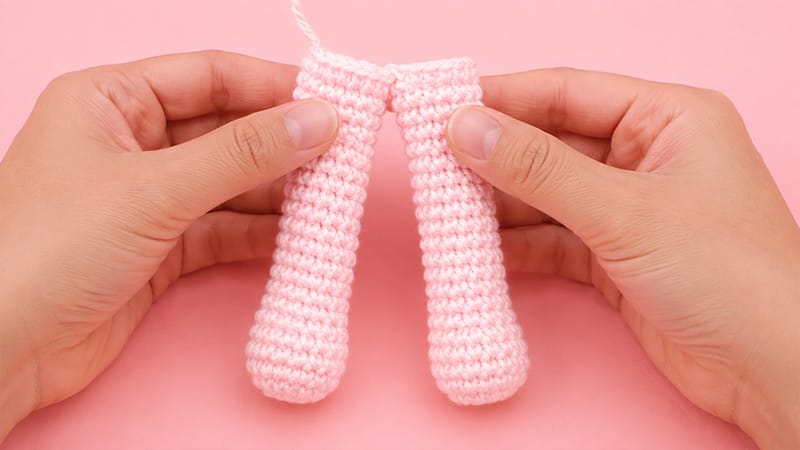
- R1: 6 sc into MR (6)
- R2: 6 inc (12)
- R3: (2 sc, inc) × 4 (16)
- R4–R6: 16 sc
- R7: 6 sc, 2 dec (14)
- R8–R24: 14 sc
- Flatten the top opening and single crochet across both sides to seal. Fasten off.
Floral Accessories
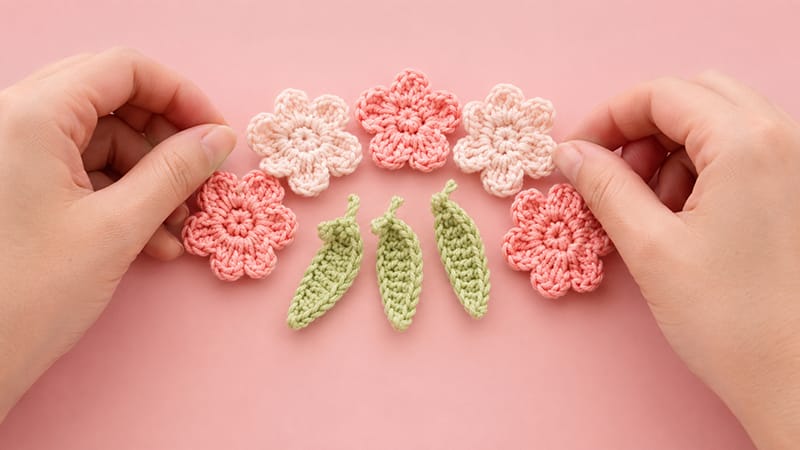
Flowers
- Form a MR and work 5 sc inside.
- Petal: Sl st into the first stitch, ch 3, work 3 dc into the same stitch, ch 3, and sl st into the same stitch.
- Repeat this sequence in each remaining stitch to create a total of 5 petals.
Leaves (Make 4)
- Ch 11. Beginning in the second chain from your hook, work: sl st, sc, 2 dc, 3 dc, hdc, sl st across. Fasten off.
Assembly & Finishing Details
- Attaching Arms & Ears: Sew the arms symmetrically on each side directly beneath the collar. Secure the ears to the crown of the head.
- Facial Sculpting: Thread embroidery yarn into a needle to sculpt the face. Enter at the base (around rounds 2–3 of the head) and exit between rounds 11 and 12. Position the eyes roughly 11 to 12 stitches apart, and add fine embroidered eyelashes for expression.
- Headband Decoration: Position the leaves and flowers on top of the head using pins. Apply a small dab of fabric adhesive to hold them securely, then stitch them firmly into place.
