
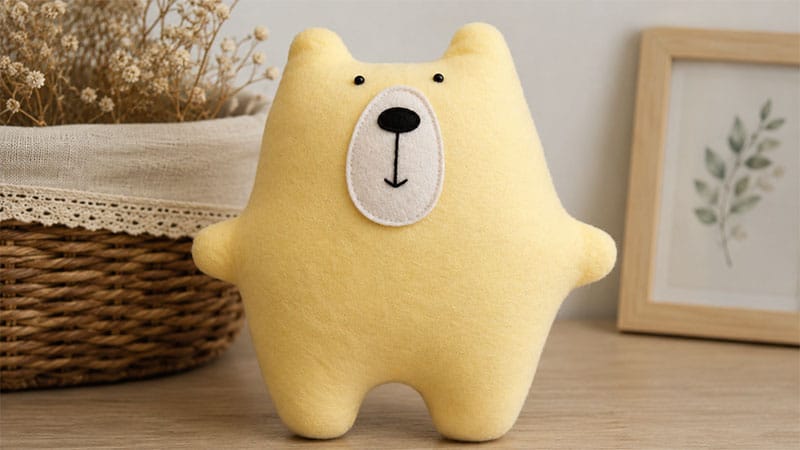
Create a custom stuffed animal with this beginner-friendly guide to making Warren the Charity Bear.
This pattern was specifically designed to be easy, adaptable, and foolproof, making it an excellent project for children, craft groups, or anyone looking to donate handmade toys to hospitals, shelters, and emergency services.
With mix-and-match features, you can create dozens of unique bears using cozy, accessible fabrics like polar fleece, minky, or cuddle fleece.
Materials and Tools Needed
- Fabric: Polar fleece, minky, or cuddle fleece (fabrics with a horizontal stretch work best).
- Eyes: 6mm, 9mm, or 12mm plastic safety eyes (Note: If gifting to children under three years old, embroider the eyes instead for safety).
- Thread: Standard sewing thread and 6-strand black embroidery floss.
- Accents: Scraps of felt for the optional muzzle and belly patches.
- Stuffing: High-quality polyester fiberfill.
- Tools: Sewing machine or needle, pins/clips, scissors, and a printer for the template.
Step-by-Step Instructions
1. Template Preparation
Download and print the pattern pieces at actual size (100%). Align the two pages by matching up the registration heart symbols, tape them together to form the complete bear template, and cut it out.
Tip: Poke small holes through the template where the eyes are marked to easily transfer the placement onto your fabric later.
2. Cutting the Fabric
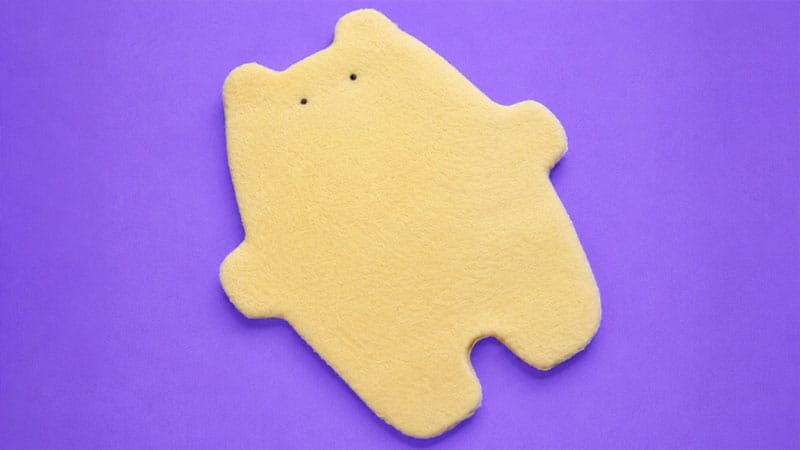
Place your template onto your chosen fabric. Ensure the fabric’s natural stretch runs horizontally across the bear’s body so your finished bear stretches wide rather than tall. Cut out two identical body pieces (one for the front, one for the back). Mark the eye placement on the front piece.
3. Adding Applique Features (Optional)
Customize your bear’s look before sewing the body together:
- Muzzles & Bellies: Cut shapes like a muzzle, a belly patch, or a decorative heart out of felt.
- Attachment: Pin them to the front body piece and use a simple, tight straight stitch along the edges to secure them.
- Mix and match different nose and patch sizes to give every bear a unique personality.
4. Embroidering the Face
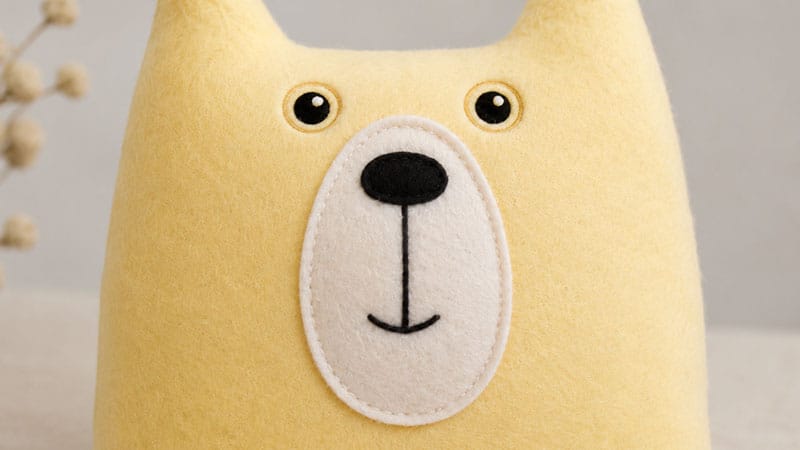
- The Mouth: Use all six strands of black embroidery floss. Create a simple mouth using three anchored stitches. For a cheerful expression, ensure the outer points of your stitches angle upward; angle them down for a pouty look. Perfect symmetry isn’t necessary—uneven smiles add character!
- The Eyes: If using safety eyes, push the plastic posts through the marked spots on the front piece and secure the washers tightly from the back. If using felt backing for contrast, slide a small felt circle onto the post before pushing it through the fabric.
5. Assembling the Bear
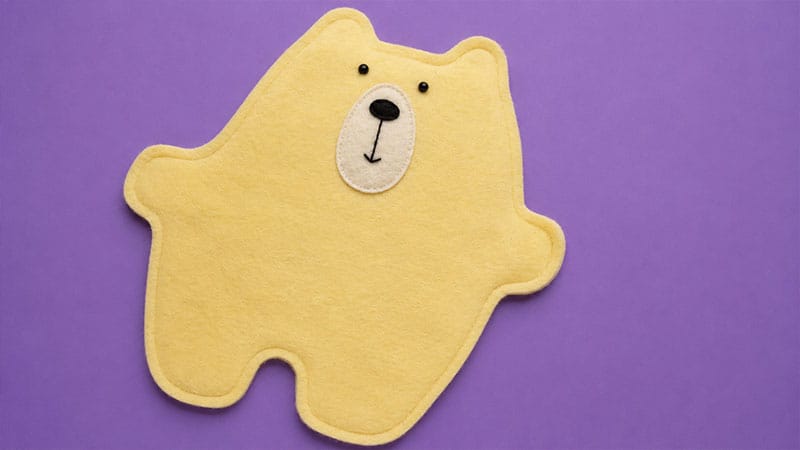
- Place the front and back body pieces together, right sides facing inward, and pin or clip the edges securely.
- Sew around the entire perimeter using a 1/4-inch seam allowance.
- Important: Leave a gap unsewn along the side of one leg to allow for turning and stuffing.
- Note: If you are using non-stretchy woven fabric, make small clips into the inner curves (like the neck and armpits) so the fabric lies flat when turned. Fleece and minky do not require this step.
6. Stuffing and Final Details
Turn the bear right side out through the leg opening. Begin stuffing by filling the furthest extremities first—push firmly into the ears, arms, and legs before filling the main body cavity. Once the bear is completely plump and huggable, close the open leg seam using a hidden ladder stitch.
Where to Donate Your Finished Bears
If you are crafting these bears for charitable purposes, consider reaching out to local organizations such as:
- Crisis and domestic violence shelters
- Homeless shelters
- Local fire and police departments (to give to children in emergencies)
- Pediatric hospital wards (always call ahead to verify their specific fabric and hygiene guidelines)
