
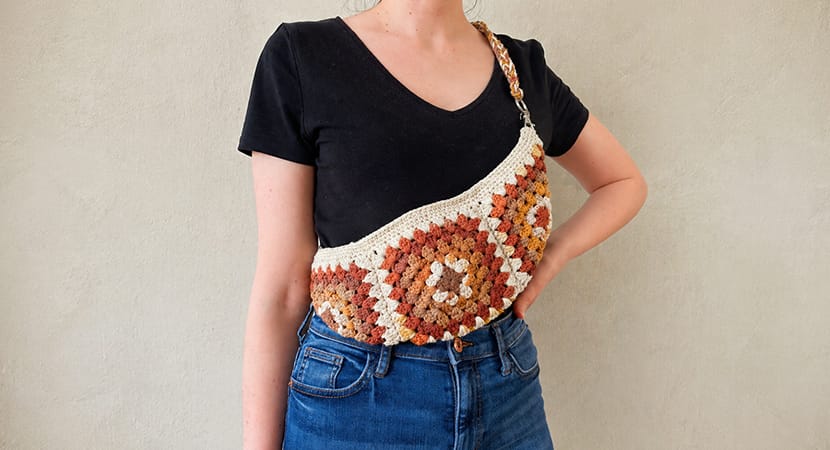
This Granny Square Cross Body Bag is a stylish, beginner-friendly crochet project that works up quickly and looks professionally made. It’s perfect as a personal accessory or a thoughtful handmade gift.
Materials Needed
Hooks
- 4 mm (G hook) – for granny squares and bag edging
- 6.5 mm (K hook) – for the strap
Yarn (Aran weight cotton recommended)
- 92 yards each:
- Silver Grey
- Lilac
- Mouse Grey
- Denim
- Blue
- 150 yards:
- Mustard (used for joining + strap)
Hardware
- 2 large lobster swivel clasps
- 1 magnetic clasp
Notions
- Scissors
- Yarn needle
- Tape measure
- Sewing needle + thread
Finished Size & Gauge
- Width: 14 inches (point to point)
- Height: 5.5 inches
Gauge
- 7 rounds of granny square = 5.75 inches
Abbreviations (US Terms)
- Ch = Chain
- Sc = Single Crochet
- Dc = Double Crochet
- St(s) = Stitch(es)
- Beg = Beginning
Important Notes
- Turn your work after each round to prevent slanting
- Starting Ch1 does NOT count as a stitch
Granny Squares (Make 4)
Use 4 mm hook
Round 1
- Start with a magic circle (or ch4 and join to form ring)
- Ch1
- Work:
- (3dc, ch2) → repeat 4 times into ring
- Join with slip stitch to first dc
- Slip stitch into next corner space
- Fasten off
- Turn work
Round 2
- Join new color in any corner space
- Ch1
- In same space:
- (3dc, ch2, 3dc)
- Repeat in each corner (4 total)
- Join with slip stitch
- Slip stitch into corner
- Fasten off
- Turn
Round 3
- Join yarn in corner
- Ch1
- In corner:
- (3dc, ch2, 3dc)
- In side space:
- 3dc
- Repeat around:
- Corner → side → corner → side
- Join, slip stitch to corner
- Fasten off
- Turn
Rounds 4–7 (Continue Pattern)
Follow same structure:
| Round | Side Groups Between Corners |
|---|---|
| 4 | 2 groups |
| 5 | 3 groups |
| 6 | 4 groups |
| 7 | 5 groups |
Always:
- Work (3dc, ch2, 3dc) in corners
- Work 3dc in each side space
After Round 7:
- Fasten off
- Weave in ends
Bag Assembly
Use mustard yarn + yarn needle
Step 1: Join Squares
- Lay out 3 squares in a row
- Seam them side-by-side using mattress stitch
Step 2: Fold Ends
- Left square:
- Fold bottom-left corner → top-right corner
- Right square:
- Fold bottom-right corner → top-left corner
Step 3: Add Fourth Square
- Place 4th square on top of middle square
- Wrong side facing outward
Shape now looks like a boat
Step 4: Seam Bag Together
Using one long strand:
- Join square 1 → square 4
- Continue across bottom
- Join square 3 → square 4
Leave top open
Finishing the Opening
Use 4 mm hook + mustard yarn
Step 1: Edge Rounds
- Join yarn at top edge
- Work Sc evenly around
- Repeat for 3 rounds
Step 2: Create Opening Shape
- Lay bag flat
- On each side:
- Seam inward about 3.75 inches
- Leave center open
Step 3: Add Closure
- Sew magnetic clasp inside opening
Optional:
- Add lining
- Install zipper (advanced option)
Strap Instructions
Use:
- 4 strands of yarn held together
- 6.5 mm hook
Step-by-Step
- Attach yarn to first lobster clasp (slip stitch)
- Ch72 (or ~23.5 inches)
- Attach to second clasp with slip stitch
- Work:
- 1 sc into clasp
- Slip stitch into each chain back
- Finish with sc into first clasp
- Fasten off & weave ends
Clip strap onto bag
Alternative:
- Replace with leather strap
Final Tips
- Turning after each round = cleaner squares
- Use consistent tension for proper sizing
- Color combinations can completely change the look
Final Result
You’ll have a:
- Trendy
- Durable
- Handmade crossbody bag
Perfect for:
- Everyday use
- Gifts
- Selling as handmade items
